Transparency Read Me
You also want an ePaper? Increase the reach of your titles
YUMPU automatically turns print PDFs into web optimized ePapers that Google loves.
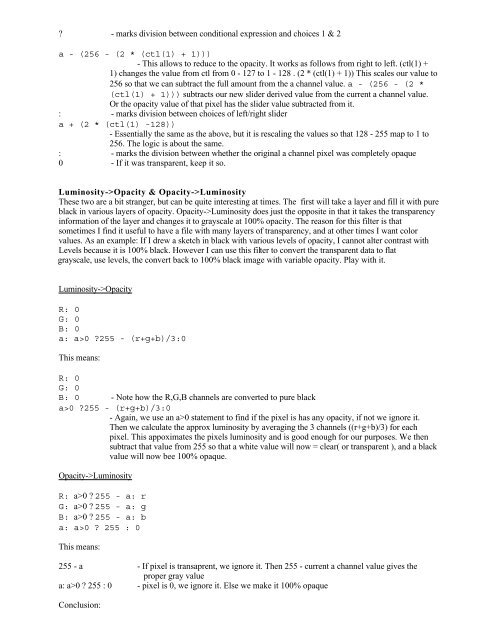
? - marks division between conditional expression and choices 1 & 2<br />
a - (256 - (2 * (ctl(1) + 1)))<br />
- This allows to reduce to the opacity. It works as follows from right to left. (ctl(1) +<br />
1) changes the value from ctl from 0 - 127 to 1 - 128 . (2 * (ctl(1) + 1)) This scales our value to<br />
256 so that we can subtract the full amount from the a channel value. a - (256 - (2 *<br />
(ctl(1) + 1))) subtracts our new slider derived value from the current a channel value.<br />
Or the opacity value of that pixel has the slider value subtracted from it.<br />
: - marks division between choices of left/right slider<br />
a + (2 * (ctl(1) -128))<br />
- Essentially the same as the above, but it is rescaling the values so that 128 - 255 map to 1 to<br />
256. The logic is about the same.<br />
: - marks the division between whether the original a channel pixel was completely opaque<br />
0 - If it was transparent, keep it so.<br />
Luminosity->Opacity & Opacity->Luminosity<br />
These two are a bit stranger, but can be quite interesting at times. The first will take a layer and fill it with pure<br />
black in various layers of opacity. Opacity->Luminosity does just the opposite in that it takes the transparency<br />
information of the layer and changes it to grayscale at 100% opacity. The reason for this filter is that<br />
sometimes I find it useful to have a file with many layers of transparency, and at other times I want color<br />
values. As an example: If I drew a sketch in black with various levels of opacity, I cannot alter contrast with<br />
Levels because it is 100% black. However I can use this filter to convert the transparent data to flat<br />
grayscale, use levels, the convert back to 100% black image with variable opacity. Play with it.<br />
Luminosity->Opacity<br />
R: 0<br />
G: 0<br />
B: 0<br />
a: a>0 ?255 - (r+g+b)/3:0<br />
This means:<br />
R: 0<br />
G: 0<br />
B: 0 - Note how the R,G,B channels are converted to pure black<br />
a>0 ?255 - (r+g+b)/3:0<br />
- Again, we use an a>0 statement to find if the pixel is has any opacity, if not we ignore it.<br />
Then we calculate the approx luminosity by averaging the 3 channels ((r+g+b)/3) for each<br />
pixel. This appoximates the pixels luminosity and is good enough for our purposes. We then<br />
subtract that value from 255 so that a white value will now = clear( or transparent ), and a black<br />
value will now bee 100% opaque.<br />
Opacity->Luminosity<br />
R: a>0 ? 255 - a: r<br />
G: a>0 ? 255 - a: g<br />
B: a>0 ? 255 - a: b<br />
a: a>0 ? 255 : 0<br />
This means:<br />
255 - a - If pixel is transaprent, we ignore it. Then 255 - current a channel value gives the<br />
proper gray value<br />
a: a>0 ? 255 : 0 - pixel is 0, we ignore it. Else we make it 100% opaque<br />
Conclusion:


