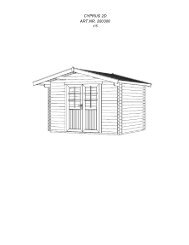
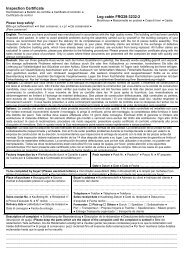
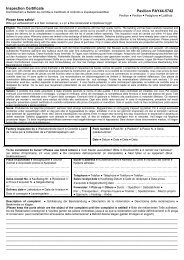
Inspection Certificate Log cabin FRB28-3226 (28 mm, 320x260 cm ...
Inspection Certificate Log cabin FRB28-3226 (28 mm, 320x260 cm ...
Inspection Certificate Log cabin FRB28-3226 (28 mm, 320x260 cm ...

Create successful ePaper yourself
Turn your PDF publications into a flip-book with our unique Google optimized e-Paper software.
Installation manual<br />
Having installed the roof boards, the roof felt and roof<br />
slats must be attached.<br />
The table of components shows whether the roof<br />
cover material and slats are included with this<br />
house option!<br />
First of all, screw the roof edge reinforcements and eave<br />
edgings under the roof board ends. Then install the roof<br />
cover material.<br />
Installation of roof slats:<br />
Roof cover material (NB! Some house options do not include it in the kit!)<br />
Cut the roof felt in accordance with the roof length into suitable pieces and begin installing them<br />
parallel to the lower edge of the roof, moving toward the crest and placing the felt strips in the direction<br />
from the back wall to the front wall. The felt should extend from the edge by approximately 2-4 <strong>cm</strong>.<br />
Attach the roof felt to the roof boards with the supplied felt nails at intervals of about 15 <strong>cm</strong>. Make sure<br />
that the felt strips overlap by at least 10 <strong>cm</strong>.<br />
Having installed the roof cover material, attach the<br />
wind braces to the roof and the facia boards to the<br />
rafters and upper wall logs.<br />
Floor<br />
Installation of wind braces and facia boards:<br />
Only when the house is built completely can you install the floor boards, thus avoiding unnecessary<br />
smudging on the floor.<br />
Place the floor boards on the base frame, tap them lightly against one another and then nail them with<br />
force to the foundation joists. If necessary, cut the last floor board to the suitable width.<br />
The final operation is the fitting of the floor beadings to cover the spaces between the floor boards and<br />
walls. If necessary, cut the floor beadings to the suitable length.<br />
ATTENTION: Depending on the climate at the house location, the floor boards can either swell or<br />
diminish. If the floor boards are very dry while the climate is damp, they will easily absorb moisture. In<br />
this case, the floor boards should not be attached very densely to avoid likely bulging. Leave some<br />
<strong>Log</strong> <strong>cabin</strong> <strong>FRB<strong>28</strong></strong>-<strong>3226</strong><br />
10/52