Istruzioni per l'uso Operating Instructions Mode d'emploi ... - Indesit
Istruzioni per l'uso Operating Instructions Mode d'emploi ... - Indesit
Istruzioni per l'uso Operating Instructions Mode d'emploi ... - Indesit

You also want an ePaper? Increase the reach of your titles
YUMPU automatically turns print PDFs into web optimized ePapers that Google loves.
GB<br />
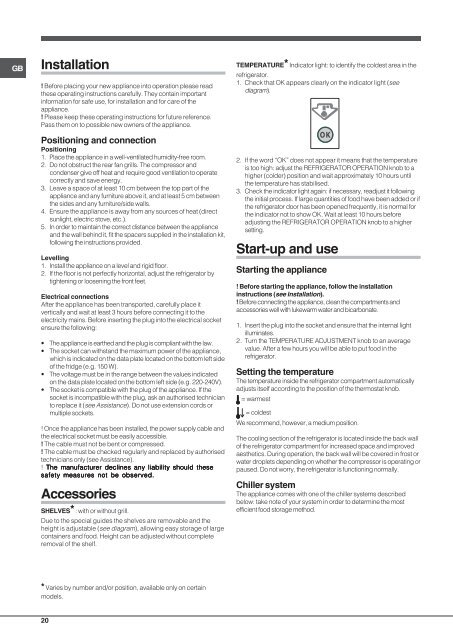
Installation<br />
! Before placing your new appliance into o<strong>per</strong>ation please read<br />
these o<strong>per</strong>ating instructions carefully. They contain important<br />
information for safe use, for installation and for care of the<br />
appliance.<br />
! Please keep these o<strong>per</strong>ating instructions for future reference.<br />
Pass them on to possible new owners of the appliance.<br />
Positioning and connection<br />
Positioning<br />
1. Place the appliance in a well-ventilated humidity-free room.<br />
2. Do not obstruct the rear fan grills. The compressor and<br />
condenser give off heat and require good ventilation to o<strong>per</strong>ate<br />
correctly and save energy.<br />
3. Leave a space of at least 10 cm between the top part of the<br />
appliance and any furniture above it, and at least 5 cm between<br />
the sides and any furniture/side walls.<br />
4. Ensure the appliance is away from any sources of heat (direct<br />
sunlight, electric stove, etc.).<br />
5. In order to maintain the correct distance between the appliance<br />
and the wall behind it, fit the spacers supplied in the installation kit,<br />
following the instructions provided.<br />
Levelling<br />
1. Install the appliance on a level and rigid floor.<br />
2. If the floor is not <strong>per</strong>fectly horizontal, adjust the refrigerator by<br />
tightening or loosening the front feet.<br />
Electrical connections<br />
After the appliance has been transported, carefully place it<br />
vertically and wait at least 3 hours before connecting it to the<br />
electricity mains. Before inserting the plug into the electrical socket<br />
ensure the following:<br />
• The appliance is earthed and the plug is compliant with the law.<br />
• The socket can withstand the maximum power of the appliance,<br />
which is indicated on the data plate located on the bottom left side<br />
of the fridge (e.g. 150 W).<br />
• The voltage must be in the range between the values indicated<br />
on the data plate located on the bottom left side (e.g. 220-240V).<br />
• The socket is compatible with the plug of the appliance. If the<br />
socket is incompatible with the plug, ask an authorised technician<br />
to replace it (see Assistance). Do not use extension cords or<br />
multiple sockets.<br />
! Once the appliance has been installed, the power supply cable and<br />
the electrical socket must be easily accessible.<br />
! The cable must not be bent or compressed.<br />
! The cable must be checked regularly and replaced by authorised<br />
technicians only (see Assistance).<br />
! The manufacturer declines any liability should these<br />
safety measures not be observed.<br />
Accessories<br />
SHELVES* : with or without grill.<br />
Due to the special guides the shelves are removable and the<br />
height is adjustable (see diagram), allowing easy storage of large<br />
containers and food. Height can be adjusted without complete<br />
removal of the shelf.<br />
TEMPERATURE* Indicator light: to identify the coldest area in the<br />
refrigerator.<br />
1. Check that OK appears clearly on the indicator light (see<br />
diagram).<br />
2. If the word “OK” does not appear it means that the tem<strong>per</strong>ature<br />
is too high: adjust the REFRIGERATOR OPERATION knob to a<br />
higher (colder) position and wait approximately 10 hours until<br />
the tem<strong>per</strong>ature has stabilised.<br />
3. Check the indicator light again: if necessary, readjust it following<br />
the initial process. If large quantities of food have been added or if<br />
the refrigerator door has been opened frequently, it is normal for<br />
the indicator not to show OK. Wait at least 10 hours before<br />
adjusting the REFRIGERATOR OPERATION knob to a higher<br />
setting.<br />
Start-up and use<br />
Starting the appliance<br />
! Before starting the appliance, follow the installation<br />
instructions (see Installation).<br />
! Before connecting the appliance, clean the compartments and<br />
accessories well with lukewarm water and bicarbonate.<br />
1. Insert the plug into the socket and ensure that the internal light<br />
illuminates.<br />
2. Turn the TEMPERATURE ADJUSTMENT knob to an average<br />
value. After a few hours you will be able to put food in the<br />
refrigerator.<br />
Setting the tem<strong>per</strong>ature<br />
The tem<strong>per</strong>ature inside the refrigerator compartment automatically<br />
adjusts itself according to the position of the thermostat knob.<br />
= warmest<br />
= coldest<br />
We recommend, however, a medium position.<br />
The cooling section of the refrigerator is located inside the back wall<br />
of the refrigerator compartment for increased space and improved<br />
aesthetics. During o<strong>per</strong>ation, the back wall will be covered in frost or<br />
water droplets depending on whether the compressor is o<strong>per</strong>ating or<br />
paused. Do not worry, the refrigerator is functioning normally.<br />
Chiller system<br />
The appliance comes with one of the chiller systems described<br />
below: take note of your system in order to determine the most<br />
efficient food storage method.<br />
* Varies by number and/or position, available only on certain<br />
models.<br />
20