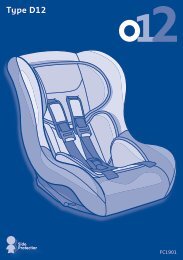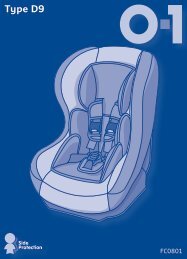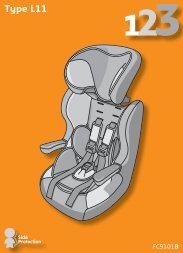
Instrucciones - Nania
Instrucciones - Nania
Instrucciones - Nania

You also want an ePaper? Increase the reach of your titles
YUMPU automatically turns print PDFs into web optimized ePapers that Google loves.
GB<br />
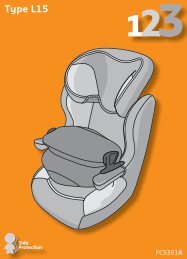
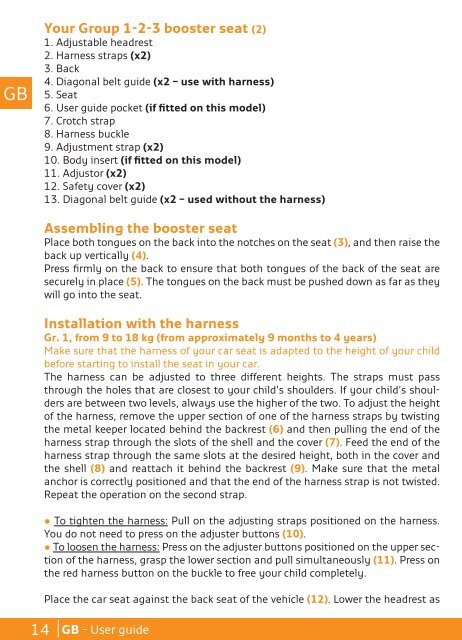
Your Group 1-2-3 booster seat (2)<br />
1. Adjustable headrest<br />
2. Harness straps (x2)<br />
3. Back<br />
4. Diagonal belt guide (x2 – use with harness)<br />
5. Seat<br />
6. User guide pocket (if fitted on this model)<br />
7. Crotch strap<br />
8. Harness buckle<br />
9. Adjustment strap (x2)<br />
10. Body insert (if fitted on this model)<br />
11. Adjustor (x2)<br />
12. Safety cover (x2)<br />
13. Diagonal belt guide (x2 – used without the harness)<br />
Assembling the booster seat<br />
Place both tongues on the back into the notches on the seat (3), and then raise the<br />
back up vertically (4).<br />
Press firmly on the back to ensure that both tongues of the back of the seat are<br />
securely in place (5). The tongues on the back must be pushed down as far as they<br />
will go into the seat.<br />
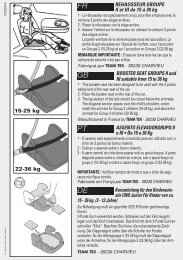
Installation with the harness<br />
Gr. 1, from 9 to 18 kg (from approximately 9 months to 4 years)<br />
Make sure that the harness of your car seat is adapted to the height of your child<br />
before starting to install the seat in your car.<br />
The harness can be adjusted to three different heights. The straps must pass<br />
through the holes that are closest to your child’s shoulders. If your child’s shoulders<br />
are between two levels, always use the higher of the two. To adjust the height<br />
of the harness, remove the upper section of one of the harness straps by twisting<br />
the metal keeper located behind the backrest (6) and then pulling the end of the<br />
harness strap through the slots of the shell and the cover (7). Feed the end of the<br />
harness strap through the same slots at the desired height, both in the cover and<br />
the shell (8) and reattach it behind the backrest (9). Make sure that the metal<br />
anchor is correctly positioned and that the end of the harness strap is not twisted.<br />
Repeat the operation on the second strap.<br />
• To tighten the harness: Pull on the adjusting straps positioned on the harness.<br />
You do not need to press on the adjuster buttons (10).<br />
• To loosen the harness: Press on the adjuster buttons positioned on the upper section<br />
of the harness, grasp the lower section and pull simultaneously (11). Press on<br />
the red harness button on the buckle to free your child completely.<br />
Place the car seat against the back seat of the vehicle (12). Lower the headrest as<br />
14 GB - User guide