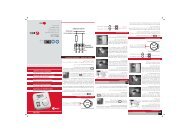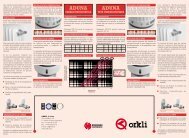
DRAIN-UNIT - Orkli
DRAIN-UNIT - Orkli
DRAIN-UNIT - Orkli

You also want an ePaper? Increase the reach of your titles
YUMPU automatically turns print PDFs into web optimized ePapers that Google loves.
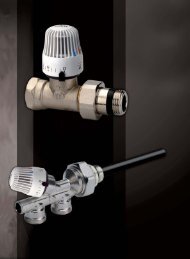
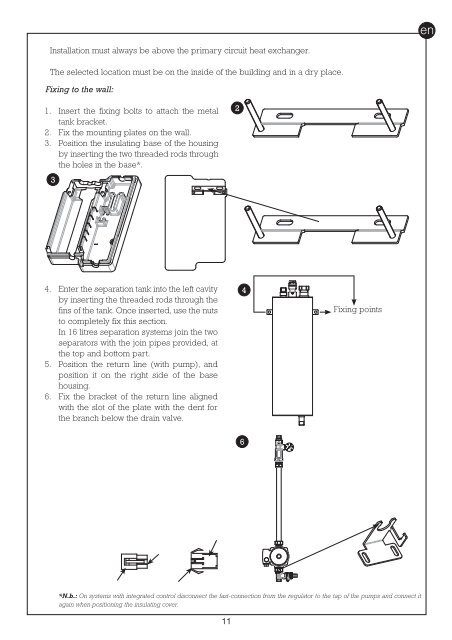
Installation must always be above the primary circuit heat exchanger.<br />
The selected location must be on the inside of the building and in a dry place.<br />
Fixing to the wall:<br />
1. Insert the fixing bolts to attach the metal<br />
tank bracket.<br />
2. Fix the mounting plates on the wall.<br />
3. Position the insulating base of the housing<br />
by inserting the two threaded rods through<br />
the holes in the base*.<br />
3<br />
2<br />
4. Enter the separation tank into the left cavity<br />
by inserting the threaded rods through the<br />
fins of the tank. Once inserted, use the nuts<br />
to completely fix this section.<br />
In 16 litres separation systems join the two<br />
separators with the join pipes provided, at<br />
the top and bottom part.<br />
5. Position the return line (with pump), and<br />
position it on the right side of the base<br />
housing.<br />
6. Fix the bracket of the return line aligned<br />
with the slot of the plate with the dent for<br />
the branch below the drain valve.<br />
4<br />
Fixing points<br />
6<br />
*N.b.: On systems with integrated control disconnect the fast-connection from the regulator to the tap of the pumps and connect it<br />
again when positioning the insulating cover.<br />
11