SBM 19 - Sanitas
SBM 19 - Sanitas
SBM 19 - Sanitas

Create successful ePaper yourself
Turn your PDF publications into a flip-book with our unique Google optimized e-Paper software.
7. Number of memory space<br />
8. Inflate/deflate arrow<br />
9. ‚Change battery‘ icon<br />
10. Cardiac arrhythmia icon<br />
11. WHO classification<br />
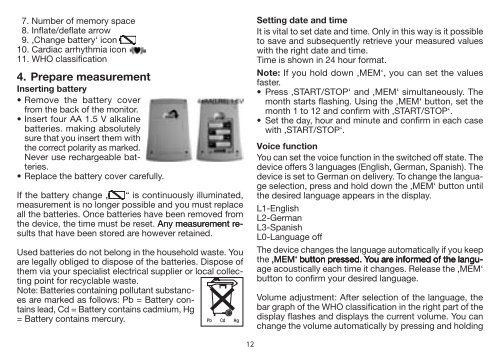
4. Prepare measurement<br />
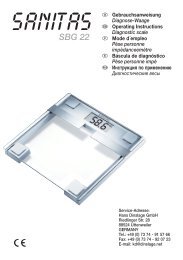
Inserting battery<br />
• Remove the battery cover<br />
from the back of the monitor.<br />
• Insert four AA 1.5 V alkaline<br />
batteries. making absolutely<br />
sure that you insert them with<br />
the correct polarity as marked.<br />
Never use rechargeable batteries.<br />
• Replace the battery cover carefully.<br />
If the battery change „ “ is continuously illuminated,<br />
measurement is no longer possible and you must replace<br />
all the batteries. Once batteries have been removed from<br />
the device, the time must be reset. Any measurement results<br />
that have been stored are however retained.<br />
Used batteries do not belong in the household waste. You<br />
are legally obliged to dispose of the batteries. Dispose of<br />
them via your specialist electrical supplier or local collecting<br />
point for recyclable waste.<br />
Note: Batteries containing pollutant substances<br />
are marked as follows: Pb = Battery contains<br />
lead, Cd = Battery contains cadmium, Hg<br />
= Battery contains mercury.<br />
Setting date and time<br />
It is vital to set date and time. Only in this way is it possible<br />
to save and subsequently retrieve your measured values<br />
with the right date and time.<br />
Time is shown in 24 hour format.<br />
Note: If you hold down ‚MEM‘, you can set the values<br />
faster.<br />
• Press ‚START/STOP‘ and ‚MEM‘ simultaneously. The<br />
month starts flashing. Using the ‚MEM‘ button, set the<br />
month 1 to 12 and confirm with ‚START/STOP‘.<br />
• Set the day, hour and minute and confirm in each case<br />
with ‚START/STOP‘.<br />
Voice function<br />
You can set the voice function in the switched off state. The<br />
device offers 3 languages (English, German, Spanish). The<br />
device is set to German on delivery. To change the language<br />
selection, press and hold down the ‚MEM‘ button until<br />
the desired language appears in the display.<br />
L1-English<br />
L2-German<br />
L3-Spanish<br />
L0-Language off<br />
The device changes the language automatically if you keep<br />
the ‚MEM‘ button pressed. You are informed of the language<br />
acoustically each time it changes. Release the ‚MEM‘<br />
button to confirm your desired language.<br />
Volume adjustment: After selection of the language, the<br />
bar graph of the WHO classification in the right part of the<br />
display flashes and displays the current volume. You can<br />
change the volume automatically by pressing and holding<br />
12