

Steam Iron Plancha de vapor Fer à vapeur Model Modelo Modèle ...
Steam Iron Plancha de vapor Fer à vapeur Model Modelo Modèle ...
Steam Iron Plancha de vapor Fer à vapeur Model Modelo Modèle ...

Create successful ePaper yourself
Turn your PDF publications into a flip-book with our unique Google optimized e-Paper software.
J<br />
5. If lowering the temperature, let the iron stand several minutes to allow it to cool down.<br />
K<br />
Tip: <strong>Iron</strong> garments that require lower setting first, then move on to higher setting.<br />
Important: Always stand the iron on its heel when powered on but not in use.<br />
L<br />
FOR DRY IRONING<br />
M<br />
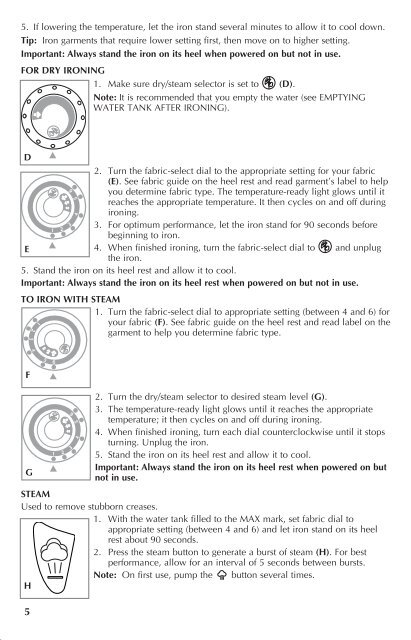
1. Make sure dry/steam selector is set to (D).<br />
Note: It is recommen<strong>de</strong>d that you empty the water (see EMPTYING<br />
WATER TANK AFTER IRONING). O<br />
D<br />
2. Turn the fabric-select dial to the appropriate setting J for your fabric<br />
(E). See fabric gui<strong>de</strong> on the heel rest and read garment’s label to help<br />
you <strong>de</strong>termine fabric type. The temperature-ready light glows until it<br />
K<br />
reaches the appropriate temperature. It then cycles on and off during<br />
ironing.<br />
L<br />
3. For optimum performance, let the iron stand for 90 seconds before<br />
beginning to iron.<br />
M<br />
E<br />
4. When finished ironing, turn the fabric-select dial to and unplug<br />
the iron.<br />
5. Stand the iron on its heel rest and allow it to cool.<br />
O<br />
Important: Always stand the iron on its heel rest when powered on but not in use.<br />
TO IRON WITH STEAM<br />
1. Turn the fabric-select dial to appropriate setting (between 4 and 6) for<br />
your fabric (F). See fabric gui<strong>de</strong> on the heel rest and read label on the<br />
garment to help you <strong>de</strong>termine fabric type.<br />
F<br />
G<br />
a<br />
2. Turn the dry/steam b selector to <strong>de</strong>sired steam level (G).<br />
3. The temperature-ready light glows until it reaches the appropriate<br />
temperature; it then cycles on and off during ironing.<br />
4. When finished ironing, turn each dial counterclockwise until it stops<br />
turning. Unplug the iron.<br />
5. Stand the iron on its heel rest and allow it to cool.<br />
Important: Always stand the iron on its heel rest when powered on but<br />
not in use.<br />
STEAM<br />
Used to remove stubborn creases.<br />
1. With the water tank filled to the MAX mark, set fabric dial to<br />
appropriate setting (between J 4 and 6) and let iron stand on its heel<br />
rest about 90 seconds.<br />
2. Press the steam button to generate a burst of steam (H). For best<br />
K<br />
performance, allow for an interval of 5 seconds between bursts.<br />
L<br />
Note: On first use, pump the button several times.<br />
H<br />
h<br />
J<br />
SPRAY<br />
You can use spray at any setting. Check that the water tank is filled with<br />
water. Use to dampen tough wrinkles at any setting.<br />
1. Be sure the iron is filled with water.<br />
J<br />
2. On first use, pump the spray button several times (J).<br />
L<br />
EMPTYING WATER TANK AFTER IRONING<br />
Note: It is suggested but not necessary to empty the water after each use.<br />
M<br />
1. Turn the fabric-select dial to . If using steam, turn the steam dial<br />
to the lowest setting. Unplug the iron. Stand the iron on its heel rest<br />
and allow it to cool off.<br />
O<br />
2. To release the water, invert the iron over a sink with the hole in the<br />
K<br />
water tank facing down. Hold in that position until all the water is<br />
emptied from the tank (K).<br />
Suggestions For Each Setting:<br />
Synthetic: Scarves, blouses, knits – iron on the wrong si<strong>de</strong><br />
Nylon - Silk: lingerie, robes, sleepwear, raincoats – iron on the wrong si<strong>de</strong><br />
Polyester - Rayon: knits, dresses, blouses, skirts, travel wear – iron on the wrong si<strong>de</strong><br />
Cotton Blends: Shirts, blouses, knits, uniforms, bed and table linens<br />
Wool: trousers, slacks, jackets, silk scarves and blouses<br />
Cotton - Linen: 100% cotton blouses and shirts, table linens, slacks, summer wear, jackets,<br />
blouses<br />
Care and Cleaning<br />
This product contains no user serviceable parts. Refer service to qualified service<br />
personnel.<br />
CLEANING OUTSIDE SURFACES<br />
J<br />
1. Make sure iron is unplugged and has cooled completely. Wipe the soleplate and outer<br />
surfaces with a soft cloth dampened with water. Never use abrasives, heavy-duty<br />
K<br />
cleansers, vinegar or scouring pads that may scratch or discolor the iron.<br />
2. After cleaning, steam iron over an old cloth to remove any residue from the steam vents.<br />
L<br />
STORING YOUR IRON<br />
M<br />
1. Check that the dry/steam selector is set to .<br />
2. Unplug the iron. Stand the iron on its heel rest and allow it to cool off.<br />
O<br />
3. Store vertically on its heel rest or empty the water tank to prevent water leaking from<br />
the soleplate.<br />
K<br />
M<br />
5<br />
O<br />
6


