
You also want an ePaper? Increase the reach of your titles
YUMPU automatically turns print PDFs into web optimized ePapers that Google loves.
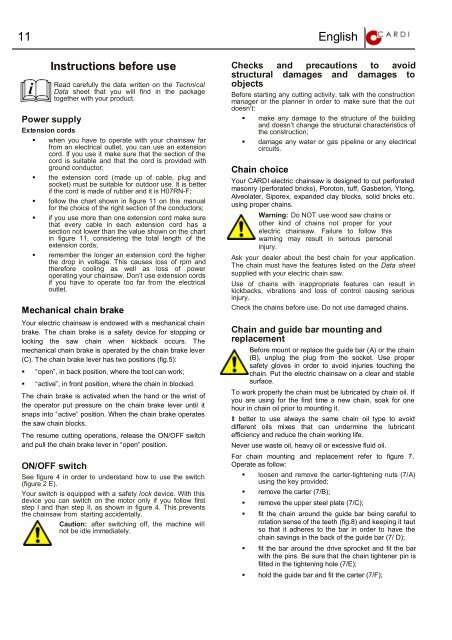
11 English �<br />
Instructions before use<br />
Read carefully the data written on the Technical<br />
Data sheet that you will find in the package<br />
together with your product.<br />
Power supply<br />
Extension cords<br />
� when you have to operate with your chainsaw far<br />
from an electrical outlet, you can use an extension<br />
cord. If you use it make sure that the section of the<br />
cord is suitable and that the cord is provided with<br />
ground conductor;<br />
� the extension cord (made up of cable, plug and<br />
socket) must be suitable for outdoor use. It is better<br />
if the cord is made of rubber and it is H07RN-F;<br />
� follow the chart shown in figure 11 on this manual<br />
for the choice of the right section of the conductors;<br />
� if you use more than one extension cord make sure<br />
that every cable in each extension cord has a<br />
section not lower than the value shown on the chart<br />
in figure 11, considering the total length of the<br />
extension cords;<br />
� remember the longer an extension cord the higher<br />
the drop in voltage. This causes loss of rpm and<br />
therefore cooling as well as loss of power<br />
operating your chainsaw. Don’t use extension cords<br />
if you have to operate too far from the electrical<br />
outlet.<br />
Mechanical chain brake<br />
Your electric chainsaw is endowed with a mechanical chain<br />
brake. The chain brake is a safety device for stopping or<br />
locking the saw chain when kickback occurs. The<br />
mechanical chain brake is operated by the chain brake lever<br />
(C). The chain brake lever has two positions (fig.5):<br />
� “open”, in back position, where the tool can work;<br />
� “active”, in front position, where the chain in blocked.<br />
The chain brake is activated when the hand or the wrist of<br />
the operator put pressure on the chain brake lever until it<br />
snaps into “active” position. When the chain brake operates<br />
the saw chain blocks.<br />
The resume cutting operations, release the ON/OFF switch<br />
and pull the chain brake lever in “open” position.<br />
ON/OFF switch<br />
See figure 4 in order to understand how to use the switch<br />
(figure 2 E).<br />
Your switch is equipped with a safety lock device. With this<br />
device you can switch on the motor only if you follow first<br />
step I and than step II, as shown in figure 4. This prevents<br />
the chainsaw from starting accidentally.<br />
Caution: after switching off, the machine will<br />
not be idle immediately.<br />
Checks and precautions to avoid<br />
structural damages and damages to<br />
objects<br />
Before starting any cutting activity, talk with the construction<br />
manager or the planner in order to make sure that the cut<br />
doesn’t:<br />
� make any damage to the structure of the building<br />
and doesn’t change the structural characteristics of<br />
the construction;<br />
� damage any water or gas pipeline or any electrical<br />
circuits.<br />
Chain choice<br />
Your CARDI electric chainsaw is designed to cut perforated<br />
masonry (perforated bricks), Poroton, tuff, Gasbeton, Ytong,<br />
Alveolater, Siporex, expanded clay blocks, solid bricks etc.<br />
using proper chains.<br />
Warning: Do NOT use wood saw chains or<br />
other kind of chains not proper for your<br />
electric chainsaw. Failure to follow this<br />
warning may result in serious personal<br />
injury.<br />
Ask your dealer about the best chain for your application.<br />
The chain must have the features listed on the Data sheet<br />
supplied with your electric chain saw.<br />
Use of chains with inappropriate features can result in<br />
kickbacks, vibrations and loss of control causing serious<br />
injury.<br />
Check the chains before use. Do not use damaged chains.<br />
Chain and guide bar mounting and<br />
replacement<br />
Before mount or replace the guide bar (A) or the chain<br />
(B), unplug the plug from the socket. Use proper<br />
safety gloves in order to avoid injuries touching the<br />
chain. Put the electric chainsaw on a clear and stable<br />
surface.<br />
To work properly the chain must be lubricated by chain oil. If<br />
you are using for the first time a new chain, soak for one<br />
hour in chain oil prior to mounting it.<br />
It better to use always the same chain oil type to avoid<br />
different oils mixes that can undermine the lubricant<br />
efficiency and reduce the chain working life.<br />
Never use waste oil, heavy oil or excessive fluid oil.<br />
For chain mounting and replacement refer to figure 7.<br />
Operate as follow:<br />
� loosen and remove the carter-tightening nuts (7/A)<br />
using the key provided;<br />
� remove the carter (7/B);<br />
� remove the upper steel plate (7/C);<br />
� fit the chain around the guide bar being careful to<br />
rotation sense of the teeth (fig.8) and keeping it taut<br />
so that it adheres to the bar in order to have the<br />
chain savings in the back of the guide bar (7/ D);<br />
� fit the bar around the drive sprocket and fit the bar<br />
with the pins. Be sure that the chain tightener pin is<br />
fitted in the tightening hole (7/E);<br />
� hold the guide bar and fit the carter (7/F);