

Karcher WD 3 P - manuals
Karcher WD 3 P - manuals
Karcher WD 3 P - manuals

You also want an ePaper? Increase the reach of your titles
YUMPU automatically turns print PDFs into web optimized ePapers that Google loves.
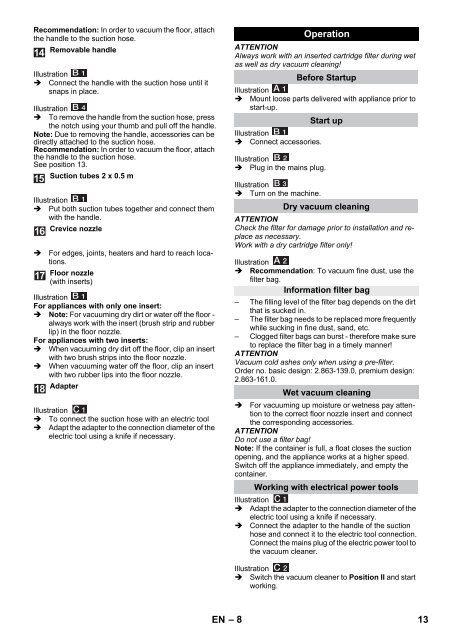
Recommendation: In order to vacuum the floor, attach<br />
the handle to the suction hose.<br />
Illustration<br />
Connect the handle with the suction hose until it<br />
snaps in place.<br />
Illustration<br />
<br />
To remove the handle from the suction hose, press<br />
the notch using your thumb and pull off the handle.<br />
Note: Due to removing the handle, accessories can be<br />
directly attached to the suction hose.<br />
Recommendation: In order to vacuum the floor, attach<br />
the handle to the suction hose.<br />
See position 13.<br />
Illustration<br />
Put both suction tubes together and connect them<br />
with the handle.<br />
<br />
Removable handle<br />
Suction tubes 2 x 0.5 m<br />
Crevice nozzle<br />
For edges, joints, heaters and hard to reach locations.<br />
Floor nozzle<br />
(with inserts)<br />
Illustration<br />
For appliances with only one insert:<br />
Note: For vacuuming dry dirt or water off the floor -<br />
always work with the insert (brush strip and rubber<br />
lip) in the floor nozzle.<br />
For appliances with two inserts:<br />
When vacuuming dry dirt off the floor, clip an insert<br />
with two brush strips into the floor nozzle.<br />
When vacuuming water off the floor, clip an insert<br />
with two rubber lips into the floor nozzle.<br />
Adapter<br />
Illustration<br />
To connect the suction hose with an electric tool<br />
Adapt the adapter to the connection diameter of the<br />
electric tool using a knife if necessary.<br />
ATTENTION<br />
Always work with an inserted cartridge filter during wet<br />
as well as dry vacuum cleaning!<br />
Illustration<br />
Mount loose parts delivered with appliance prior to<br />
start-up.<br />
Illustration<br />
Connect accessories.<br />
Illustration<br />
Plug in the mains plug.<br />
Illustration<br />
Turn on the machine.<br />
Operation<br />
Before Startup<br />
Start up<br />
Dry vacuum cleaning<br />
ATTENTION<br />
Check the filter for damage prior to installation and replace<br />
as necessary.<br />
Work with a dry cartridge filter only!<br />
Illustration<br />
Recommendation: To vacuum fine dust, use the<br />
filter bag.<br />
Information filter bag<br />
– The filling level of the filter bag depends on the dirt<br />
that is sucked in.<br />
– The filter bag needs to be replaced more frequently<br />
while sucking in fine dust, sand, etc.<br />
– Clogged filter bags can burst - therefore make sure<br />
to replace the filter bag in a timely manner!<br />
ATTENTION<br />
Vacuum cold ashes only when using a pre-filter.<br />
Order no. basic design: 2.863-139.0, premium design:<br />
2.863-161.0.<br />
Wet vacuum cleaning<br />
For vacuuming up moisture or wetness pay attention<br />
to the correct floor nozzle insert and connect<br />
the corresponding accessories.<br />
ATTENTION<br />
Do not use a filter bag!<br />
Note: If the container is full, a float closes the suction<br />
opening, and the appliance works at a higher speed.<br />
Switch off the appliance immediately, and empty the<br />
container.<br />
Working with electrical power tools<br />
Illustration<br />
Adapt the adapter to the connection diameter of the<br />
electric tool using a knife if necessary.<br />
Connect the adapter to the handle of the suction<br />
hose and connect it to the electric tool connection.<br />
Connect the mains plug of the electric power tool to<br />
the vacuum cleaner.<br />
Illustration<br />
Switch the vacuum cleaner to Position II and start<br />
working.<br />
EN – 8<br />
13


