LAMPO AI - Electric Gate Automation
LAMPO AI - Electric Gate Automation
LAMPO AI - Electric Gate Automation
Create successful ePaper yourself
Turn your PDF publications into a flip-book with our unique Google optimized e-Paper software.
D811460_04<br />
ITALIANO<br />
1) GENERALITA’<br />
Lampeggiante di sicurezza visiva atto a segnalare il movimento di un cancello o porta automatizzata.<br />
Il lampeggiante deve essere utilizzato solamente con le centrali di comando del costruttore.<br />
2) MANUTENZIONE<br />
PERICOLO! Togliere l’alimentazione dell’automazione per qualsiasi intervento di manutenzione o riparazione.<br />
ATTENZIONE! La manutenzione dell’impianto va fatta eseguire regolarmente da parte di personale qualificato.<br />
La presenza di masse metalliche a ridosso dell’antenna, può disturbare la ricezione radio.<br />
3) SOSTITUZIONE DELLA LAMPADINA<br />
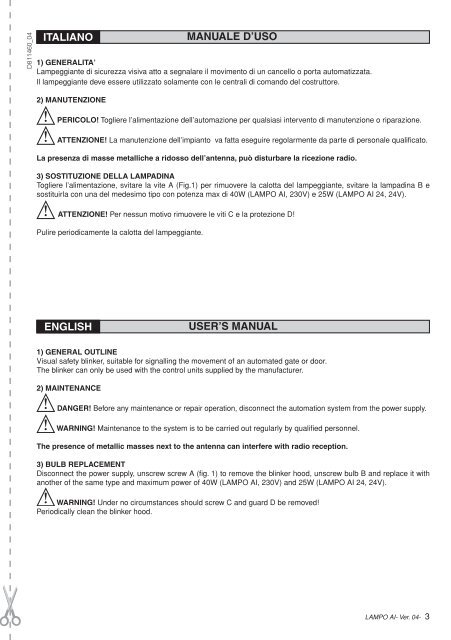
Togliere l’alimentazione, svitare la vite A (Fig.1) per rimuovere la calotta del lampeggiante, svitare la lampadina B e<br />
sostituirla con una del medesimo tipo con potenza max di 40W (<strong>LAMPO</strong> <strong>AI</strong>, 230V) e 25W (<strong>LAMPO</strong> <strong>AI</strong> 24, 24V).<br />
ATTENZIONE! Per nessun motivo rimuovere le viti C e la protezione D!<br />
Pulire periodicamente la calotta del lampeggiante.<br />
ENGLISH<br />
MANUALE D’USO<br />
1) GENERAL OUTLINE<br />
Visual safety blinker, suitable for signalling the movement of an automated gate or door.<br />
The blinker can only be used with the control units supplied by the manufacturer.<br />
2) M<strong>AI</strong>NTENANCE<br />
USER’S MANUAL<br />
DANGER! Before any maintenance or repair operation, disconnect the automation system from the power supply.<br />
WARNING! Maintenance to the system is to be carried out regularly by qualified personnel.<br />
The presence of metallic masses next to the antenna can interfere with radio reception.<br />
3) BULB REPLACEMENT<br />
Disconnect the power supply, unscrew screw A (fig. 1) to remove the blinker hood, unscrew bulb B and replace it with<br />
another of the same type and maximum power of 40W (<strong>LAMPO</strong> <strong>AI</strong>, 230V) and 25W (<strong>LAMPO</strong> <strong>AI</strong> 24, 24V).<br />
WARNING! Under no circumstances should screw C and guard D be removed!<br />
Periodically clean the blinker hood.<br />
<strong>LAMPO</strong> <strong>AI</strong>- Ver. 04- 3


