LAMPO AI - Electric Gate Automation
LAMPO AI - Electric Gate Automation
LAMPO AI - Electric Gate Automation

You also want an ePaper? Increase the reach of your titles
YUMPU automatically turns print PDFs into web optimized ePapers that Google loves.
6 - <strong>LAMPO</strong> <strong>AI</strong>- Ver. 04<br />
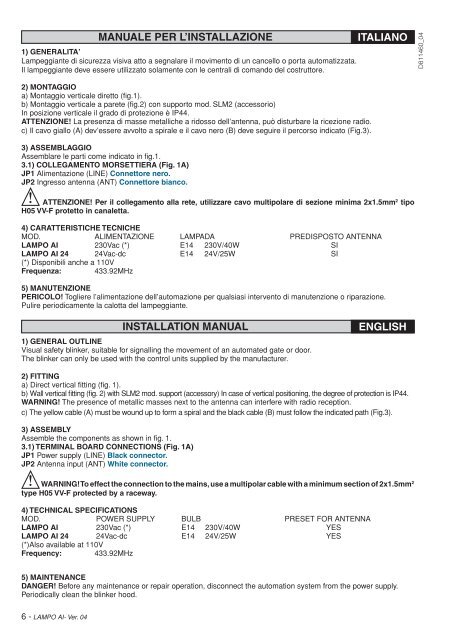
MANUALE PER L’INSTALLAZIONE ITALIANO<br />
1) GENERALITA’<br />
Lampeggiante di sicurezza visiva atto a segnalare il movimento di un cancello o porta automatizzata.<br />
Il lampeggiante deve essere utilizzato solamente con le centrali di comando del costruttore.<br />
2) MONTAGGIO<br />
a) Montaggio verticale diretto (fig.1).<br />
b) Montaggio verticale a parete (fig.2) con supporto mod. SLM2 (accessorio)<br />
In posizione verticale il grado di protezione è IP44.<br />
ATTENZIONE! La presenza di masse metalliche a ridosso dell’antenna, può disturbare la ricezione radio.<br />
c) Il cavo giallo (A) dev’essere avvolto a spirale e il cavo nero (B) deve seguire il percorso indicato (Fig.3).<br />
3) ASSEMBLAGGIO<br />
Assemblare le parti come indicato in fig.1.<br />
3.1) COLLEGAMENTO MORSETTIERA (Fig. 1A)<br />
JP1 Alimentazione (LINE) Connettore nero.<br />
JP2 Ingresso antenna (ANT) Connettore bianco.<br />
ATTENZIONE! Per il collegamento alla rete, utilizzare cavo multipolare di sezione minima 2x1.5mm 2 tipo<br />
H05 VV-F protetto in canaletta.<br />
4) CARATTERISTICHE TECNICHE<br />
MOD. ALIMENTAZIONE LAMPADA PREDISPOSTO ANTENNA<br />
<strong>LAMPO</strong> <strong>AI</strong> 230Vac (*) E14 230V/40W SI<br />
<strong>LAMPO</strong> <strong>AI</strong> 24 24Vac-dc E14 24V/25W SI<br />
(*) Disponibili anche a 110V<br />
Frequenza: 433.92MHz<br />
5) MANUTENZIONE<br />
PERICOLO! Togliere l’alimentazione dell’automazione per qualsiasi intervento di manutenzione o riparazione.<br />
Pulire periodicamente la calotta del lampeggiante.<br />
INSTALLATION MANUAL ENGLISH<br />
1) GENERAL OUTLINE<br />
Visual safety blinker, suitable for signalling the movement of an automated gate or door.<br />
The blinker can only be used with the control units supplied by the manufacturer.<br />
2) FITTING<br />
a) Direct vertical fitting (fig. 1).<br />
b) Wall vertical fitting (fig. 2) with SLM2 mod. support (accessory) In case of vertical positioning, the degree of protection is IP44.<br />
WARNING! The presence of metallic masses next to the antenna can interfere with radio reception.<br />
c) The yellow cable (A) must be wound up to form a spiral and the black cable (B) must follow the indicated path (Fig.3).<br />
3) ASSEMBLY<br />
Assemble the components as shown in fig. 1.<br />
3.1) TERMINAL BOARD CONNECTIONS (Fig. 1A)<br />
JP1 Power supply (LINE) Black connector.<br />
JP2 Antenna input (ANT) White connector.<br />
WARNING! To effect the connection to the mains, use a multipolar cable with a minimum section of 2x1.5mm2<br />
type H05 VV-F protected by a raceway.<br />
4) TECHNICAL SPECIFICATIONS<br />
MOD. POWER SUPPLY BULB PRESET FOR ANTENNA<br />
<strong>LAMPO</strong> <strong>AI</strong> 230Vac (*) E14 230V/40W YES<br />
<strong>LAMPO</strong> <strong>AI</strong> 24 24Vac-dc E14 24V/25W YES<br />
(*)Also available at 110V<br />
Frequency: 433.92MHz<br />
5) M<strong>AI</strong>NTENANCE<br />
DANGER! Before any maintenance or repair operation, disconnect the automation system from the power supply.<br />
Periodically clean the blinker hood.<br />
D811460_04