Untitled - Anima Guzzista
Untitled - Anima Guzzista
Untitled - Anima Guzzista
Create successful ePaper yourself
Turn your PDF publications into a flip-book with our unique Google optimized e-Paper software.
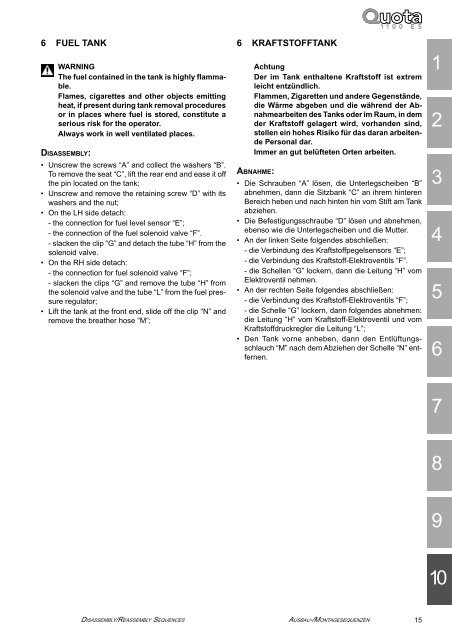
6 FUEL TANK<br />
WARNING<br />
The fuel contained in the tank is highly flammable.<br />
Flames, cigarettes and other objects emitting<br />
heat, if present during tank removal procedures<br />
or in places where fuel is stored, constitute a<br />
serious risk for the operator.<br />
Always work in well ventilated places.<br />
DISASSEMBLY:<br />
• Unscrew the screws “A” and collect the washers “B”.<br />
To remove the seat “C”, lift the rear end and ease it off<br />
the pin located on the tank;<br />
• Unscrew and remove the retaining screw “D” with its<br />
washers and the nut;<br />
• On the LH side detach:<br />
- the connection for fuel level sensor “E”;<br />
- the connection of the fuel solenoid valve “F”.<br />
- slacken the clip “G” and detach the tube “H” from the<br />
solenoid valve.<br />
• On the RH side detach:<br />
- the connection for fuel solenoid valve “F”;<br />
- slacken the clips “G” and remove the tube “H” from<br />
the solenoid valve and the tube “L” from the fuel pressure<br />
regulator;<br />
• Lift the tank at the front end, slide off the clip “N” and<br />
remove the breather hose “M”;<br />
6 KRAFTSTOFFTANK<br />
Achtung<br />
Der im Tank enthaltene Kraftstoff ist extrem<br />
leicht entzündlich.<br />
Flammen, Zigaretten und andere Gegenstände,<br />
die Wärme abgeben und die während der Abnahmearbeiten<br />
des Tanks oder im Raum, in dem<br />
der Kraftstoff gelagert wird, vorhanden sind,<br />
stellen ein hohes Risiko für das daran arbeitende<br />
Personal dar.<br />
Immer an gut belüfteten Orten arbeiten.<br />
ABNAHME:<br />
• Die Schrauben “A” lösen, die Unterlegscheiben “B”<br />
abnehmen, dann die Sitzbank “C” an ihrem hinteren<br />
Bereich heben und nach hinten hin vom Stift am Tank<br />
abziehen.<br />
• Die Befestigungsschraube “D” lösen und abnehmen,<br />
ebenso wie die Unterlegscheiben und die Mutter.<br />
• An der linken Seite folgendes abschließen:<br />
- die Verbindung des Kraftstoffpegelsensors “E”;<br />
- die Verbindung des Kraftstoff-Elektroventils “F”.<br />
- die Schellen “G” lockern, dann die Leitung “H” vom<br />
Elektroventil nehmen.<br />
• An der rechten Seite folgendes abschließen:<br />
- die Verbindung des Kraftstoff-Elektroventils “F”;<br />
- die Schelle “G” lockern, dann folgendes abnehmen:<br />
die Leitung “H” vom Kraftstoff-Elektroventil und vom<br />
Kraftstoffdruckregler die Leitung “L”;<br />
• Den Tank vorne anheben, dann den Entlüftungsschlauch<br />
“M” nach dem Abziehen der Schelle “N” entfernen.<br />
DISASSEMBLY/REASSEMBLY SEQUENCES AUSBAU-/MONTAGESEQUENZEN<br />
15<br />
1<br />
2<br />
3<br />
4<br />
5<br />
6<br />
7<br />
8<br />
9<br />
10


