Braun Clean & Charge, Flex XP, Contour, 5722, 5735-Clean & Charge (Flex XP, Contour) - 5790, Flex XP II System UK, FR, ES (USA, CDN, MEX)
Braun Clean & Charge, Flex XP, Contour, 5722, 5735-Clean & Charge (Flex XP, Contour) - 5790, Flex XP II System UK, FR, ES (USA, CDN, MEX)
Braun Clean & Charge, Flex XP, Contour, 5722, 5735-Clean & Charge (Flex XP, Contour) - 5790, Flex XP II System UK, FR, ES (USA, CDN, MEX)
Create successful ePaper yourself
Turn your PDF publications into a flip-book with our unique Google optimized e-Paper software.
A The Shaver<br />
Description<br />
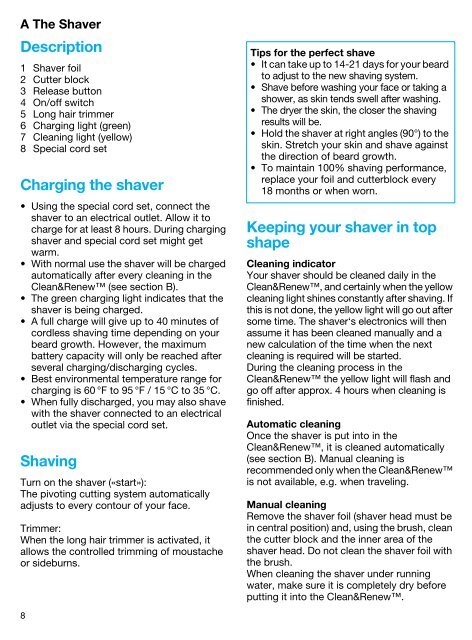
1 Shaver foil<br />
2 Cutter block<br />
3 Release button<br />
4 On/off switch<br />
5 Long hair trimmer<br />
6 Charging light (green)<br />
7 <strong>Clean</strong>ing light (yellow)<br />
8 Special cord set<br />
Charging the shaver<br />
• Using the special cord set, connect the<br />
shaver to an electrical outlet. Allow it to<br />
charge for at least 8 hours. During charging<br />
shaver and special cord set might get<br />
warm.<br />
• With normal use the shaver will be charged<br />
automatically after every cleaning in the<br />
<strong>Clean</strong>&Renew (see section B).<br />
• The green charging light indicates that the<br />
shaver is being charged.<br />
• A full charge will give up to 40 minutes of<br />
cordless shaving time depending on your<br />
beard growth. However, the maximum<br />
battery capacity will only be reached after<br />
several charging/discharging cycles.<br />
• Best environmental temperature range for<br />
charging is 60 °F to 95 °F / 15 °C to 35 °C.<br />
• When fully discharged, you may also shave<br />
with the shaver connected to an electrical<br />
outlet via the special cord set.<br />
Shaving<br />
Turn on the shaver («start»):<br />
The pivoting cutting system automatically<br />
adjusts to every contour of your face.<br />
Trimmer:<br />
When the long hair trimmer is activated, it<br />
allows the controlled trimming of moustache<br />
or sideburns.<br />
8<br />
Tips for the perfect shave<br />
• It can take up to 14-21 days for your beard<br />
to adjust to the new shaving system.<br />
• Shave before washing your face or taking a<br />
shower, as skin tends swell after washing.<br />
• The dryer the skin, the closer the shaving<br />
results will be.<br />
• Hold the shaver at right angles (90°) to the<br />
skin. Stretch your skin and shave against<br />
the direction of beard growth.<br />
• To maintain 100% shaving performance,<br />
replace your foil and cutterblock every<br />
18 months or when worn.<br />
Keeping your shaver in top<br />
shape<br />
<strong>Clean</strong>ing indicator<br />
Your shaver should be cleaned daily in the<br />
<strong>Clean</strong>&Renew, and certainly when the yellow<br />
cleaning light shines constantly after shaving. If<br />
this is not done, the yellow light will go out after<br />
some time. The shaver‘s electronics will then<br />
assume it has been cleaned manually and a<br />
new calculation of the time when the next<br />
cleaning is required will be started.<br />
During the cleaning process in the<br />
<strong>Clean</strong>&Renew the yellow light will flash and<br />
go off after approx. 4 hours when cleaning is<br />
finished.<br />
Automatic cleaning<br />
Once the shaver is put into in the<br />
<strong>Clean</strong>&Renew, it is cleaned automatically<br />
(see section B). Manual cleaning is<br />
recommended only when the <strong>Clean</strong>&Renew<br />
is not available, e.g. when traveling.<br />
Manual cleaning<br />
Remove the shaver foil (shaver head must be<br />
in central position) and, using the brush, clean<br />
the cutter block and the inner area of the<br />
shaver head. Do not clean the shaver foil with<br />
the brush.<br />
When cleaning the shaver under running<br />
water, make sure it is completely dry before<br />
putting it into the <strong>Clean</strong>&Renew.


