

BlackandDecker Smerigliatrice- Ka273 - Type 4 - Instruction Manual (Australia Nuova Zelanda)
BlackandDecker Smerigliatrice- Ka273 - Type 4 - Instruction Manual (Australia Nuova Zelanda)
BlackandDecker Smerigliatrice- Ka273 - Type 4 - Instruction Manual (Australia Nuova Zelanda)

You also want an ePaper? Increase the reach of your titles
YUMPU automatically turns print PDFs into web optimized ePapers that Google loves.
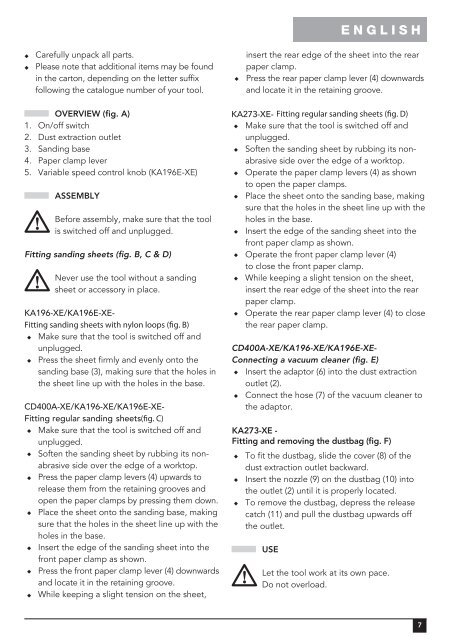
E N G L I S H<br />
Carefully unpack all parts.<br />
Please note that additional items may be found<br />
in the carton, depending on the letter suffix<br />
following the catalogue number of your tool.<br />
OVERVIEW (fig. A)<br />
1. On/off switch<br />
2. Dust extraction outlet<br />
3. Sanding base<br />
4. Paper clamp lever<br />
5. Variable speed control knob (KA196E-XE)<br />
ASSEMBLY<br />
Before assembly, make sure that the tool<br />
is switched off and unplugged.<br />
Fitting sanding sheets (fig. B, C & D)<br />
Never use the tool without a sanding<br />
sheet or accessory in place.<br />
Make sure that the tool is switched off and<br />
unplugged.<br />
Press the sheet firmly and evenly onto the<br />
sanding base (3), making sure that the holes in<br />
the sheet line up with the holes in the base.<br />
KA273-XE-<br />
Make sure that the tool is switched off and<br />
unplugged.<br />
Soften the sanding sheet by rubbing its nonabrasive<br />
side over the edge of a worktop.<br />
Operate the paper clamp levers (4) as shown<br />
to open the paper clamps.<br />
Place the sheet onto the sanding base, making<br />
sure that the holes in the sheet line up with the<br />
holes in the base.<br />
Insert the edge of the sanding sheet into the<br />
front paper clamp as shown.<br />
Operate the front paper clamp lever (4)<br />
to close the front paper clamp.<br />
While keeping a slight tension on the sheet,<br />
insert the rear edge of the sheet into the rear<br />
paper clamp.<br />
Operate the rear paper clamp lever (4) to close<br />
the rear paper clamp.<br />
CD400A-XE/KA196-XE/KA196E-XE-<br />
Fitting regular sanding sheets<br />
Make sure that the tool is switched off and<br />
unplugged.<br />
Soften the sanding sheet by rubbing its nonabrasive<br />
side over the edge of a worktop.<br />
Press the paper clamp levers (4) upwards to<br />
release them from the retaining grooves and<br />
open the paper clamps by pressing them down.<br />
Place the sheet onto the sanding base, making<br />
sure that the holes in the sheet line up with the<br />
holes in the base.<br />
Insert the edge of the sanding sheet into the<br />
front paper clamp as shown.<br />
Press the front paper clamp lever (4) downwards<br />
and locate it in the retaining groove.<br />
While keeping a slight tension on the sheet,<br />
insert the rear edge of the sheet into the rear<br />
paper clamp.<br />
Press the rear paper clamp lever (4) downwards<br />
and locate it in the retaining groove.<br />
KA196-XE/KA196E-XE-<br />
CD400A-XE/KA196-XE/KA196E-XE-<br />
Connecting a vacuum cleaner (fig. E)<br />
Insert the adaptor (6) into the dust extraction<br />
outlet (2).<br />
Connect the hose (7) of the vacuum cleaner to<br />
the adaptor.<br />
KA273-XE -<br />
Fitting and removing the dustbag (fig. F)<br />
To fit the dustbag, slide the cover (8) of the<br />
dust extraction outlet backward.<br />
Insert the nozzle (9) on the dustbag (10) into<br />
the outlet (2) until it is properly located.<br />
To remove the dustbag, depress the release<br />
catch (11) and pull the dustbag upwards off<br />
the outlet.<br />
USE<br />
Let the tool work at its own pace.<br />
Do not overload.<br />
7


