BlackandDecker Smerigliatrice- Ka273 - Type 4 - Instruction Manual (Australia Nuova Zelanda)
BlackandDecker Smerigliatrice- Ka273 - Type 4 - Instruction Manual (Australia Nuova Zelanda)
BlackandDecker Smerigliatrice- Ka273 - Type 4 - Instruction Manual (Australia Nuova Zelanda)
You also want an ePaper? Increase the reach of your titles
YUMPU automatically turns print PDFs into web optimized ePapers that Google loves.
E N G L I S H<br />
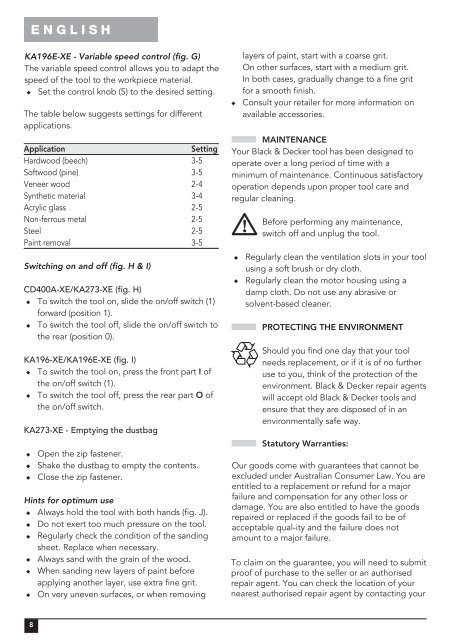
KA196E-XE - Variable speed control (fig. G)<br />
The variable speed control allows you to adapt the<br />
speed of the tool to the workpiece material.<br />
Set the control knob (5) to the desired setting.<br />
The table below suggests settings for different<br />
applications.<br />
Application<br />
Hardwood (beech)<br />
Softwood (pine)<br />
Veneer wood<br />
Synthetic material<br />
Acrylic glass<br />
Non-ferrous metal<br />
Steel<br />
Paint removal<br />
Switching on and off (fig. H & I)<br />
Setting<br />
3-5<br />
3-5<br />
2-4<br />
3-4<br />
2-5<br />
2-5<br />
2-5<br />
3-5<br />
CD400A-XE/KA273-XE (fig. H)<br />
To switch the tool on, slide the on/off switch (1)<br />
forward (position 1).<br />
To switch the tool off, slide the on/off switch to<br />
the rear (position 0).<br />
KA196-XE/KA196E-XE (fig. I)<br />
To switch the tool on, press the front part I of<br />
the on/off switch (1).<br />
To switch the tool off, press the rear part O of<br />
the on/off switch.<br />
KA273-XE - Emptying the dustbag<br />
Open the zip fastener.<br />
Shake the dustbag to empty the contents.<br />
Close the zip fastener.<br />
Hints for optimum use<br />
Always hold the tool with both hands (fig. J).<br />
Do not exert too much pressure on the tool.<br />
Regularly check the condition of the sanding<br />
sheet. Replace when necessary.<br />
Always sand with the grain of the wood.<br />
When sanding new layers of paint before<br />
applying another layer, use extra fine grit.<br />
On very uneven surfaces, or when removing<br />
layers of paint, start with a coarse grit.<br />
On other surfaces, start with a medium grit.<br />
In both cases, gradually change to a fine grit<br />
for a smooth finish.<br />
Consult your retailer for more information on<br />
available accessories.<br />
MAINTENANCE<br />
Your Black & Decker tool has been designed to<br />
operate over a long period of time with a<br />
minimum of maintenance. Continuous satisfactory<br />
operation depends upon proper tool care and<br />
regular cleaning.<br />
Before performing any maintenance,<br />
switch off and unplug the tool.<br />
Regularly clean the ventilation slots in your tool<br />
using a soft brush or dry cloth.<br />
Regularly clean the motor housing using a<br />
damp cloth. Do not use any abrasive or<br />
solvent-based cleaner.<br />
PROTECTING THE ENVIRONMENT<br />
Should you find one day that your tool<br />
needs replacement, or if it is of no further<br />
use to you, think of the protection of the<br />
environment. Black & Decker repair agents<br />
will accept old Black & Decker tools and<br />
ensure that they are disposed of in an<br />
environmentally safe way.<br />
Statutory Warranties:<br />
Our goods come with guarantees that cannot be<br />
excluded under <strong>Australia</strong>n Consumer Law. You are<br />
entitled to a replacement or refund for a major<br />
failure and compensation for any other loss or<br />
damage. You are also entitled to have the goods<br />
repaired or replaced if the goods fail to be of<br />
acceptable qual-ity and the failure does not<br />
amount to a major failure.<br />
To claim on the guarantee, you will need to submit<br />
proof of purchase to the seller or an authorised<br />
repair agent. You can check the location of your<br />
nearest authorised repair agent by contacting your<br />
8


