MHB158 MHB158E - Service
MHB158 MHB158E - Service
MHB158 MHB158E - Service

You also want an ePaper? Increase the reach of your titles
YUMPU automatically turns print PDFs into web optimized ePapers that Google loves.
ENGLISH<br />
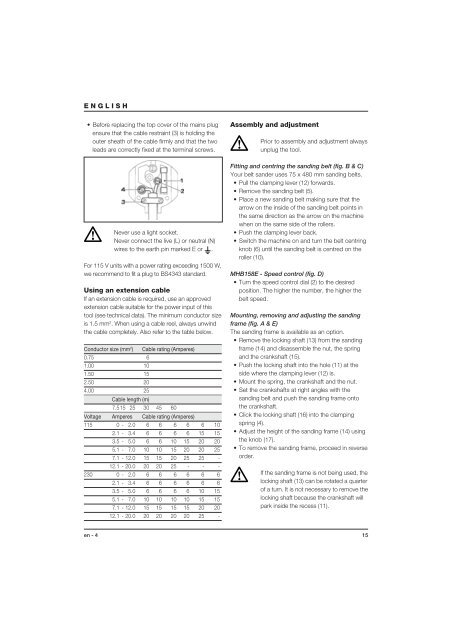
• Before replacing the top cover of the mains plug<br />
ensure that the cable restraint (3) is holding the<br />
outer sheath of the cable firmly and that the two<br />
leads are correctly fixed at the terminal screws.<br />
Never use a light socket.<br />
Never connect the live (L) or neutral (N)<br />
wires to the earth pin marked E or .<br />
For 115 V units with a power rating exceeding 1500 W,<br />
we recommend to fit a plug to BS4343 standard.<br />
Using an extension cable<br />
If an extension cable is required, use an approved<br />
extension cable suitable for the power input of this<br />
tool (see technical data). The minimum conductor size<br />
is 1.5 mm 2 . When using a cable reel, always unwind<br />
the cable completely. Also refer to the table below.<br />
Conductor size (mm2 ) Cable rating (Amperes)<br />
0.75 6<br />
1.00 10<br />
1.50 15<br />
2.50 20<br />
4.00 25<br />
Cable length (m)<br />
7.515 25 30 45 60<br />
Voltage Amperes Cable rating (Amperes)<br />
115 0 - 2.0 6 6 6 6 6 10<br />
2.1 - 3.4 6 6 6 6 15 15<br />
3.5 - 5.0 6 6 10 15 20 20<br />
5.1 - 7.0 10 10 15 20 20 25<br />
7.1 - 12.0 15 15 20 25 25 -<br />
12.1 - 20.0 20 20 25 - - -<br />
230 0 - 2.0 6 6 6 6 6 6<br />
2.1 - 3.4 6 6 6 6 6 6<br />
3.5 - 5.0 6 6 6 6 10 15<br />
5.1 - 7.0 10 10 10 10 15 15<br />
7.1 - 12.0 15 15 15 15 20 20<br />
12.1 - 20.0 20 20 20 20 25 -<br />
Assembly and adjustment<br />
Prior to assembly and adjustment always<br />
unplug the tool.<br />
Fitting and centring the sanding belt (fig. B & C)<br />
Your belt sander uses 75 x 480 mm sanding belts.<br />
• Pull the clamping lever (12) forwards.<br />
• Remove the sanding belt (5).<br />
• Place a new sanding belt making sure that the<br />
arrow on the inside of the sanding belt points in<br />
the same direction as the arrow on the machine<br />
when on the same side of the rollers.<br />
• Push the clamping lever back.<br />
• Switch the machine on and turn the belt centring<br />
knob (6) until the sanding belt is centred on the<br />
roller (10).<br />
<strong>MHB158</strong>E - Speed control (fig. D)<br />
• Turn the speed control dial (2) to the desired<br />
position. The higher the number, the higher the<br />
belt speed.<br />
Mounting, removing and adjusting the sanding<br />
frame (fig. A & E)<br />
The sanding frame is available as an option.<br />
• Remove the locking shaft (13) from the sanding<br />
frame (14) and disassemble the nut, the spring<br />
and the crankshaft (15).<br />
• Push the locking shaft into the hole (11) at the<br />
side where the clamping lever (12) is.<br />
• Mount the spring, the crankshaft and the nut.<br />
• Set the crankshafts at right angles with the<br />
sanding belt and push the sanding frame onto<br />
the crankshaft.<br />
• Click the locking shaft (16) into the clamping<br />
spring (4).<br />
• Adjust the height of the sanding frame (14) using<br />
the knob (17).<br />
• To remove the sanding frame, proceed in reverse<br />
order.<br />
If the sanding frame is not being used, the<br />
locking shaft (13) can be rotated a quarter<br />
of a turn. It is not necessary to remove the<br />
locking shaft because the crankshaft will<br />
park inside the recess (11).<br />
en - 4 15