Demon God's Fane.pdf - ZVDK
Demon God's Fane.pdf - ZVDK
Demon God's Fane.pdf - ZVDK

You also want an ePaper? Increase the reach of your titles
YUMPU automatically turns print PDFs into web optimized ePapers that Google loves.
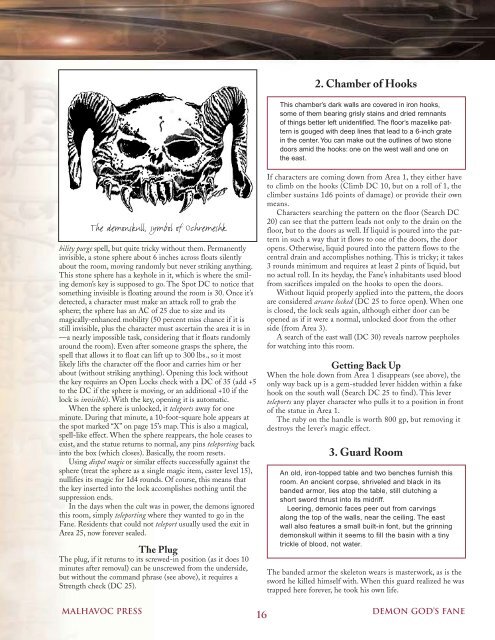
The demonskull, symbol of Ochremeshk<br />
bility purge spell, but quite tricky without them. Permanently<br />
invisible, a stone sphere about 6 inches across floats silently<br />
about the room, moving randomly but never striking anything.<br />
This stone sphere has a keyhole in it, which is where the smiling<br />
demon’s key is supposed to go. The Spot DC to notice that<br />
something invisible is floating around the room is 30. Once it’s<br />
detected, a character must make an attack roll to grab the<br />
sphere; the sphere has an AC of 25 due to size and its<br />
magically-enhanced mobility (50 percent miss chance if it is<br />
still invisible, plus the character must ascertain the area it is in<br />
—a nearly impossible task, considering that it floats randomly<br />
around the room). Even after someone grasps the sphere, the<br />
spell that allows it to float can lift up to 300 lbs., so it most<br />
likely lifts the character off the floor and carries him or her<br />
about (without striking anything). Opening this lock without<br />
the key requires an Open Locks check with a DC of 35 (add +5<br />
to the DC if the sphere is moving, or an additional +10 if the<br />
lock is invisible). With the key, opening it is automatic.<br />
When the sphere is unlocked, it teleports away for one<br />
minute. During that minute, a 10-foot-square hole appears at<br />
the spot marked “X” on page 15’s map. This is also a magical,<br />
spell-like effect. When the sphere reappears, the hole ceases to<br />
exist, and the statue returns to normal, any pins teleporting back<br />
into the box (which closes). Basically, the room resets.<br />
Using dispel magic or similar effects successfully against the<br />
sphere (treat the sphere as a single magic item, caster level 15),<br />
nullifies its magic for 1d4 rounds. Of course, this means that<br />
the key inserted into the lock accomplishes nothing until the<br />
suppression ends.<br />
In the days when the cult was in power, the demons ignored<br />
this room, simply teleporting where they wanted to go in the<br />
<strong>Fane</strong>. Residents that could not teleport usually used the exit in<br />
Area 25, now forever sealed.<br />
The Plug<br />
The plug, if it returns to its screwed-in position (as it does 10<br />
minutes after removal) can be unscrewed from the underside,<br />
but without the command phrase (see above), it requires a<br />
Strength check (DC 25).<br />
2. Chamber of Hooks<br />
This chamber’s dark walls are covered in iron hooks,<br />
some of them bearing grisly stains and dried remnants<br />
of things better left unidentified. The floor’s mazelike pattern<br />
is gouged with deep lines that lead to a 6-inch grate<br />
in the center. You can make out the outlines of two stone<br />
doors amid the hooks: one on the west wall and one on<br />
the east.<br />
If characters are coming down from Area 1, they either have<br />
to climb on the hooks (Climb DC 10, but on a roll of 1, the<br />
climber sustains 1d6 points of damage) or provide their own<br />
means.<br />
Characters searching the pattern on the floor (Search DC<br />
20) can see that the pattern leads not only to the drain on the<br />
floor, but to the doors as well. If liquid is poured into the pattern<br />
in such a way that it flows to one of the doors, the door<br />
opens. Otherwise, liquid poured into the pattern flows to the<br />
central drain and accomplishes nothing. This is tricky; it takes<br />
3 rounds minimum and requires at least 2 pints of liquid, but<br />
no actual roll. In its heyday, the <strong>Fane</strong>’s inhabitants used blood<br />
from sacrifices impaled on the hooks to open the doors.<br />
Without liquid properly applied into the pattern, the doors<br />
are considered arcane locked (DC 25 to force open).When one<br />
is closed, the lock seals again, although either door can be<br />
opened as if it were a normal, unlocked door from the other<br />
side (from Area 3).<br />
A search of the east wall (DC 30) reveals narrow peepholes<br />
for watching into this room.<br />
Getting Back Up<br />
When the hole down from Area 1 disappears (see above), the<br />
only way back up is a gem-studded lever hidden within a fake<br />
hook on the south wall (Search DC 25 to find). This lever<br />
teleports any player character who pulls it to a position in front<br />
of the statue in Area 1.<br />
The ruby on the handle is worth 800 gp, but removing it<br />
destroys the lever’s magic effect.<br />
3. Guard Room<br />
An old, iron-topped table and two benches furnish this<br />
room. An ancient corpse, shriveled and black in its<br />
banded armor, lies atop the table, still clutching a<br />
short sword thrust into its midriff.<br />
Leering, demonic faces peer out from carvings<br />
along the top of the walls, near the ceiling. The east<br />
wall also features a small built-in font, but the grinning<br />
demonskull within it seems to fill the basin with a tiny<br />
trickle of blood, not water.<br />
The banded armor the skeleton wears is masterwork, as is the<br />
sword he killed himself with. When this guard realized he was<br />
trapped here forever, he took his own life.<br />
MAlhavoc Press <strong>Demon</strong> God’s <strong>Fane</strong><br />
16