Germination of Rose Seed - Aggie Horticulture - Texas A&M University
Germination of Rose Seed - Aggie Horticulture - Texas A&M University
Germination of Rose Seed - Aggie Horticulture - Texas A&M University

Create successful ePaper yourself
Turn your PDF publications into a flip-book with our unique Google optimized e-Paper software.
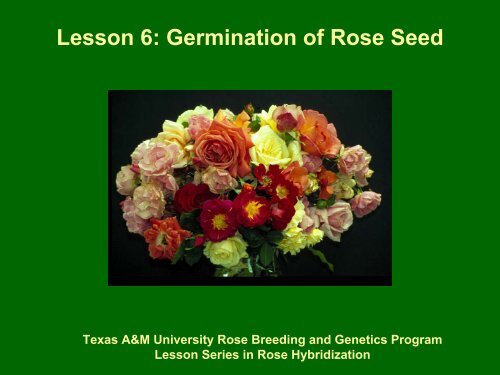
Lesson 6: <strong>Germination</strong> <strong>of</strong> <strong>Rose</strong> <strong>Seed</strong><br />
<strong>Texas</strong> A&M <strong>University</strong> <strong>Rose</strong> Breeding and Genetics Program<br />
Lesson Series in <strong>Rose</strong> Hybridization
Objectives<br />
• Identify proper soil-less medium for<br />
rose seed germination<br />
• Identify proper planting depth <strong>of</strong> seeds<br />
• Identify time period <strong>of</strong> rose seed<br />
germination
Crack open the fridge!<br />
It has been 4 long months!<br />
You’ve been waiting.<br />
You may have even<br />
peeked in those<br />
containers. And that’s<br />
perfectly fine.<br />
Now, it’s time for the<br />
containers <strong>of</strong> seeds to<br />
come out <strong>of</strong> the cold!
Preparation for <strong>Germination</strong><br />
Don’t be alarmed if you see<br />
germinating seedlings when<br />
you open your container.<br />
They were eager.<br />
Try to save them but don’t<br />
be shocked or disappointed<br />
if they don’t survive.<br />
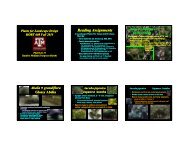
<strong>Seed</strong>lings that germinated during<br />
stratification period.
Materials Required<br />
1. Soil-less Medium<br />
2. <strong>Seed</strong>ling flat<br />
3. Labels<br />
Preparation for <strong>Germination</strong><br />
4. A warm, sunny or<br />
fluorescently-lit<br />
environment
Preparation for <strong>Germination</strong><br />
1. Soil-less Potting Mix<br />
• A good ratio would be 50% peat:50% perlite<br />
(the same thing you used for stratification)<br />
2. <strong>Seed</strong>ling Flat<br />
• Anything with holes for drainage will do<br />
• Well, it needs to hold soil at least an inch deep<br />
3. Labels<br />
• Be sure to label your flat with the cross it<br />
contains
Preparation for <strong>Germination</strong><br />
4. The warm and “sunny” environment<br />
• If it’s below 65° F outside, you will need<br />
to keep the seedlings indoors<br />
• If you keep them indoors, they will need<br />
a light source<br />
• A bench with a fluorescent tube is an<br />
excellent choice<br />
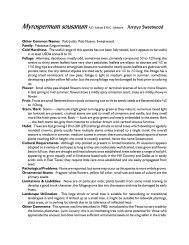
Indoor lighting for seed<br />
growth<br />
Photo from Worm’s Way
Preparation for <strong>Germination</strong><br />
1. Fill your seedling flat with potting medium<br />
2. Moisten with water<br />
3. Plant your seeds approximately one inch apart at a<br />
depth <strong>of</strong> ½ inch<br />
4. Cover with potting medium<br />
5. Place in warm, lighted environment<br />
6. Wait on pins and needles<br />
After the seedlings begin germinating, begin fertilizing them<br />
weekly with a 20-20-20 water-soluble fertilizer.
If any <strong>of</strong> your seedlings germinated during the<br />
stratification period…<br />
The same process<br />
applies, BUT…<br />
Handle your seedlings<br />
gently when planting<br />
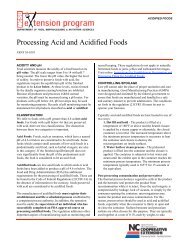
Handle them by their<br />
cotyledons (1 st leaves)<br />
The cotyledons should<br />
remain above the soil<br />
level<br />
Photo from Univ. <strong>of</strong> Illinois
Sad to say, but you never<br />
know when the seeds will<br />
start germinating.<br />
Don’t give up on them.<br />
You may see seedlings<br />
within 2 weeks or up to<br />
many months.<br />
It’s a patience thing.<br />
But there is good news…<br />
And now to wait…
Within 6 weeks from<br />
germination, an<br />
everblooming variety will<br />
produce its first bloom!<br />
And, selections can begin<br />
even before a flower<br />
appears…<br />
More on that in the final<br />
lesson.<br />
The Good News<br />
6 weeks following seed germination