Download the above ground pool manual - Club Piscine
Download the above ground pool manual - Club Piscine
Download the above ground pool manual - Club Piscine

Create successful ePaper yourself
Turn your PDF publications into a flip-book with our unique Google optimized e-Paper software.
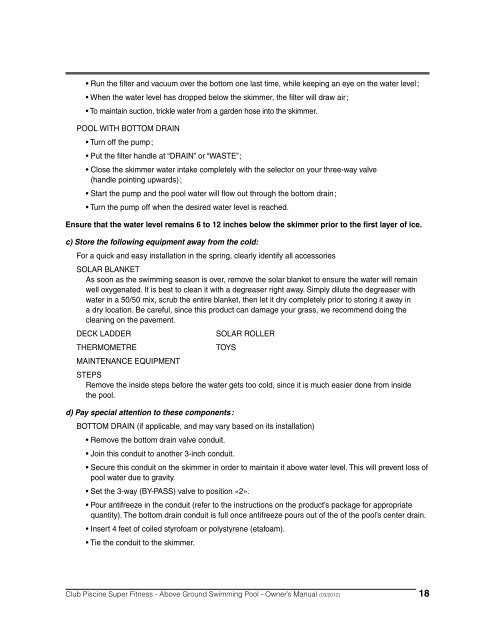
• Run <strong>the</strong> filter and vacuum over <strong>the</strong> bottom one last time, while keeping an eye on <strong>the</strong> water level ;<br />
• When <strong>the</strong> water level has dropped below <strong>the</strong> skimmer, <strong>the</strong> filter will draw air ;<br />
• To maintain suction, trickle water from a garden hose into <strong>the</strong> skimmer.<br />
POOL WITH BOTTOM DRAIN<br />
• Turn off <strong>the</strong> pump;<br />
• Put <strong>the</strong> filter handle at “DRAIN” or “WASTE”;<br />
• Close <strong>the</strong> skimmer water intake completely with <strong>the</strong> selector on your three-way valve<br />
(handle pointing upwards) ;<br />
• Start <strong>the</strong> pump and <strong>the</strong> <strong>pool</strong> water will flow out through <strong>the</strong> bottom drain ;<br />
• Turn <strong>the</strong> pump off when <strong>the</strong> desired water level is reached.<br />
Ensure that <strong>the</strong> water level remains 6 to 12 inches below <strong>the</strong> skimmer prior to <strong>the</strong> first layer of ice.<br />
c) Store <strong>the</strong> following equipment away from <strong>the</strong> cold:<br />
For a quick and easy installation in <strong>the</strong> spring, clearly identify all accessories<br />
SOLAR BLANKET<br />
As soon as <strong>the</strong> swimming season is over, remove <strong>the</strong> solar blanket to ensure <strong>the</strong> water will remain<br />
well oxygenated. It is best to clean it with a degreaser right away. Simply dilute <strong>the</strong> degreaser with<br />
water in a 50/50 mix, scrub <strong>the</strong> entire blanket, <strong>the</strong>n let it dry completely prior to storing it away in<br />
a dry location. Be careful, since this product can damage your grass, we recommend doing <strong>the</strong><br />
cleaning on <strong>the</strong> pavement.<br />
DECK LADDER SOLAR ROLLER<br />
THERMOMETRE TOYS<br />
MAINTENANCE EQUIPMENT<br />
STEPS<br />
Remove <strong>the</strong> inside steps before <strong>the</strong> water gets too cold, since it is much easier done from inside<br />
<strong>the</strong> <strong>pool</strong>.<br />
d) Pay special attention to <strong>the</strong>se components :<br />
BOTTOM DRAIN (if applicable, and may vary based on its installation)<br />
• Remove <strong>the</strong> bottom drain valve conduit.<br />
• Join this conduit to ano<strong>the</strong>r 3-inch conduit.<br />
• Secure this conduit on <strong>the</strong> skimmer in order to maintain it <strong>above</strong> water level. This will prevent loss of<br />
<strong>pool</strong> water due to gravity.<br />
• Set <strong>the</strong> 3-way (BY-PASS) valve to position «2».<br />
• Pour antifreeze in <strong>the</strong> conduit (refer to <strong>the</strong> instructions on <strong>the</strong> product’s package for appropriate<br />
quantity). The bottom drain conduit is full once antifreeze pours out of <strong>the</strong> of <strong>the</strong> <strong>pool</strong>’s center drain.<br />
• Insert 4 feet of coiled styrofoam or polystyrene (etafoam).<br />
• Tie <strong>the</strong> conduit to <strong>the</strong> skimmer.<br />
<strong>Club</strong> <strong>Piscine</strong> Super Fitness - Above Ground Swimming Pool - Owner’s Manual (03/2012) 18