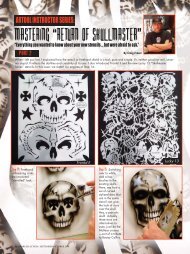
Mastering Bullet Ridden - Iwata Medea
Mastering Bullet Ridden - Iwata Medea
Mastering Bullet Ridden - Iwata Medea

You also want an ePaper? Increase the reach of your titles
YUMPU automatically turns print PDFs into web optimized ePapers that Google loves.
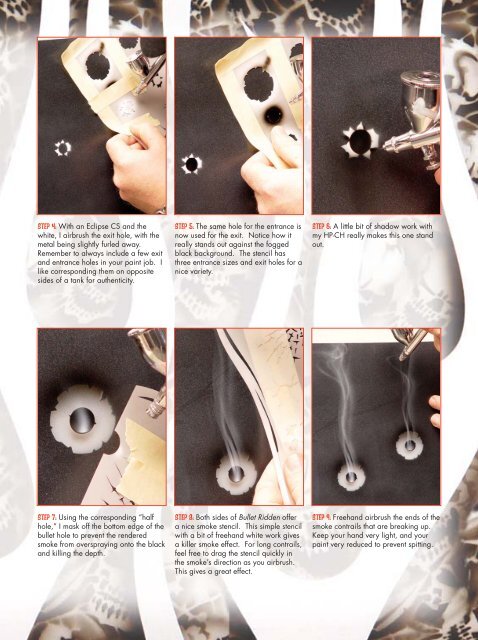
Step 4: With an Eclipse CS and the<br />
white, I airbrush the exit hole, with the<br />
metal being slightly furled away.<br />
Remember to always include a few exit<br />
and entrance holes in your paint job. I<br />
like corresponding them on opposite<br />
sides of a tank for authenticity.<br />
Step 7: Using the corresponding “half<br />
hole,” I mask off the bottom edge of the<br />
bullet hole to prevent the rendered<br />
smoke from overspraying onto the black<br />
and killing the depth.<br />
Step 5: The same hole for the entrance is<br />
now used for the exit. Notice how it<br />
really stands out against the fogged<br />
black background. The stencil has<br />
three entrance sizes and exit holes for a<br />
nice variety.<br />
Step 8: Both sides of <strong>Bullet</strong> <strong>Ridden</strong> offer<br />
a nice smoke stencil. This simple stencil<br />
with a bit of freehand white work gives<br />
a killer smoke effect. For long contrails,<br />
feel free to drag the stencil quickly in<br />
the smoke’s direction as you airbrush.<br />
This gives a great effect.<br />
Step 6: A little bit of shadow work with<br />
my HP-CH really makes this one stand<br />
out.<br />
Step 9: Freehand airbrush the ends of the<br />
smoke contrails that are breaking up.<br />
Keep your hand very light, and your<br />
paint very reduced to prevent spitting.<br />
AIRBRUSH ACTION / MAY-JUNE 2005 21