September 2010

You also want an ePaper? Increase the reach of your titles
YUMPU automatically turns print PDFs into web optimized ePapers that Google loves.
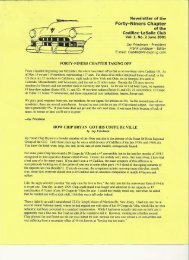
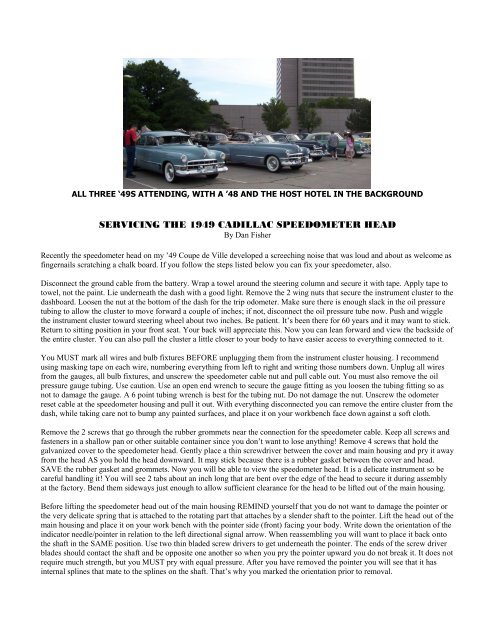
ALL THREE ‘49S ATTENDING, WITH A ’48 AND THE HOST HOTEL IN THE BACKGROUND<br />
SERVICING THE 1949 CADILLAC SPEEDOMETER HEAD<br />
By Dan Fisher<br />
Recently the speedometer head on my ‟49 Coupe de Ville developed a screeching noise that was loud and about as welcome as<br />
fingernails scratching a chalk board. If you follow the steps listed below you can fix your speedometer, also.<br />
Disconnect the ground cable from the battery. Wrap a towel around the steering column and secure it with tape. Apply tape to<br />
towel, not the paint. Lie underneath the dash with a good light. Remove the 2 wing nuts that secure the instrument cluster to the<br />
dashboard. Loosen the nut at the bottom of the dash for the trip odometer. Make sure there is enough slack in the oil pressure<br />
tubing to allow the cluster to move forward a couple of inches; if not, disconnect the oil pressure tube now. Push and wiggle<br />
the instrument cluster toward steering wheel about two inches. Be patient. It‟s been there for 60 years and it may want to stick.<br />
Return to sitting position in your front seat. Your back will appreciate this. Now you can lean forward and view the backside of<br />
the entire cluster. You can also pull the cluster a little closer to your body to have easier access to everything connected to it.<br />
You MUST mark all wires and bulb fixtures BEFORE unplugging them from the instrument cluster housing. I recommend<br />
using masking tape on each wire, numbering everything from left to right and writing those numbers down. Unplug all wires<br />
from the gauges, all bulb fixtures, and unscrew the speedometer cable nut and pull cable out. You must also remove the oil<br />
pressure gauge tubing. Use caution. Use an open end wrench to secure the gauge fitting as you loosen the tubing fitting so as<br />
not to damage the gauge. A 6 point tubing wrench is best for the tubing nut. Do not damage the nut. Unscrew the odometer<br />
reset cable at the speedometer housing and pull it out. With everything disconnected you can remove the entire cluster from the<br />
dash, while taking care not to bump any painted surfaces, and place it on your workbench face down against a soft cloth.<br />
Remove the 2 screws that go through the rubber grommets near the connection for the speedometer cable. Keep all screws and<br />
fasteners in a shallow pan or other suitable container since you don‟t want to lose anything! Remove 4 screws that hold the<br />
galvanized cover to the speedometer head. Gently place a thin screwdriver between the cover and main housing and pry it away<br />
from the head AS you hold the head downward. It may stick because there is a rubber gasket between the cover and head.<br />
SAVE the rubber gasket and grommets. Now you will be able to view the speedometer head. It is a delicate instrument so be<br />
careful handling it! You will see 2 tabs about an inch long that are bent over the edge of the head to secure it during assembly<br />
at the factory. Bend them sideways just enough to allow sufficient clearance for the head to be lifted out of the main housing.<br />
Before lifting the speedometer head out of the main housing REMIND yourself that you do not want to damage the pointer or<br />
the very delicate spring that is attached to the rotating part that attaches by a slender shaft to the pointer. Lift the head out of the<br />
main housing and place it on your work bench with the pointer side (front) facing your body. Write down the orientation of the<br />
indicator needle/pointer in relation to the left directional signal arrow. When reassembling you will want to place it back onto<br />
the shaft in the SAME position. Use two thin bladed screw drivers to get underneath the pointer. The ends of the screw driver<br />
blades should contact the shaft and be opposite one another so when you pry the pointer upward you do not break it. It does not<br />
require much strength, but you MUST pry with equal pressure. After you have removed the pointer you will see that it has<br />
internal splines that mate to the splines on the shaft. That‟s why you marked the orientation prior to removal.