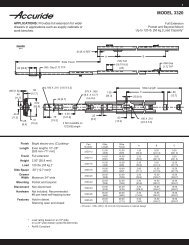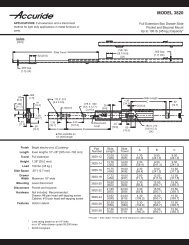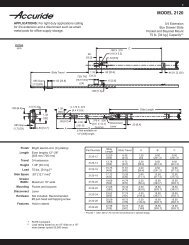
20 Series Slides - Accuride
20 Series Slides - Accuride
20 Series Slides - Accuride

You also want an ePaper? Increase the reach of your titles
YUMPU automatically turns print PDFs into web optimized ePapers that Google loves.
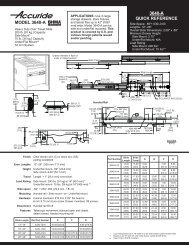
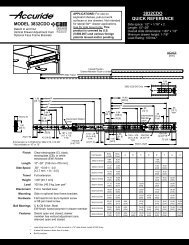
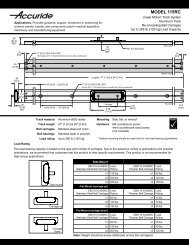
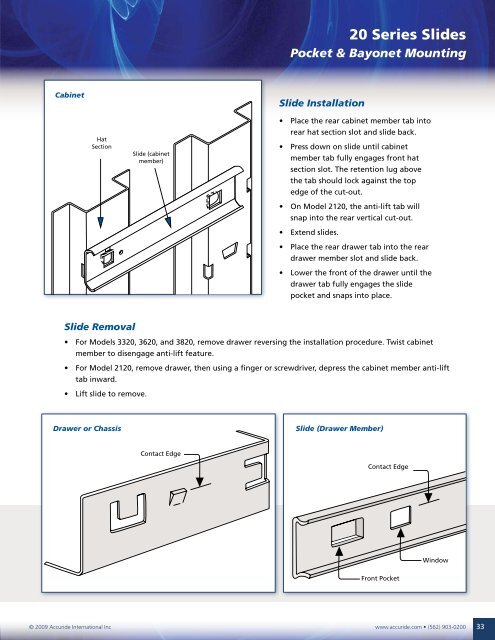
<strong>20</strong> <strong>Series</strong> <strong>Slides</strong><br />
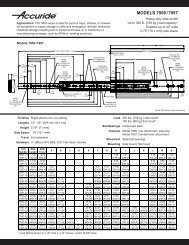
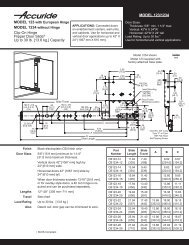
Pocket & Bayonet Mounting<br />
Cabinet<br />
Slide Installation<br />
Hat<br />
Section<br />
Slide (cabinet<br />
member)<br />
• Place the rear cabinet member tab into<br />
rear hat section slot and slide back.<br />
• Press down on slide until cabinet<br />
member tab fully engages front hat<br />
section slot. The retention lug above<br />
the tab should lock against the top<br />
edge of the cut-out.<br />
• On Model 21<strong>20</strong>, the anti-lift tab will<br />
snap into the rear vertical cut-out.<br />
• Extend slides.<br />
• Place the rear drawer tab into the rear<br />
drawer member slot and slide back.<br />
• Lower the front of the drawer until the<br />
drawer tab fully engages the slide<br />
pocket and snaps into place.<br />
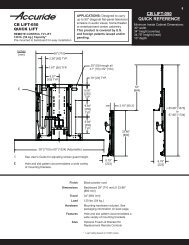
Slide Removal<br />
• For Models 33<strong>20</strong>, 36<strong>20</strong>, and 38<strong>20</strong>, remove drawer reversing the installation procedure. Twist cabinet<br />
member to disengage anti-lift feature.<br />
• For Model 21<strong>20</strong>, remove drawer, then using a finger or screwdriver, depress the cabinet member anti-lift<br />
tab inward.<br />
• Lift slide to remove.<br />
Drawer or Chassis<br />
Slide (Drawer Member)<br />
Contact Edge<br />
Contact Edge<br />
Window<br />
Front Pocket<br />
© <strong>20</strong>09 <strong>Accuride</strong> International Inc www.accuride.com • (562) 903-0<strong>20</strong>0<br />
33