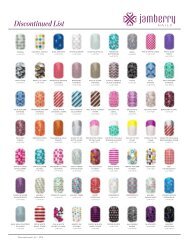
Discover The New nail Revolution - Jamberry Nails
Discover The New nail Revolution - Jamberry Nails
Discover The New nail Revolution - Jamberry Nails

You also want an ePaper? Increase the reach of your titles
YUMPU automatically turns print PDFs into web optimized ePapers that Google loves.
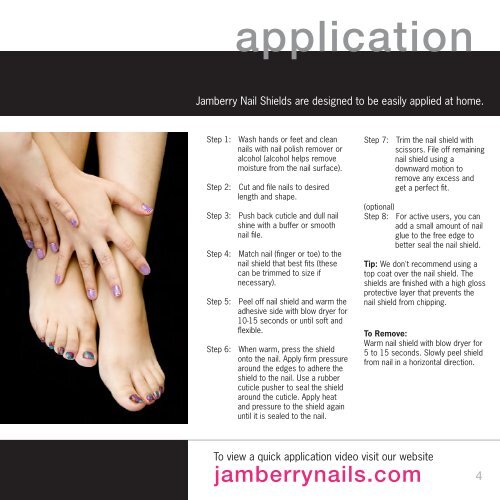
application<br />
<strong>Jamberry</strong> Nail Shields are designed to be easily applied at home.<br />
Step 1: Wash hands or feet and clean<br />
<strong>nail</strong>s with <strong>nail</strong> polish remover or<br />
alcohol (alcohol helps remove<br />
moisture from the <strong>nail</strong> surface).<br />
Step 2: Cut and file <strong>nail</strong>s to desired<br />
length and shape.<br />
Step 3: Push back cuticle and dull <strong>nail</strong><br />
shine with a buffer or smooth<br />
<strong>nail</strong> file.<br />
Step 4: Match <strong>nail</strong> (finger or toe) to the<br />
<strong>nail</strong> shield that best fits (these<br />
can be trimmed to size if<br />
necessary).<br />
Step 5: Peel off <strong>nail</strong> shield and warm the<br />
adhesive side with blow dryer for<br />
10-15 seconds or until soft and<br />
flexible.<br />
Step 6: When warm, press the shield<br />
onto the <strong>nail</strong>. Apply firm pressure<br />
around the edges to adhere the<br />
shield to the <strong>nail</strong>. Use a rubber<br />
cuticle pusher to seal the shield<br />
around the cuticle. Apply heat<br />
and pressure to the shield again<br />
until it is sealed to the <strong>nail</strong>.<br />
Step 7: Trim the <strong>nail</strong> shield with<br />
scissors. File off remaining<br />
<strong>nail</strong> shield using a<br />
downward motion to<br />
remove any excess and<br />
get a perfect fit.<br />
(optional)<br />
Step 8: For active users, you can<br />
add a small amount of <strong>nail</strong><br />
glue to the free edge to<br />
better seal the <strong>nail</strong> shield.<br />
Tip: We don't recommend using a<br />
top coat over the <strong>nail</strong> shield. <strong>The</strong><br />
shields are finished with a high gloss<br />
protective layer that prevents the<br />
<strong>nail</strong> shield from chipping.<br />
To Remove:<br />
Warm <strong>nail</strong> shield with blow dryer for<br />
5 to 15 seconds. Slowly peel shield<br />
from <strong>nail</strong> in a horizontal direction.<br />
To view a quick application video visit our website<br />
jamberry<strong>nail</strong>s.com<br />
4