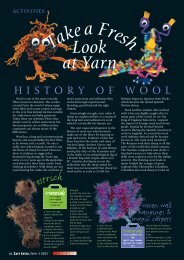

You also want an ePaper? Increase the reach of your titles
YUMPU automatically turns print PDFs into web optimized ePapers that Google loves.
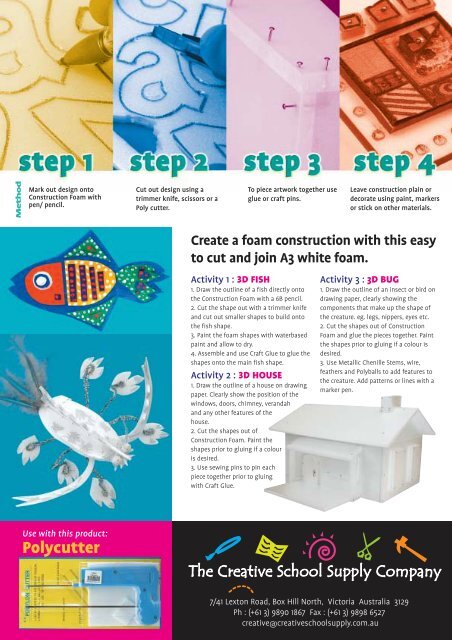
Method<br />
Mark out design onto<br />
<strong>Construction</strong> <strong>Foam</strong> with<br />
pen/ pencil.<br />
Cut out design using a<br />
trimmer knife, scissors or a<br />
Poly cutter.<br />
To piece artwork together use<br />
glue or craft pins.<br />
Leave construction plain or<br />
decorate using paint, markers<br />
or stick on other materials.<br />
Create a foam construction with this easy<br />
to cut and join A3 white foam.<br />
Activity 1 : 3D FISH<br />
1. Draw the outline of a fish directly onto<br />
the <strong>Construction</strong> <strong>Foam</strong> with a 6B pencil.<br />
2. Cut the shape out with a trimmer knife<br />
and cut out smaller shapes to build onto<br />
the fish shape.<br />
3. Paint the foam shapes with waterbased<br />
paint and allow to dry.<br />
4. Assemble and use Craft Glue to glue the<br />
shapes onto the main fish shape.<br />
Activity 2 : 3D HOUSE<br />
1. Draw the outline of a house on drawing<br />
paper. Clearly show the position of the<br />
windows, doors, chimney, verandah<br />
and any other features of the<br />
house.<br />
2. Cut the shapes out of<br />
<strong>Construction</strong> <strong>Foam</strong>. Paint the<br />
shapes prior to gluing if a colour<br />
is desired.<br />
3. Use sewing pins to pin each<br />
piece together prior to gluing<br />
with Craft Glue.<br />
Activity 3 : 3D BUG<br />
1. Draw the outline of an insect or bird on<br />
drawing paper, clearly showing the<br />
components that make up the shape of<br />
the creature. eg. legs, nippers, eyes etc.<br />
2. Cut the shapes out of <strong>Construction</strong><br />
<strong>Foam</strong> and glue the pieces together. Paint<br />
the shapes prior to gluing if a colour is<br />
desired.<br />
3. Use Metallic Chenille Stems, wire,<br />
feathers and Polyballs to add features to<br />
the creature. Add patterns or lines with a<br />
marker pen.<br />
Use with this product:<br />
Polycutter<br />
7/41 Lexton Road, Box Hill North, Victoria Australia 3129<br />
Ph : (+61 3) 9890 1867 Fax : (+61 3) 9898 6527<br />
creative@creativeschoolsupply.com.au