Calcium and Water Hardness
Calcium and Water Hardness
Calcium and Water Hardness

Create successful ePaper yourself
Turn your PDF publications into a flip-book with our unique Google optimized e-Paper software.
<strong>Calcium</strong> <strong>and</strong> <strong>Water</strong> <strong>Hardness</strong><br />
CALCIUM ION-SELECTIVE ELECTRODE<br />
Ca 2+<br />
Materials Checklist<br />
___ laptop computer (Power Mac or Windows) ___ Low St<strong>and</strong>ard (10 mg/L Ca 2+ )<br />
___ Vernier computer interface, battery-powered ___ High St<strong>and</strong>ard (1000 mg/L Ca 2+ )<br />
___ Logger Pro<br />
___ wash bottle with distilled water<br />
___ Vernier ISE Amplifier<br />
___ tissues<br />
___ <strong>Calcium</strong> Ion-Selective Electrode<br />
___ small paper or plastic cup (optional)<br />
Advanced Preparation<br />
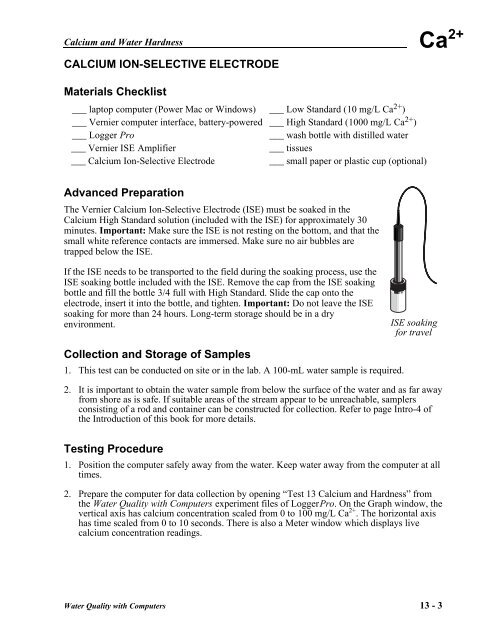
The Vernier <strong>Calcium</strong> Ion-Selective Electrode (ISE) must be soaked in the<br />
<strong>Calcium</strong> High St<strong>and</strong>ard solution (included with the ISE) for approximately 30<br />
minutes. Important: Make sure the ISE is not resting on the bottom, <strong>and</strong> that the<br />
small white reference contacts are immersed. Make sure no air bubbles are<br />
trapped below the ISE.<br />
If the ISE needs to be transported to the field during the soaking process, use the<br />
ISE soaking bottle included with the ISE. Remove the cap from the ISE soaking<br />
bottle <strong>and</strong> fill the bottle 3/4 full with High St<strong>and</strong>ard. Slide the cap onto the<br />
electrode, insert it into the bottle, <strong>and</strong> tighten. Important: Do not leave the ISE<br />
soaking for more than 24Êhours. Long-term storage should be in a dry<br />
environment.<br />
ISE soaking<br />
for travel<br />
Collection <strong>and</strong> Storage of Samples<br />
1. This test can be conducted on site or in the lab. A 100-mL water sample is required.<br />
2. It is important to obtain the water sample from below the surface of the water <strong>and</strong> as far away<br />
from shore as is safe. If suitable areas of the stream appear to be unreachable, samplers<br />
consisting of a rod <strong>and</strong> container can be constructed for collection. Refer to page Intro-4 of<br />
the Introduction of this book for more details.<br />
Testing Procedure<br />
1. Position the computer safely away from the water. Keep water away from the computer at all<br />
times.<br />
2. Prepare the computer for data collection by opening ÒTest 13 <strong>Calcium</strong> <strong>and</strong> <strong>Hardness</strong>Ó from<br />
the <strong>Water</strong> Quality with Computers experiment files of Logger Pro. On the Graph window, the<br />
vertical axis has calcium concentration scaled from 0 to 100 mg/L Ca 2+ . The horizontal axis<br />
has time scaled from 0 to 10 seconds. There is also a Meter window which displays live<br />
calcium concentration readings.<br />
<strong>Water</strong> Quality with Computers 13 - 3