Lightning Strikes Twice - static.dvidshub.net
Lightning Strikes Twice - static.dvidshub.net
Lightning Strikes Twice - static.dvidshub.net

Create successful ePaper yourself
Turn your PDF publications into a flip-book with our unique Google optimized e-Paper software.
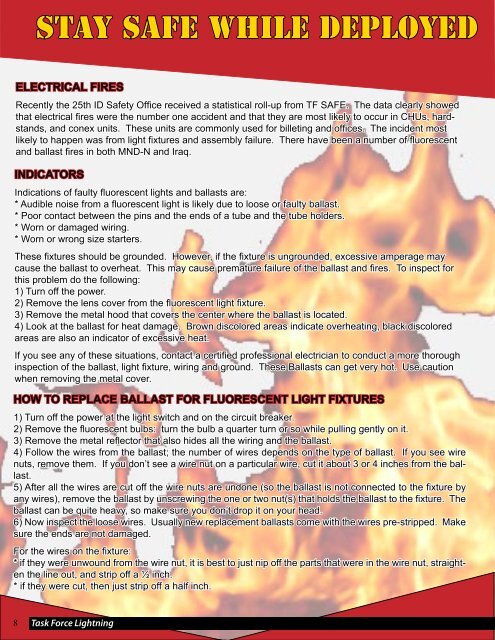
Stay Safe While Deployed<br />
ELECTRICAL FIRES<br />
Recently the 25th ID Safety Office received a statistical roll-up from TF SAFE. The data clearly showed<br />
that electrical fires were the number one accident and that they are most likely to occur in CHUs, hardstands,<br />
and conex units. These units are commonly used for billeting and offices. The incident most<br />
likely to happen was from light fixtures and assembly failure. There have been a number of fluorescent<br />
and ballast fires in both MND-N and Iraq.<br />
INDICATORS<br />
Indications of faulty fluorescent lights and ballasts are:<br />
* Audible noise from a fluorescent light is likely due to loose or faulty ballast.<br />
* Poor contact between the pins and the ends of a tube and the tube holders.<br />
* Worn or damaged wiring.<br />
* Worn or wrong size starters.<br />
These fixtures should be grounded. However, if the fixture is ungrounded, excessive amperage may<br />
cause the ballast to overheat. This may cause premature failure of the ballast and fires. To inspect for<br />
this problem do the following:<br />
1) Turn off the power.<br />
2) Remove the lens cover from the fluorescent light fixture.<br />
3) Remove the metal hood that covers the center where the ballast is located.<br />
4) Look at the ballast for heat damage. Brown discolored areas indicate overheating, black discolored<br />
areas are also an indicator of excessive heat.<br />
If you see any of these situations, contact a certified professional electrician to conduct a more thorough<br />
inspection of the ballast, light fixture, wiring and ground. These Ballasts can get very hot. Use caution<br />
when removing the metal cover.<br />
HOW TO REPLACE BALLAST FOR FLUORESCENT LIGHT FIXTURES<br />
1) Turn off the power at the light switch and on the circuit breaker.<br />
2) Remove the fluorescent bulbs: turn the bulb a quarter turn or so while pulling gently on it.<br />
3) Remove the metal reflector that also hides all the wiring and the ballast.<br />
4) Follow the wires from the ballast; the number of wires depends on the type of ballast. If you see wire<br />
nuts, remove them. If you don’t see a wire nut on a particular wire, cut it about 3 or 4 inches from the ballast.<br />
5) After all the wires are cut off the wire nuts are undone (so the ballast is not connected to the fixture by<br />
any wires), remove the ballast by unscrewing the one or two nut(s) that holds the ballast to the fixture. The<br />
ballast can be quite heavy, so make sure you don’t drop it on your head.<br />
6) Now inspect the loose wires. Usually new replacement ballasts come with the wires pre-stripped. Make<br />
sure the ends are not damaged.<br />
For the wires on the fixture:<br />
* if they were unwound from the wire nut, it is best to just nip off the parts that were in the wire nut, straighten<br />
the line out, and strip off a ½ inch.<br />
* if they were cut, then just strip off a half inch.<br />
8 Task Force <strong>Lightning</strong>