SCX-716 (Castex Carpet Extractor) - Tennant Company
SCX-716 (Castex Carpet Extractor) - Tennant Company
SCX-716 (Castex Carpet Extractor) - Tennant Company

You also want an ePaper? Increase the reach of your titles
YUMPU automatically turns print PDFs into web optimized ePapers that Google loves.
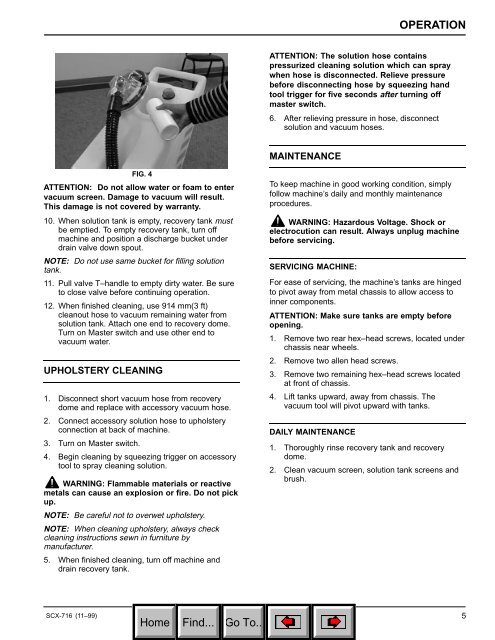
FIG. 4<br />
ATTENTION: Do not allow water or foam to enter<br />
vacuum screen. Damage to vacuum will result.<br />
This damage is not covered by warranty.<br />
10. When solution tank is empty, recovery tank must<br />
be emptied. To empty recovery tank, turn off<br />
machine and position a discharge bucket under<br />
drain valve down spout.<br />
NOTE: Do not use same bucket for filling solution<br />
tank.<br />
11. Pull valve T–handle to empty dirty water. Be sure<br />
to close valve before continuing operation.<br />
12. When finished cleaning, use 914 mm(3 ft)<br />
cleanout hose to vacuum remaining water from<br />
solution tank. Attach one end to recovery dome.<br />
Turn on Master switch and use other end to<br />
vacuum water.<br />
UPHOLSTERY CLEANING<br />
1. Disconnect short vacuum hose from recovery<br />
dome and replace with accessory vacuum hose.<br />
2. Connect accessory solution hose to upholstery<br />
connection at back of machine.<br />
3. Turn on Master switch.<br />
4. Begin cleaning by squeezing trigger on accessory<br />
tool to spray cleaning solution.<br />
WARNING: Flammable materials or reactive<br />
metals can cause an explosion or fire. Do not pick<br />
up.<br />
NOTE: Be careful not to overwet upholstery.<br />
NOTE: When cleaning upholstery, always check<br />
cleaning instructions sewn in furniture by<br />
manufacturer.<br />
5. When finished cleaning, turn off machine and<br />
drain recovery tank.<br />
OPERATION<br />
ATTENTION: The solution hose contains<br />
pressurized cleaning solution which can spray<br />
when hose is disconnected. Relieve pressure<br />
before disconnecting hose by squeezing hand<br />
tool trigger for five seconds after turning off<br />
master switch.<br />
6. After relieving pressure in hose, disconnect<br />
solution and vacuum hoses.<br />
MAINTENANCE<br />
To keep machine in good working condition, simply<br />
follow machine’s daily and monthly maintenance<br />
procedures.<br />
WARNING: Hazardous Voltage. Shock or<br />
electrocution can result. Always unplug machine<br />
before servicing.<br />
SERVICING MACHINE:<br />
For ease of servicing, the machine’s tanks are hinged<br />
to pivot away from metal chassis to allow access to<br />
inner components.<br />
ATTENTION: Make sure tanks are empty before<br />
opening.<br />
1. Remove two rear hex–head screws, located under<br />
chassis near wheels.<br />
2. Remove two allen head screws.<br />
3. Remove two remaining hex–head screws located<br />
at front of chassis.<br />
4. Lift tanks upward, away from chassis. The<br />
vacuum tool will pivot upward with tanks.<br />
DAILY MAINTENANCE<br />
1. Thoroughly rinse recovery tank and recovery<br />
dome.<br />
2. Clean vacuum screen, solution tank screens and<br />
brush.<br />
<strong>SCX</strong>-<strong>716</strong> (11–99) 5