Bioscreen C - Mbio.ncsu.edu
Bioscreen C - Mbio.ncsu.edu
Bioscreen C - Mbio.ncsu.edu
Create successful ePaper yourself
Turn your PDF publications into a flip-book with our unique Google optimized e-Paper software.
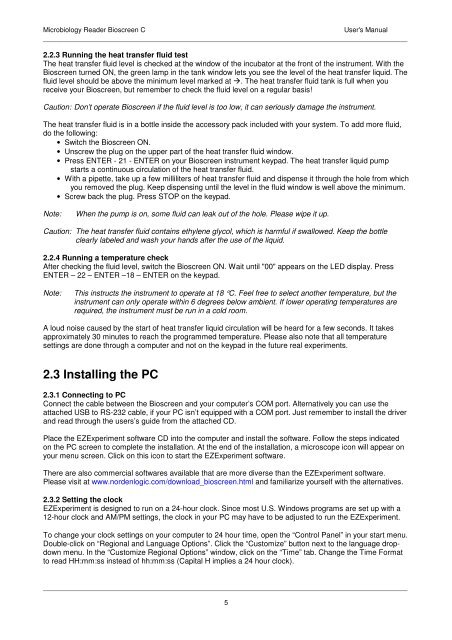
Microbiology Reader <strong>Bioscreen</strong> CUser's Manual____________________________________________________________________________________________________________2.2.3 Running the heat transfer fluid testThe heat transfer fluid level is checked at the window of the incubator at the front of the instrument. With the<strong>Bioscreen</strong> turned ON, the green lamp in the tank window lets you see the level of the heat transfer liquid. Thefluid level should be above the minimum level marked at . The heat transfer fluid tank is full when youreceive your <strong>Bioscreen</strong>, but remember to check the fluid level on a regular basis!Caution: Don’t operate <strong>Bioscreen</strong> if the fluid level is too low, it can seriously damage the instrument.The heat transfer fluid is in a bottle inside the accessory pack included with your system. To add more fluid,do the following:• Switch the <strong>Bioscreen</strong> ON.• Unscrew the plug on the upper part of the heat transfer fluid window.• Press ENTER - 21 - ENTER on your <strong>Bioscreen</strong> instrument keypad. The heat transfer liquid pumpstarts a continuous circulation of the heat transfer fluid.• With a pipette, take up a few milliliters of heat transfer fluid and dispense it through the hole from whichyou removed the plug. Keep dispensing until the level in the fluid window is well above the minimum.• Screw back the plug. Press STOP on the keypad.Note:When the pump is on, some fluid can leak out of the hole. Please wipe it up.Caution: The heat transfer fluid contains ethylene glycol, which is harmful if swallowed. Keep the bottleclearly labeled and wash your hands after the use of the liquid.2.2.4 Running a temperature checkAfter checking the fluid level, switch the <strong>Bioscreen</strong> ON. Wait until "00" appears on the LED display. PressENTER – 22 – ENTER –18 – ENTER on the keypad.Note:This instructs the instrument to operate at 18 °C. Feel free to select another temperature, but theinstrument can only operate within 6 degrees below ambient. If lower operating temperatures arerequired, the instrument must be run in a cold room.A loud noise caused by the start of heat transfer liquid circulation will be heard for a few seconds. It takesapproximately 30 minutes to reach the programmed temperature. Please also note that all temperaturesettings are done through a computer and not on the keypad in the future real experiments.2.3 Installing the PC2.3.1 Connecting to PCConnect the cable between the <strong>Bioscreen</strong> and your computer’s COM port. Alternatively you can use theattached USB to RS-232 cable, if your PC isn’t equipped with a COM port. Just remember to install the driverand read through the users’s guide from the attached CD.Place the EZExperiment software CD into the computer and install the software. Follow the steps indicatedon the PC screen to complete the installation. At the end of the installation, a microscope icon will appear onyour menu screen. Click on this icon to start the EZExperiment software.There are also commercial softwares available that are more diverse than the EZExperiment software.Please visit at www.nordenlogic.com/download_bioscreen.html and familiarize yourself with the alternatives.2.3.2 Setting the clockEZExperiment is designed to run on a 24-hour clock. Since most U.S. Windows programs are set up with a12-hour clock and AM/PM settings, the clock in your PC may have to be adjusted to run the EZExperiment.To change your clock settings on your computer to 24 hour time, open the “Control Panel” in your start menu.Double-click on “Regional and Language Options”. Click the “Customize” button next to the language dropdownmenu. In the “Customize Regional Options” window, click on the “Time” tab. Change the Time Formatto read HH:mm:ss instead of hh:mm:ss (Capital H implies a 24 hour clock).____________________________________________________________________________________________________________5


