Coats IBS-2000 Wheel Balancer - NY Tech Supply
Coats IBS-2000 Wheel Balancer - NY Tech Supply
Coats IBS-2000 Wheel Balancer - NY Tech Supply
- No tags were found...

Create successful ePaper yourself
Turn your PDF publications into a flip-book with our unique Google optimized e-Paper software.
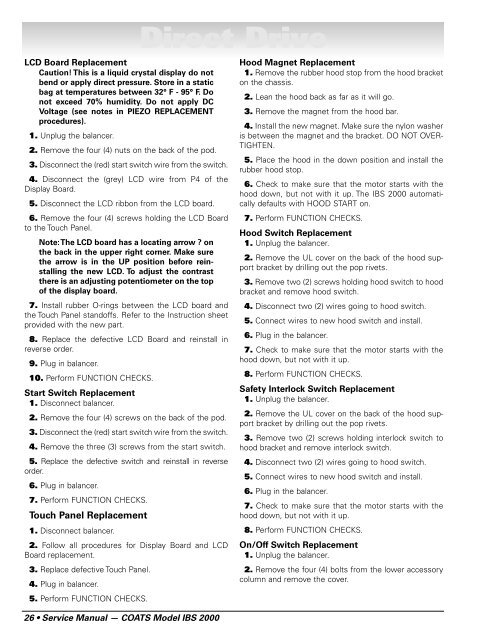
LCD Board ReplacementCaution! This is a liquid crystal display do notbend or apply direct pressure. Store in a staticbag at temperatures between 32° F - 95° F. Donot exceed 70% humidity. Do not apply DCVoltage (see notes in PIEZO REPLACEMENTprocedures).1. Unplug the balancer.2. Remove the four (4) nuts on the back of the pod.3. Disconnect the (red) start switch wire from the switch.4. Disconnect the (grey) LCD wire from P4 of theDisplay Board.5. Disconnect the LCD ribbon from the LCD board.6. Remove the four (4) screws holding the LCD Boardto the Touch Panel.Note:The LCD board has a locating arrow ? onthe back in the upper right corner. Make surethe arrow is in the UP position before reinstallingthe new LCD. To adjust the contrastthere is an adjusting potentiometer on the topof the display board.7. Install rubber O-rings between the LCD board andthe Touch Panel standoffs. Refer to the Instruction sheetprovided with the new part.8. Replace the defective LCD Board and reinstall inreverse order.9. Plug in balancer.10. Perform FUNCTION CHECKS.Start Switch Replacement1. Disconnect balancer.2. Remove the four (4) screws on the back of the pod.3. Disconnect the (red) start switch wire from the switch.4. Remove the three (3) screws from the start switch.5. Replace the defective switch and reinstall in reverseorder.6. Plug in balancer.7. Perform FUNCTION CHECKS.Touch Panel Replacement1. Disconnect balancer.2. Follow all procedures for Display Board and LCDBoard replacement.3. Replace defective Touch Panel.4. Plug in balancer.5. Perform FUNCTION CHECKS.26 • Service Manual — COATS Model <strong>IBS</strong> <strong>2000</strong>Direct DriveHood Magnet Replacement1. Remove the rubber hood stop from the hood bracketon the chassis.2. Lean the hood back as far as it will go.3. Remove the magnet from the hood bar.4. Install the new magnet. Make sure the nylon washeris between the magnet and the bracket. DO NOT OVER-TIGHTEN.5. Place the hood in the down position and install therubber hood stop.6. Check to make sure that the motor starts with thehood down, but not with it up. The <strong>IBS</strong> <strong>2000</strong> automaticallydefaults with HOOD START on.7. Perform FUNCTION CHECKS.Hood Switch Replacement1. Unplug the balancer.2. Remove the UL cover on the back of the hood supportbracket by drilling out the pop rivets.3. Remove two (2) screws holding hood switch to hoodbracket and remove hood switch.4. Disconnect two (2) wires going to hood switch.5. Connect wires to new hood switch and install.6. Plug in the balancer.7. Check to make sure that the motor starts with thehood down, but not with it up.8. Perform FUNCTION CHECKS.Safety Interlock Switch Replacement1. Unplug the balancer.2. Remove the UL cover on the back of the hood supportbracket by drilling out the pop rivets.3. Remove two (2) screws holding interlock switch tohood bracket and remove interlock switch.4. Disconnect two (2) wires going to hood switch.5. Connect wires to new hood switch and install.6. Plug in the balancer.7. Check to make sure that the motor starts with thehood down, but not with it up.8. Perform FUNCTION CHECKS.On/Off Switch Replacement1. Unplug the balancer.2. Remove the four (4) bolts from the lower accessorycolumn and remove the cover.