Community Assessment Tools
Rotary International a companion piece to communities in action
Rotary International a companion piece to communities in action

You also want an ePaper? Increase the reach of your titles
YUMPU automatically turns print PDFs into web optimized ePapers that Google loves.
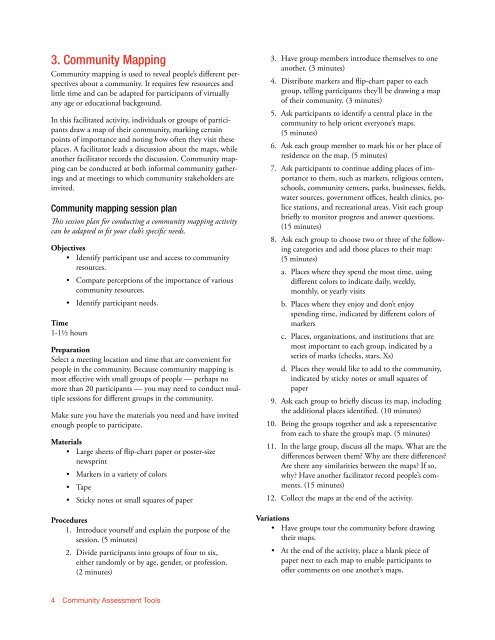
3. <strong>Community</strong> Mapping<br />
<strong>Community</strong> mapping is used to reveal people’s different perspectives<br />
about a community. It requires few resources and<br />
little time and can be adapted for participants of virtually<br />
any age or educational background.<br />
In this facilitated activity, individuals or groups of participants<br />
draw a map of their community, marking certain<br />
points of importance and noting how often they visit these<br />
places. A facilitator leads a discussion about the maps, while<br />
another facilitator records the discussion. <strong>Community</strong> mapping<br />
can be conducted at both informal community gatherings<br />
and at meetings to which community stakeholders are<br />
invited.<br />
<strong>Community</strong> mapping session plan<br />
This session plan for conducting a community mapping activity<br />
can be adapted to fit your club’s specific needs.<br />
Objectives<br />
• Identify participant use and access to community<br />
resources.<br />
• Compare perceptions of the importance of various<br />
community resources.<br />
• Identify participant needs.<br />
Time<br />
1-1½ hours<br />
Preparation<br />
Select a meeting location and time that are convenient for<br />
people in the community. Because community mapping is<br />
most effective with small groups of people — perhaps no<br />
more than 20 participants — you may need to conduct multiple<br />
sessions for different groups in the community.<br />
Make sure you have the materials you need and have invited<br />
enough people to participate.<br />
Materials<br />
• Large sheets of flip-chart paper or poster-size<br />
newsprint<br />
• Markers in a variety of colors<br />
• Tape<br />
• Sticky notes or small squares of paper<br />
Procedures<br />
1. Introduce yourself and explain the purpose of the<br />
session. (5 minutes)<br />
2. Divide participants into groups of four to six,<br />
either randomly or by age, gender, or profession.<br />
(2 minutes)<br />
3. Have group members introduce themselves to one<br />
another. (3 minutes)<br />
4. Distribute markers and flip-chart paper to each<br />
group, telling participants they’ll be drawing a map<br />
of their community. (3 minutes)<br />
5. Ask participants to identify a central place in the<br />
community to help orient everyone’s maps.<br />
(5 minutes)<br />
6. Ask each group member to mark his or her place of<br />
residence on the map. (5 minutes)<br />
7. Ask participants to continue adding places of importance<br />
to them, such as markets, religious centers,<br />
schools, community centers, parks, businesses, fields,<br />
water sources, government offices, health clinics, police<br />
stations, and recreational areas. Visit each group<br />
briefly to monitor progress and answer questions.<br />
(15 minutes)<br />
8. Ask each group to choose two or three of the following<br />
categories and add those places to their map:<br />
(5 minutes)<br />
a. Places where they spend the most time, using<br />
different colors to indicate daily, weekly,<br />
monthly, or yearly visits<br />
b. Places where they enjoy and don’t enjoy<br />
spending time, indicated by different colors of<br />
markers<br />
c. Places, organizations, and institutions that are<br />
most important to each group, indicated by a<br />
series of marks (checks, stars, Xs)<br />
d. Places they would like to add to the community,<br />
indicated by sticky notes or small squares of<br />
paper<br />
9. Ask each group to briefly discuss its map, including<br />
the additional places identified. (10 minutes)<br />
10. Bring the groups together and ask a representative<br />
from each to share the group’s map. (5 minutes)<br />
11. In the large group, discuss all the maps. What are the<br />
differences between them? Why are there differences?<br />
Are there any similarities between the maps? If so,<br />
why? Have another facilitator record people’s comments.<br />
(15 minutes)<br />
12. Collect the maps at the end of the activity.<br />
Variations<br />
• Have groups tour the community before drawing<br />
their maps.<br />
• At the end of the activity, place a blank piece of<br />
paper next to each map to enable participants to<br />
offer comments on one another’s maps.<br />
4 <strong>Community</strong> <strong>Assessment</strong> <strong>Tools</strong>