nematodes
Download The Worm Factory product guide - Veseys
Download The Worm Factory product guide - Veseys

You also want an ePaper? Increase the reach of your titles
YUMPU automatically turns print PDFs into web optimized ePapers that Google loves.
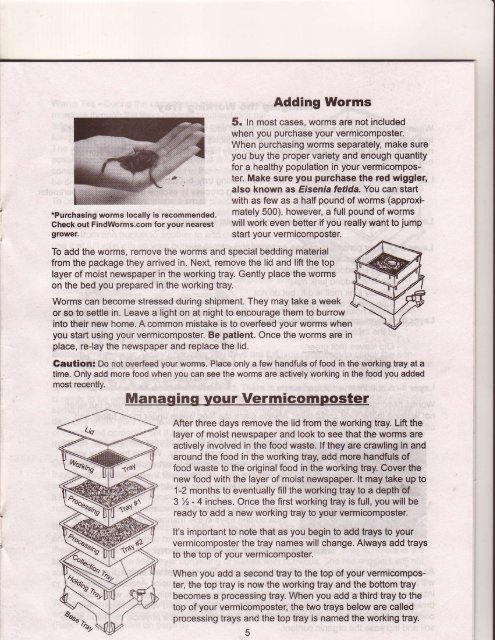
*Purchasing worms locally is recommended.<br />
Check out Findworms.com tor your nearest<br />
grower.<br />
Adding Worms<br />
5. In most cases, worms are not included<br />
when you purchase your vermicomposter.<br />
When purchasing worms separately, make sure<br />
you buy the proper variety and enough quantity<br />
for a healthy population in your vermicomposter.<br />
Make sure you purchase the red wiggler,<br />
afso known as Eisenia fetida. You can start<br />
with as few as a half pound of worms (approximately<br />
500), however, a full pound of worms<br />
will work even better if you really want to jump<br />
start your vermicomposter.<br />
To add the worms, remove the worms and special bedding material<br />
from the package they arrived in. Next, remove the lid and lift the top<br />
layer of moist newspaper in the working tray. Gently place the worms<br />
on the bed you prepared in the working tray.<br />
Worms can become stressed during shipment. They may take a week<br />
or so to seftle in. Leave a light on at night to encourage them to burrow<br />
into their new home. Acommon mistake<br />
to overfeed yourworms when<br />
you start using your vermicomposter. Be patient. Once the worms are in<br />
place, re-lay the newspaper and replace the lid.<br />
Gaution: Do not overfeed your worms. Place only a few handfuls of food in the working tray at a<br />
time. Only add more food when you can see the worms are actively working in the food you added<br />
most recently.<br />
Managing vour Vermicomposter<br />
After three days remove the lid from the working hay. Lift the<br />
layer of moist newspaper and look to see that the worms are<br />
actively involved in the food waste. lf they are crawling in and<br />
around the food in the working tray, add more.handfuls of<br />
food waste to the original food in the working tray. Cover the<br />
new food with the layer of moist newspaper. lt may take. up to<br />
1-2 months to eventually flll the working tray to a depth bf<br />
3 /' - 4 inches. Once the first working tray is full, you will be<br />
ready to add a new working hay to your vermicomposter.<br />
It's important to note that as you begin to add trays to your<br />
vermicomposter the tray names will change. Always add kays<br />
to the top of your vermicomposter.<br />
.When you add a second tray to the top of your vermicomposter,<br />
the top tray is now the working tray and the boftom {ray<br />
becomes a processing tray. When you add a third tray to the<br />
top of your vermicomposter, the two trays below are called<br />
processing trays and the top tray is named the working tray.