VOLKSWAGEN
November 2008 - Canterbury Volkswagen Enthusiast Club
November 2008 - Canterbury Volkswagen Enthusiast Club
- No tags were found...

Create successful ePaper yourself
Turn your PDF publications into a flip-book with our unique Google optimized e-Paper software.
10<br />
on removing the rust from the<br />
chassis.<br />
After what seems to be the usual<br />
mishaps, like trapping my leg<br />
between the rolling pan and the<br />
carport post and having to be<br />
rescued by Bron, burning a nice<br />
hole in my foot with a hot blob<br />
of molten steel—the pan was<br />
painted and received a coat of<br />
protective underseal.<br />
I then started to remove the old rusty sills from the body, and yet again<br />
ran into some dodgy repairs from the previous owners—black silicone<br />
sealant does NOT constitute a good repair, seems it’s only good for<br />
trapping in moisture and causing more rust.<br />
I got the driver’s side heater channel in first—it’s a big relief when it all<br />
seems to fit with the rest of the pieces dummied up over the top and the<br />
door fits when closed. Another long, hard day saw the driver’s side all<br />
but finished. I was completely knackered, but thoroughly satisfied with<br />
the amount of work so far. There’s always more to it than you think...<br />
The passenger side heater channel, inner strengthener and outer sill<br />
came next—I was on to my second angle grinder, and that was about<br />
to give up the ghost pretty soon as well, lucky they are only $15 at the<br />
Warehouse… Things seemed to go together a bit more easily than the<br />
other side. I purchased my third angle grinder, but that went straight<br />
back to the Warehouse as it broke about an hour into using it!<br />
After fixing a few more miscellaneous bits and pieces, I hoisted the body<br />
up a bit higher so that I could roll the pan under for a trial fit up before<br />
splashing a bit of paint on the underside. What a great feeling to see all<br />
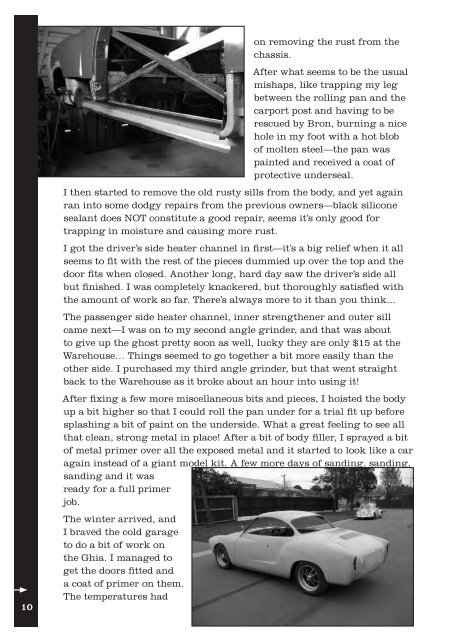
that clean, strong metal in place! After a bit of body filler, I sprayed a bit<br />
of metal primer over all the exposed metal and it started to look like a car<br />
again instead of a giant model kit. A few more days of sanding, sanding,<br />
sanding and it was<br />
ready for a full primer<br />
job.<br />
The winter arrived, and<br />
I braved the cold garage<br />
to do a bit of work on<br />
the Ghia. I managed to<br />
get the doors fitted and<br />
a coat of primer on them.<br />
The temperatures had