Megatouch MAXX Jade™ Edition Upgrade - TournaMAXX
Megatouch MAXX Jade™ Edition Upgrade - TournaMAXX
Megatouch MAXX Jade™ Edition Upgrade - TournaMAXX
You also want an ePaper? Increase the reach of your titles
YUMPU automatically turns print PDFs into web optimized ePapers that Google loves.
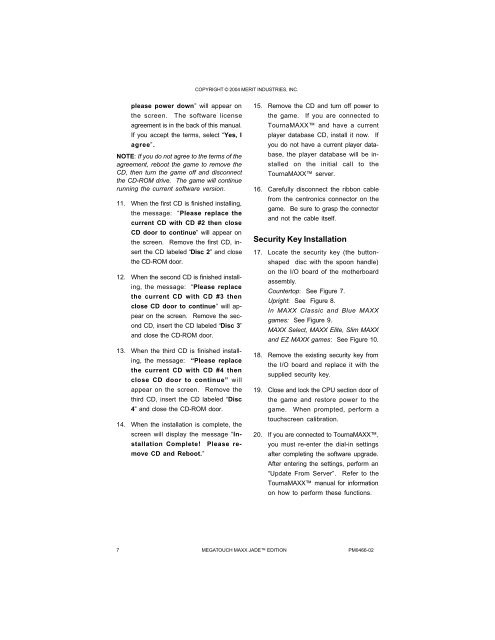
please power down” will appear on<br />
the screen. The software license<br />
agreement is in the back of this manual.<br />
If you accept the terms, select “Yes, I<br />
agree”.<br />
NOTE: If you do not agree to the terms of the<br />
agreement, reboot the game to remove the<br />
CD, then turn the game off and disconnect<br />
the CD-ROM drive. The game will continue<br />
running the current software version.<br />
11. When the first CD is finished installing,<br />
the message: “Please replace the<br />
current CD with CD #2 then close<br />
CD door to continue” will appear on<br />
the screen. Remove the first CD, in-<br />
sert the CD labeled “Disc 2” and close<br />
the CD-ROM door.<br />
12. When the second CD is finished install-<br />
ing, the message: “Please replace<br />
the current CD with CD #3 then<br />
close CD door to continue” will ap-<br />
pear on the screen. Remove the sec-<br />
ond CD, insert the CD labeled “Disc 3”<br />
and close the CD-ROM door.<br />
13. When the third CD is finished install-<br />
ing, the message: “Please replace<br />
the current CD with CD #4 then<br />
close CD door to continue” will<br />
appear on the screen. Remove the<br />
third CD, insert the CD labeled “Disc<br />
4” and close the CD-ROM door.<br />
14. When the installation is complete, the<br />
screen will display the message “In-<br />
stallation Complete! Please re-<br />
move CD and Reboot.”<br />
COPYRIGHT © 2004 MERIT INDUSTRIES, INC.<br />
15. Remove the CD and turn off power to<br />
the game. If you are connected to<br />
Tourna<strong>MAXX</strong> and have a current<br />
player database CD, install it now. If<br />
you do not have a current player data-<br />
base, the player database will be in-<br />
stalled on the initial call to the<br />
Tourna<strong>MAXX</strong> server.<br />
16. Carefully disconnect the ribbon cable<br />
from the centronics connector on the<br />
game. Be sure to grasp the connector<br />
and not the cable itself.<br />
Security Key Installation<br />
17. Locate the security key (the button-<br />
shaped disc with the spoon handle)<br />
on the I/O board of the motherboard<br />
assembly.<br />
Countertop: See Figure 7.<br />
Upright: See Figure 8.<br />
In <strong>MAXX</strong> Classic and Blue <strong>MAXX</strong><br />
games: See Figure 9.<br />
<strong>MAXX</strong> Select, <strong>MAXX</strong> Elite, Slim <strong>MAXX</strong><br />
and EZ <strong>MAXX</strong> games: See Figure 10.<br />
18. Remove the existing security key from<br />
the I/O board and replace it with the<br />
supplied security key.<br />
19. Close and lock the CPU section door of<br />
the game and restore power to the<br />
game. When prompted, perform a<br />
touchscreen calibration.<br />
20. If you are connected to Tourna<strong>MAXX</strong>,<br />
you must re-enter the dial-in settings<br />
after completing the software upgrade.<br />
After entering the settings, perform an<br />
“Update From Server”. Refer to the<br />
Tourna<strong>MAXX</strong> manual for information<br />
on how to perform these functions.<br />
7 MEGATOUCH <strong>MAXX</strong> JADE EDITION PM0466-02


