


Create successful ePaper yourself
Turn your PDF publications into a flip-book with our unique Google optimized e-Paper software.
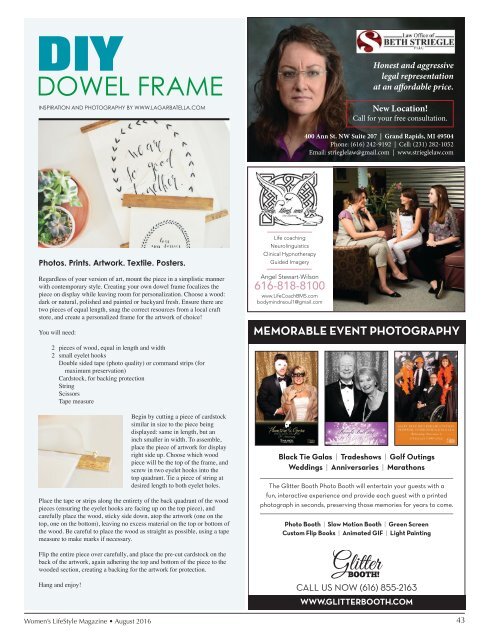
DIY<br />
DOWEL FRAME<br />
INSPIRATION AND PHOTOGRAPHY BY WWW.LAGARBATELLA.COM<br />
Honest and aggressive<br />
legal representation<br />
at an affordable price.<br />
New Location!<br />
Call for your free consultation.<br />
400 Ann St. NW Suite 207 | Grand Rapids, MI 49504<br />
Phone: (616) 242-9192 | Cell: (231) 282-1052<br />
Email: strieglelaw@gmail.com | www.strieglelaw.com<br />
Photos. Prints. Artwork. Textile. Posters.<br />
Regardless of your version of art, mount the piece in a simplistic manner<br />
with contemporary style. Creating your own dowel frame focalizes the<br />
piece on display while leaving room for personalization. Choose a wood:<br />
dark or natural, polished and painted or backyard fresh. Ensure there are<br />
two pieces of equal length, snag the correct resources from a local craft<br />
store, and create a personalized frame for the artwork of choice!<br />
You will need:<br />
Life coaching<br />
Neurolinguistics<br />
Clinical Hypnotherapy<br />
Guided Imagery<br />
Angel Stewart-Wilson<br />
616-818-8100<br />
www.LifeCoachBMS.com<br />
bodymindnsoul1@gmail.com<br />
MEMORABLE EVENT PHOTOGRAPHY<br />
2 pieces of wood, equal in length and width<br />
2 small eyelet hooks<br />
Double sided tape (photo quality) or command strips (for<br />
maximum preservation)<br />
Cardstock, for backing protection<br />
String<br />
Scissors<br />
Tape measure<br />
Begin by cutting a piece of cardstock<br />
similar in size to the piece being<br />
displayed: same in length, but an<br />
inch smaller in width. To assemble,<br />
place the piece of artwork for display<br />
right side up. Choose which wood<br />
piece will be the top of the frame, and<br />
screw in two eyelet hooks into the<br />
top quadrant. Tie a piece of string at<br />
desired length to both eyelet holes.<br />
Place the tape or strips along the entirety of the back quadrant of the wood<br />
pieces (ensuring the eyelet hooks are facing up on the top piece), and<br />
carefully place the wood, sticky side down, atop the artwork (one on the<br />
top, one on the bottom), leaving no excess material on the top or bottom of<br />
the wood. Be careful to place the wood as straight as possible, using a tape<br />
measure to make marks if necessary.<br />
Black Tie Galas | Tradeshows | Golf Outings<br />
Weddings | Anniversaries | Marathons<br />
The Glitter Booth Photo Booth will entertain your guests with a<br />
fun, interactive experience and provide each guest with a printed<br />
photograph in seconds, preserving those memories for years to come.<br />
Photo Booth | Slow Motion Booth | Green Screen<br />
Custom Flip Books | Animated GIF | Light Painting<br />
Flip the entire piece over carefully, and place the pre-cut cardstock on the<br />
back of the artwork, again adhering the top and bottom of the piece to the<br />
wooded section, creating a backing for the artwork for protection.<br />
Hang and enjoy!<br />
CALL US NOW (616) 855-2163<br />
WWW.GLITTERBOOTH.COM<br />
Women’s LifeStyle Magazine • August 2016 43