Composite Airboat Propeller Instructions - WhirlWind Propellers
Composite Airboat Propeller Instructions - WhirlWind Propellers
Composite Airboat Propeller Instructions - WhirlWind Propellers

Create successful ePaper yourself
Turn your PDF publications into a flip-book with our unique Google optimized e-Paper software.
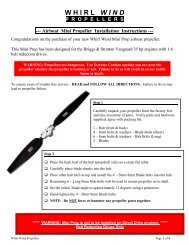
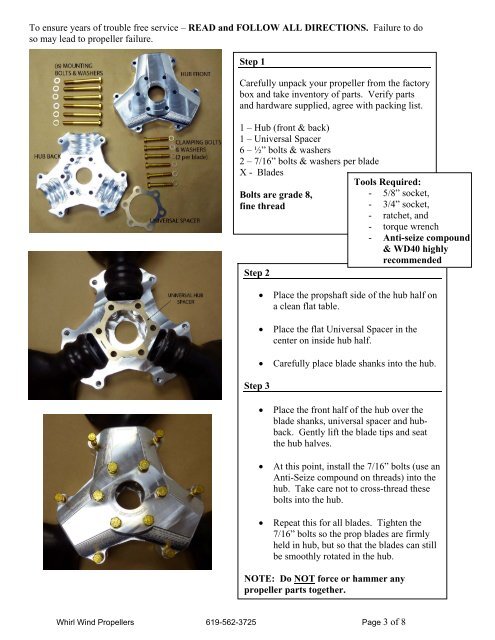
To ensure years of trouble free service – READ and FOLLOW ALL DIRECTIONS. Failure to do<br />
so may lead to propeller failure.<br />
Step 1<br />
Carefully unpack your propeller from the factory<br />
box and take inventory of parts. Verify parts<br />
and hardware supplied, agree with packing list.<br />
1 – Hub (front & back)<br />
1 – Universal Spacer<br />
6 – ½” bolts & washers<br />
2 – 7/16” bolts & washers per blade<br />
X - Blades<br />
Bolts are grade 8,<br />
fine thread<br />
Step 2<br />
Step 3<br />
� Place the propshaft side of the hub half on<br />
a clean flat table.<br />
� Place the flat Universal Spacer in the<br />
center on inside hub half.<br />
� Carefully place blade shanks into the hub.<br />
� Place the front half of the hub over the<br />
blade shanks, universal spacer and hubback.<br />
Gently lift the blade tips and seat<br />
the hub halves.<br />
� At this point, install the 7/16” bolts (use an<br />
Anti-Seize compound on threads) into the<br />
hub. Take care not to cross-thread these<br />
bolts into the hub.<br />
� Repeat this for all blades. Tighten the<br />
7/16” bolts so the prop blades are firmly<br />
held in hub, but so that the blades can still<br />
be smoothly rotated in the hub.<br />
NOTE: Do NOT force or hammer any<br />
propeller parts together.<br />
Whirl Wind <strong>Propeller</strong>s 619-562-3725 Page 3 of 8<br />
Tools Required:<br />
- 5/8” socket,<br />
- 3/4” socket,<br />
- ratchet, and<br />
- torque wrench<br />
- Anti-seize compound<br />
& WD40 highly<br />
recommended