DEWALT Industrial Tool Co., 701 East Joppa Road, Baltimore, MD ...
DEWALT Industrial Tool Co., 701 East Joppa Road, Baltimore, MD ...
DEWALT Industrial Tool Co., 701 East Joppa Road, Baltimore, MD ...

You also want an ePaper? Increase the reach of your titles
YUMPU automatically turns print PDFs into web optimized ePapers that Google loves.
English<br />
until it comes to a complete stop.<br />
Additional Safety Rules for Planers<br />
• To reduce the risk of injury, user must read and<br />
understand instruction manual before operating planer.<br />
• Always wear eye protection and dust mask if necessary.<br />
• Keep hands 6" away from motor carriage when feeding<br />
work piece.<br />
• Never make cutter knife replacement or any other<br />
repairs/adjustments with unit plugged in.<br />
• Make certain that the switch is in the off position before<br />
connecting plug to a power source.<br />
• Be sure that the cutter knives are mounted as described<br />
in the instruction manual and check that all bolts are firmly<br />
tightened before connecting unit to power source.<br />
• To avoid injury, never rotate the cutter block directly with<br />
your hands.<br />
• Keep guards in place and in good working order.<br />
• Stay alert - never operate the unit when tired or under the<br />
influence of drugs, alcohol, or medication.<br />
• Do not use in dangerous environments. Do not use near<br />
flammable substances, in damp or wet locations, or<br />
expose to rain.<br />
• Never plane material which is shorter than 12 inches.<br />
• Do not wear gloves, neckties, jewelry, or loose clothing.<br />
• Some wood contains preservatives such as copper<br />
chromium arsenate (cca) which can be toxic. When<br />
planning these materials extra care should be taken to<br />
avoid inhalation and minimize skin contact.<br />
• Exhaust chute: remove shavings with brush or vacuum<br />
after power has been shut off and cutter head has<br />
stopped rotating.<br />
• ALWAYS LOCATE PLANER WITH PROPER<br />
CLEARANCE ON THE OUTFEED SIDE of the unit to<br />
prevent pinching or binding of the workpiece or any other<br />
obstacle.<br />
WARNING: Some dust created by power sanding,<br />
sawing, grinding, drilling, and other construction activities<br />
contains chemicals known to cause cancer, birth defects or<br />
other reproductive harm. Some examples of these chemicals<br />
are:<br />
• lead from lead-based paints,<br />
• crystalline silica from bricks and cement and other<br />
masonry products, and<br />
• arsenic and chromium from chemically-treated lumber<br />
(CCA).<br />
Your risk from these exposures varies, depending on how<br />
often you do this type of work. To reduce your exposure to<br />
these chemicals: work in a well ventilated area, and work<br />
with approved safety equipment, such as those dust masks<br />
that are specially designed to filter out microscopic particles.<br />
SAVE THESE INSTRUCTIONS<br />
Specifications<br />
Input . . . . . . . . . . . . . . . . . . .120V AC, 15 Amp<br />
No-load speed . . . . . . . . . . .10,000 RPM<br />
Feed speed . . . . . . . . . . . . . .26 ft. per minute<br />
Planing height . . . . . . . . . . . .Maximum 6", Minimum 1/8"<br />
Planing width . . . . . . . . . . . .Maximum 12-1/2"<br />
Planing depth . . . . . . . . . .Maximum 1/8" (for boards<br />
5 1/2" wide or less)<br />
Electrical <strong>Co</strong>nnection<br />
Be sure your power supply agrees with the nameplate<br />
marking. AC ONLY means that your planer will operate on<br />
alternating current only. A voltage decrease of 10 percent<br />
or more will cause a loss of power and overheating. All<br />
<strong>DEWALT</strong> tools are factory tested. If this tool does not<br />
operate, check the power supply.<br />
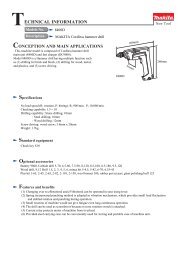
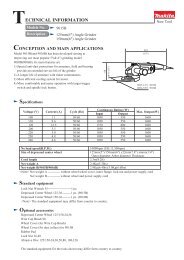
Familiarization<br />
Except for the depth adjustment handle, our planer is fully<br />
assembled in the carton. See Figure 1.<br />
Unpacking Your Planer<br />
Check the contents of your planer carton to make sure that<br />
you have received all parts. In addition to this instruction<br />
manual, the carton should contain:<br />
•1 allen wrench<br />
•1 L-shaped bolt wrench<br />
•1 open-ended wrench (10mm/8mm)<br />
•2 magnetic knife gauges<br />
•1 Depth adjustment handle<br />
•1 Allen screw<br />
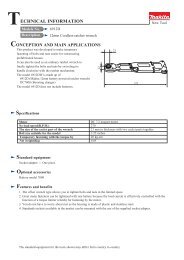
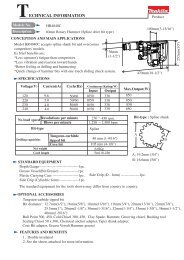
These tools are located in the tray on the back side of your<br />
planer, as shown in Figure 2.<br />
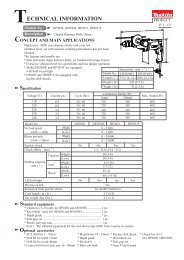
Attaching Depth Adjustment<br />
Handle<br />
Using the allen screw provided, attach the depth<br />
adjustment handle as shown in figure 9.<br />
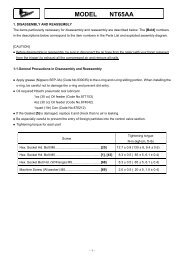
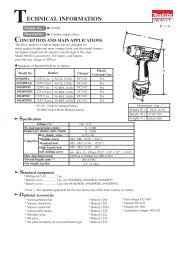
Bench Mounting<br />
Holes are provided on the four corners of your planer to<br />
facilitate bench mounting, as shown in Figure 3. (Two<br />
different sized holes are provided. If mounting the planer<br />
with bolts, use the larger holes. If mounting the planer with<br />
nails or screws, use the smaller holes. Use either size hole;<br />
it is not necessary to use both.) Always mount your planer<br />
firmly to prevent movement. To enhance the tool’s<br />
portability, it can be mounted to a piece of 1/2" (12.7mm) or<br />
thicker plywood which can then be clamped to your work<br />
FIG.1<br />
TOOL TRAY<br />
FIG. 2<br />
BENCH<br />
MOUNTING<br />
HOLES<br />
FIG.3<br />
2