D Gebrauchsanleitung 3 in 1 Stirnthermometer G ... - Sanitas
D Gebrauchsanleitung 3 in 1 Stirnthermometer G ... - Sanitas
D Gebrauchsanleitung 3 in 1 Stirnthermometer G ... - Sanitas

Create successful ePaper yourself
Turn your PDF publications into a flip-book with our unique Google optimized e-Paper software.
4. Functions<br />
This <strong>in</strong>frared thermometer is for measur<strong>in</strong>g<br />
– temperature at a person’s forehead,<br />
– surface temperature of objects and liquids,<br />
– ambient temperatures.<br />
The thermometer also offers additional functionalities:<br />
– 9 memory locations for simple plott<strong>in</strong>g of changes <strong>in</strong> temper ature,<br />
– date and time, also with all stored temperatures measured,<br />
– audible fever alarm with temperatures above 37.5 °C,<br />
– selection of either °C or °F.<br />
5. Operation<br />
Remove the protective cap and switch on the<br />
thermometer with the “ON/MEM” button. After<br />
a short self-test and two short beep tones, the<br />
thermometer is ready for forehead temperature<br />
measurement.<br />
5.1 Sett<strong>in</strong>g time and date<br />
With the thermometer switched on, hold the “ON/MEM” button depressed<br />
for 5 seconds. As soon as the “SET” symbol appears <strong>in</strong> the<br />
display, you can use the “SCAN” button to set <strong>in</strong> turn the 12 or 24<br />
hour mode, hour, m<strong>in</strong>ute, year, month and day. Confirm the values<br />
set <strong>in</strong> each case with the “ON/MEM” button.<br />
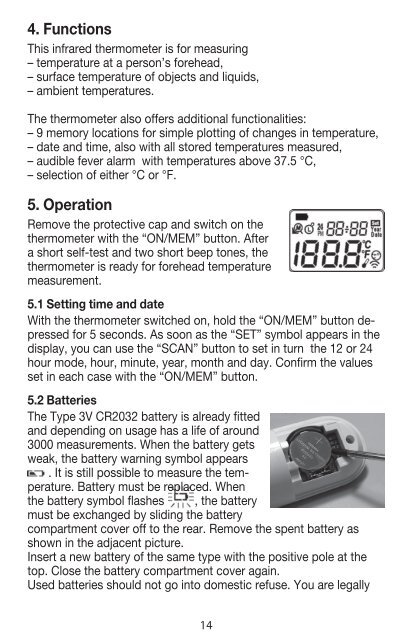
5.2 Batteries<br />
The Type 3V CR2032 battery is already fitted<br />
and depend<strong>in</strong>g on usage has a life of around<br />
3000 measurements. When the battery gets<br />
weak, the battery warn<strong>in</strong>g symbol appears<br />
. It is still possible to measure the temperature.<br />
Battery must be replaced. When<br />
the battery symbol flashes , the battery<br />
must be exchanged by slid<strong>in</strong>g the battery<br />
compartment cover off to the rear. Remove the spent battery as<br />
shown <strong>in</strong> the adjacent picture.<br />
Insert a new battery of the same type with the positive pole at the<br />
top. Close the battery compartment cover aga<strong>in</strong>.<br />
Used batteries should not go <strong>in</strong>to domestic refuse. You are legally<br />
14