warning
warning
warning

Create successful ePaper yourself
Turn your PDF publications into a flip-book with our unique Google optimized e-Paper software.
All graphics referenced in the following instructions are included<br />
later in this section after “Final Steps.”<br />
Remove and Replace Handles<br />
1. Using a ³⁄₃₂" or ¹⁄₈" hex key, loosen the two setscrews located<br />
on the side of each handle. See Metal Handle graphics 1<br />
and 2.<br />
2. Pull the handle straight out from the door. Make sure you keep<br />
the screws for reattaching the handles.<br />
3. To replace the handles, reverse the directions.<br />
Remove Doors and Hinges<br />
Refrigerator Doors and Drawer<br />
3. Align the door so that the bottom of the refrigerator door<br />
aligns evenly with the top of the freezer drawer. Tighten all<br />
screws.<br />
4. Reconnect the wiring plug on top of the left-hand side<br />
refrigerator door.<br />
5. Reconnect the water line by pulling back the locking collar<br />
ring while firmly pushing the water line into the connector.<br />
6. Check for leaks. Replace the top hinge covers.<br />
Remove and Replace Freezer Drawer<br />
IMPORTANT: Two people may be required to remove and replace<br />
the freezer drawer. Graphics are included later in this section.<br />
IMPORTANT:<br />
■ Remove food and any adjustable door or utility bins from<br />
doors.<br />
■ Keep the refrigerator doors closed until you are ready to lift<br />
them free from the cabinet.<br />
NOTE: Provide additional support for the refrigerator door<br />
while the hinges are being removed. Do not depend on the<br />
door gasket magnets to hold the door in place while you are<br />
working.<br />
TOOLS NEEDED: ⁵⁄₁₆", ³⁄₈", ¹⁄₄" hex head socket wrench, Torx ®†<br />
T20 screwdriver, #2 Phillips screwdriver, and a flat-blade<br />
screwdriver.<br />
1. Unplug refrigerator or disconnect power.<br />
2. Remove the base grille. Grasp the grille firmly and pull it<br />
toward you.<br />
Remove Drawer Front<br />
1. Open the freezer drawer to full extension.<br />
2. Loosen the four screws attaching the drawer glides to the<br />
drawer front. See Drawer Front Removal graphic.<br />
NOTE: Loosen screws three to four turns. Keep the screws in<br />
the drawer front.<br />
3. Lift drawer front upward and off the screws. See Drawer Front<br />
Removal graphic.<br />
Replace Drawer Front<br />
1. Slide the drawer glides out of the freezer compartment. Insert<br />
the screws in the top of the drawer front into the slots in the<br />
drawer brackets. See Drawer Front Replacement graphic.<br />
2. Pull the drawer brackets toward you to position the two<br />
screws in the bottom of the drawer front into the brackets.<br />
See Drawer Front Replacement graphic.<br />
3. Completely tighten the four screws.<br />
Final Steps<br />
3. Starting with the right-hand side door, remove the parts for the<br />
top hinge as shown in Top Hinge graphic. Lift the refrigerator<br />
door from the bottom hinge pin.<br />
4. Remove top hinge cover from left side refrigerator door.<br />
Disconnect the wiring plug located on top of the hinge by<br />
wedging a flat-blade screwdriver or your fingernail between<br />
the two sections. See Connections graphic.<br />
5. Disconnect the water line by pulling back on the locking collar<br />
while pulling the water line out of the water line connector. See<br />
Connections graphic.<br />
6. Remove the parts for the top hinge as shown in Top Hinge<br />
graphic. Lift the left-hand side door from the bottom hinge pin.<br />
7. Using a ³⁄₈" hex wrench, remove the leveling leg brackets from<br />
the bottom of the cabinet. Keep screws for later use.<br />
Replace Doors and Hinges<br />
1. Assemble the parts for the top hinge as shown in Top Hinge<br />
graphic. Do not tighten the screws completely.<br />
2. Replace the parts for the bottom hinge as shown in Bottom<br />
Hinge graphic. Tighten screws. Replace the refrigerator door.<br />
NOTE: Provide additional support for the refrigerator door<br />
while the hinges are being moved. Do not depend on the door<br />
gasket magnets to hold the door in place while you are<br />
working.<br />
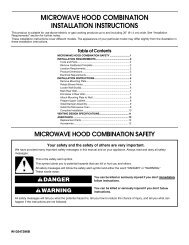
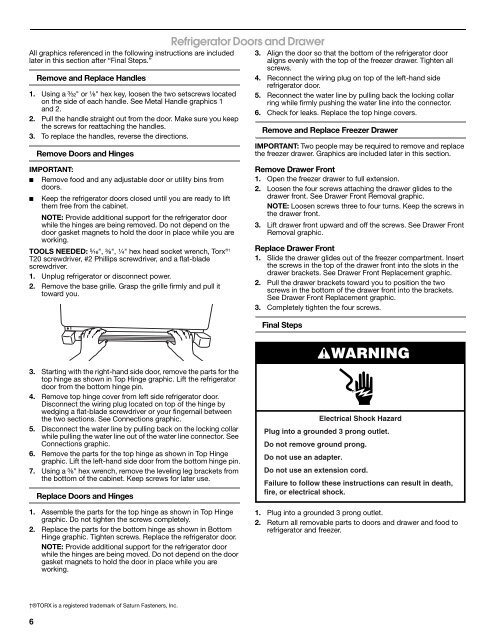
WARNING<br />
Electrical Shock Hazard<br />
Plug into a grounded 3 prong outlet.<br />
Do not remove ground prong.<br />
Do not use an adapter.<br />
Do not use an extension cord.<br />
Failure to follow these instructions can result in death,<br />
fire, or electrical shock.<br />
1. Plug into a grounded 3 prong outlet.<br />
2. Return all removable parts to doors and drawer and food to<br />
refrigerator and freezer.<br />
†®TORX is a registered trademark of Saturn Fasteners, Inc.<br />
6