Garant 2016

You also want an ePaper? Increase the reach of your titles
YUMPU automatically turns print PDFs into web optimized ePapers that Google loves.
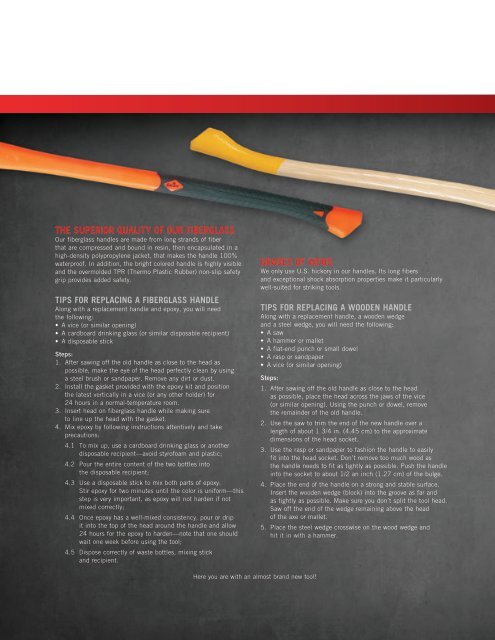
THE SUPERIOR QUALITY OF OUR FIBERGLASS<br />
Our fiberglass handles are made from long strands of fiber<br />
that are compressed and bound in resin, then encapsulated in a<br />
high-density polypropylene jacket, that makes the handle 100%<br />
waterproof. In addition, the bright colored handle is highly visible<br />
and the overmolded TPR (Thermo Plastic Rubber) non-slip safety<br />
grip provides added safety.<br />
TIPS FOR REPLACING A FIBERGLASS HANDLE<br />
Along with a replacement handle and epoxy, you will need<br />
the following:<br />
• A vice (or similar opening)<br />
• A cardboard drinking glass (or similar disposable recipient)<br />
• A disposable stick<br />
Steps:<br />
1. After sawing off the old handle as close to the head as<br />
possible, make the eye of the head perfectly clean by using<br />
a steel brush or sandpaper. Remove any dirt or dust.<br />
2. Install the gasket provided with the epoxy kit and position<br />
the latest vertically in a vice (or any other holder) for<br />
24 hours in a normal-temperature room.<br />
3. Insert head on fiberglass handle while making sure<br />
to line up the head with the gasket.<br />
4. Mix epoxy by following instructions attentively and take<br />
precautions:<br />
4.1 To mix up, use a cardboard drinking glass or another<br />
disposable recipient—avoid styrofoam and plastic;<br />
4.2 Pour the entire content of the two bottles into<br />
the disposable recipient;<br />
4.3 Use a disposable stick to mix both parts of epoxy.<br />
Stir epoxy for two minutes until the color is uniform—this<br />
step is very important, as epoxy will not harden if not<br />
mixed correctly;<br />
4.4 Once epoxy has a well-mixed consistency, pour or drip<br />
it into the top of the head around the handle and allow<br />
24 hours for the epoxy to harden—note that one should<br />
wait one week before using the tool;<br />
4.5 Dispose correctly of waste bottles, mixing stick<br />
and recipient.<br />
GRADES OF WOOD<br />
We only use U.S. hickory in our handles. Its long fibers<br />
and exceptional shock absorption properties make it particularly<br />
well-suited for striking tools.<br />
TIPS FOR REPLACING A WOODEN HANDLE<br />
Along with a replacement handle, a wooden wedge<br />
and a steel wedge, you will need the following:<br />
• A saw<br />
• A hammer or mallet<br />
• A flat-end punch or small dowel<br />
• A rasp or sandpaper<br />
• A vice (or similar opening)<br />
Steps:<br />
1. After sawing off the old handle as close to the head<br />
as possible, place the head across the jaws of the vice<br />
(or similar opening). Using the punch or dowel, remove<br />
the remainder of the old handle.<br />
2. Use the saw to trim the end of the new handle over a<br />
length of about 1 3/4 in. (4.45 cm) to the approximate<br />
dimensions of the head socket.<br />
3. Use the rasp or sandpaper to fashion the handle to easily<br />
fit into the head socket. Don’t remove too much wood as<br />
the handle needs to fit as tightly as possible. Push the handle<br />
into the socket to about 1/2 an inch (1.27 cm) of the bulge.<br />
4. Place the end of the handle on a strong and stable surface.<br />
Insert the wooden wedge (block) into the groove as far and<br />
as tightly as possible. Make sure you don’t split the tool head.<br />
Saw off the end of the wedge remaining above the head<br />
of the axe or mallet.<br />
5. Place the steel wedge crosswise on the wood wedge and<br />
hit it in with a hammer.<br />
Here you are with an almost brand new tool!