Sony STR-D550Z - STR-D550Z Consignes d’utilisation Français
Sony STR-D550Z - STR-D550Z Consignes d’utilisation Français
Sony STR-D550Z - STR-D550Z Consignes d’utilisation Français
You also want an ePaper? Increase the reach of your titles
YUMPU automatically turns print PDFs into web optimized ePapers that Google loves.
Receiver Operations<br />
If an FM stereo program is distorted<br />
The STEREO indicator flashes. Press FM MODE to<br />
change to monaural (MONO). You will not have the<br />
stereo effect but the distortion will be reduced. To<br />
return to the auto stereo mode, press this button again.<br />
If you cannot tune in a station and the entered<br />
numbers are flashing<br />
Make sure you’ve entered the right frequency. If not,<br />
press DIRECT and reenter the frequency you want.<br />
If the entered numbers still flash, the frequency is not<br />
used in your area.<br />
Presetting Radio Stations<br />
You’ll most likely want to preset the receiver with the<br />
radio stations you listen to often so that you don’t have<br />
to tune in the station every time. The receiver can store<br />
a total of 30 FM or AM stations. You can store the<br />
stations on preset numbers combining 3 characters (A,<br />
B and C) and numbers (0-9). For example, you can<br />
store a station as preset number A1, B6, or C9.<br />
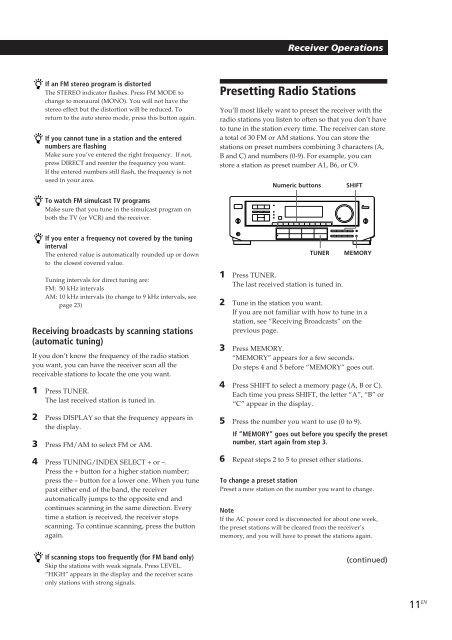
Numeric buttons<br />
SHIFT<br />
To watch FM simulcast TV programs<br />
Make sure that you tune in the simulcast program on<br />
both the TV (or VCR) and the receiver.<br />
If you enter a frequency not covered by the tuning<br />
interval<br />
The entered value is automatically rounded up or down<br />
to the closest covered value.<br />
TUNER<br />
MEMORY<br />
Tuning intervals for direct tuning are:<br />
FM: 50 kHz intervals<br />
AM: 10 kHz intervals (to change to 9 kHz intervals, see<br />
page 23)<br />
Receiving broadcasts by scanning stations<br />
(automatic tuning)<br />
If you don’t know the frequency of the radio station<br />
you want, you can have the receiver scan all the<br />
receivable stations to locate the one you want.<br />
1 Press TUNER.<br />
The last received station is tuned in.<br />
2 Press DISPLAY so that the frequency appears in<br />
the display.<br />
3 Press FM/AM to select FM or AM.<br />
4 Press TUNING/INDEX SELECT + or –.<br />
Press the + button for a higher station number;<br />
press the – button for a lower one. When you tune<br />
past either end of the band, the receiver<br />
automatically jumps to the opposite end and<br />
continues scanning in the same direction. Every<br />
time a station is received, the receiver stops<br />
scanning. To continue scanning, press the button<br />
again.<br />
1 Press TUNER.<br />
The last received station is tuned in.<br />
2 Tune in the station you want.<br />
If you are not familiar with how to tune in a<br />
station, see “Receiving Broadcasts” on the<br />
previous page.<br />
3 Press MEMORY.<br />
“MEMORY” appears for a few seconds.<br />
Do steps 4 and 5 before “MEMORY” goes out.<br />
4 Press SHIFT to select a memory page (A, B or C).<br />
Each time you press SHIFT, the letter “A”, “B” or<br />
“C” appear in the display.<br />
5 Press the number you want to use (0 to 9).<br />
If “MEMORY” goes out before you specify the preset<br />
number, start again from step 3.<br />
6 Repeat steps 2 to 5 to preset other stations.<br />
To change a preset station<br />
Preset a new station on the number you want to change.<br />
Note<br />
If the AC power cord is disconnected for about one week,<br />
the preset stations will be cleared from the receiver’s<br />
memory, and you will have to preset the stations again.<br />
If scanning stops too frequently (for FM band only)<br />
Skip the stations with weak signals. Press LEVEL.<br />
“HIGH” appears in the display and the receiver scans<br />
only stations with strong signals.<br />
(continued)<br />
11 EN


