WEU Model MM20 Model MM40 - Dremel
WEU Model MM20 Model MM40 - Dremel
WEU Model MM20 Model MM40 - Dremel

Create successful ePaper yourself
Turn your PDF publications into a flip-book with our unique Google optimized e-Paper software.
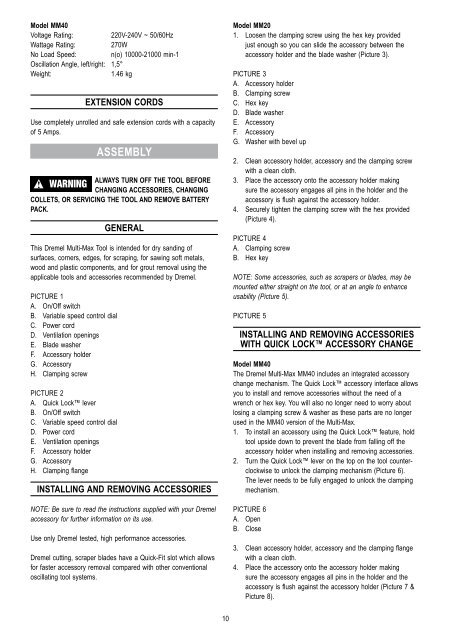
<strong>Model</strong> <strong>MM40</strong><br />
Voltage Rating: 220V-240V ~ 50/60Hz<br />
Wattage Rating: 270W<br />
No Load Speed: n(o) 10000-21000 min-1<br />
Oscillation Angle, left/right: 1,5°<br />
Weight: 1.46 kg<br />
ExtEnsiOn cOrDs<br />
Use completely unrolled and safe extension cords with a capacity<br />
of 5 Amps.<br />
assEMBlY<br />
alwaYs turn Off tHE tOOl BEfOrE<br />
! WARNING<br />
cHanging accEssOriEs, cHanging<br />
cOllEts, Or sErVicing tHE tOOl anD rEMOVE BattErY<br />
Pack.<br />
gEnEral<br />
This <strong>Dremel</strong> Multi-Max Tool is intended for dry sanding of<br />
surfaces, corners, edges, for scraping, for sawing soft metals,<br />
wood and plastic components, and for grout removal using the<br />
applicable tools and accessories recommended by <strong>Dremel</strong>.<br />
PICTURE 1<br />
A. On/Off switch<br />
B. Variable speed control dial<br />
C. Power cord<br />
D. Ventilation openings<br />
E. Blade washer<br />
F. Accessory holder<br />
G. Accessory<br />
H. Clamping screw<br />
PICTURE 2<br />
A. Quick Lock lever<br />
B. On/Off switch<br />
C. Variable speed control dial<br />
D. Power cord<br />
E. Ventilation openings<br />
F. Accessory holder<br />
G. Accessory<br />
H. Clamping flange<br />
installing anD rEMOVing accEssOriEs<br />
NOTE: Be sure to read the instructions supplied with your <strong>Dremel</strong><br />
accessory for further information on its use.<br />
Use only <strong>Dremel</strong> tested, high performance accessories.<br />
<strong>Dremel</strong> cutting, scraper blades have a Quick-Fit slot which allows<br />
for faster accessory removal compared with other conventional<br />
oscillating tool systems.<br />
10<br />
<strong>Model</strong> <strong>MM20</strong><br />
1. Loosen the clamping screw using the hex key provided<br />
just enough so you can slide the accessory between the<br />
accessory holder and the blade washer (Picture 3).<br />
PICTURE 3<br />
A. Accessory holder<br />
B. Clamping screw<br />
C. Hex key<br />
D. Blade washer<br />
E. Accessory<br />
F. Accessory<br />
G. Washer with bevel up<br />
2. Clean accessory holder, accessory and the clamping screw<br />
with a clean cloth.<br />
3. Place the accessory onto the accessory holder making<br />
sure the accessory engages all pins in the holder and the<br />
accessory is flush against the accessory holder.<br />
4. Securely tighten the clamping screw with the hex provided<br />
(Picture 4).<br />
PICTURE 4<br />
A. Clamping screw<br />
B. Hex key<br />
NOTE: Some accessories, such as scrapers or blades, may be<br />
mounted either straight on the tool, or at an angle to enhance<br />
usability (Picture 5).<br />
PICTURE 5<br />
installing anD rEMOVing accEssOriEs<br />
witH quick lOck accEssOrY cHangE<br />
<strong>Model</strong> <strong>MM40</strong><br />
The <strong>Dremel</strong> Multi-Max <strong>MM40</strong> includes an integrated accessory<br />
change mechanism. The Quick Lock accessory interface allows<br />
you to install and remove accessories without the need of a<br />
wrench or hex key. You will also no longer need to worry about<br />
losing a clamping screw & washer as these parts are no longer<br />
used in the <strong>MM40</strong> version of the Multi-Max.<br />
1. To install an accessory using the Quick Lock feature, hold<br />
tool upside down to prevent the blade from falling off the<br />
accessory holder when installing and removing accessories.<br />
2. Turn the Quick Lock lever on the top on the tool counterclockwise<br />
to unlock the clamping mechanism (Picture 6).<br />
The lever needs to be fully engaged to unlock the clamping<br />
mechanism.<br />
PICTURE 6<br />
A. Open<br />
B. Close<br />
3. Clean accessory holder, accessory and the clamping flange<br />
with a clean cloth.<br />
4. Place the accessory onto the accessory holder making<br />
sure the accessory engages all pins in the holder and the<br />
accessory is flush against the accessory holder (Picture 7 &<br />
Picture 8).