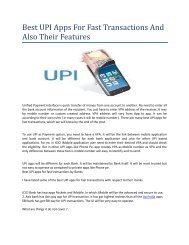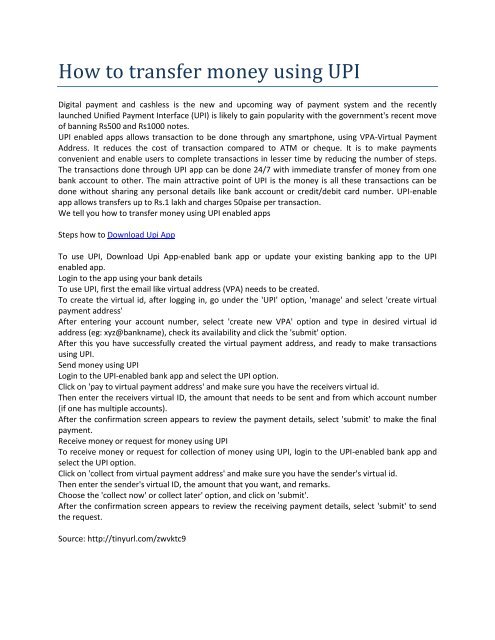
How to transfer money using UPI
Make instant and secure payments from any of your linked accounts with VPA process using Axis UPI app. No need to remember your bank account number & IFSC.
Make instant and secure payments from any of your linked accounts with VPA process using Axis UPI app. No need to remember your bank account number & IFSC.
- No tags were found...

Create successful ePaper yourself
Turn your PDF publications into a flip-book with our unique Google optimized e-Paper software.
<strong>How</strong> <strong>to</strong> <strong>transfer</strong> <strong>money</strong> <strong>using</strong> <strong>UPI</strong><br />
Digital payment and cashless is the new and upcoming way of payment system and the recently<br />
launched Unified Payment Interface (<strong>UPI</strong>) is likely <strong>to</strong> gain popularity with the government's recent move<br />
of banning Rs500 and Rs1000 notes.<br />
<strong>UPI</strong> enabled apps allows transaction <strong>to</strong> be done through any smartphone, <strong>using</strong> VPA-Virtual Payment<br />
Address. It reduces the cost of transaction compared <strong>to</strong> ATM or cheque. It is <strong>to</strong> make payments<br />
convenient and enable users <strong>to</strong> complete transactions in lesser time by reducing the number of steps.<br />
The transactions done through <strong>UPI</strong> app can be done 24/7 with immediate <strong>transfer</strong> of <strong>money</strong> from one<br />
bank account <strong>to</strong> other. The main attractive point of <strong>UPI</strong> is the <strong>money</strong> is all these transactions can be<br />
done without sharing any personal details like bank account or credit/debit card number. <strong>UPI</strong>-enable<br />
app allows <strong>transfer</strong>s up <strong>to</strong> Rs.1 lakh and charges 50paise per transaction.<br />
We tell you how <strong>to</strong> <strong>transfer</strong> <strong>money</strong> <strong>using</strong> <strong>UPI</strong> enabled apps<br />
Steps how <strong>to</strong> Download Upi App<br />
To use <strong>UPI</strong>, Download Upi App-enabled bank app or update your existing banking app <strong>to</strong> the <strong>UPI</strong><br />
enabled app.<br />
Login <strong>to</strong> the app <strong>using</strong> your bank details<br />
To use <strong>UPI</strong>, first the email like virtual address (VPA) needs <strong>to</strong> be created.<br />
To create the virtual id, after logging in, go under the '<strong>UPI</strong>' option, 'manage' and select 'create virtual<br />
payment address'<br />
After entering your account number, select 'create new VPA' option and type in desired virtual id<br />
address (eg: xyz@bankname), check its availability and click the 'submit' option.<br />
After this you have successfully created the virtual payment address, and ready <strong>to</strong> make transactions<br />
<strong>using</strong> <strong>UPI</strong>.<br />
Send <strong>money</strong> <strong>using</strong> <strong>UPI</strong><br />
Login <strong>to</strong> the <strong>UPI</strong>-enabled bank app and select the <strong>UPI</strong> option.<br />
Click on 'pay <strong>to</strong> virtual payment address' and make sure you have the receivers virtual id.<br />
Then enter the receivers virtual ID, the amount that needs <strong>to</strong> be sent and from which account number<br />
(if one has multiple accounts).<br />
After the confirmation screen appears <strong>to</strong> review the payment details, select 'submit' <strong>to</strong> make the final<br />
payment.<br />
Receive <strong>money</strong> or request for <strong>money</strong> <strong>using</strong> <strong>UPI</strong><br />
To receive <strong>money</strong> or request for collection of <strong>money</strong> <strong>using</strong> <strong>UPI</strong>, login <strong>to</strong> the <strong>UPI</strong>-enabled bank app and<br />
select the <strong>UPI</strong> option.<br />
Click on 'collect from virtual payment address' and make sure you have the sender's virtual id.<br />
Then enter the sender's virtual ID, the amount that you want, and remarks.<br />
Choose the 'collect now' or collect later' option, and click on 'submit'.<br />
After the confirmation screen appears <strong>to</strong> review the receiving payment details, select 'submit' <strong>to</strong> send<br />
the request.<br />
Source: http://tinyurl.com/zwvktc9