
Create successful ePaper yourself
Turn your PDF publications into a flip-book with our unique Google optimized e-Paper software.
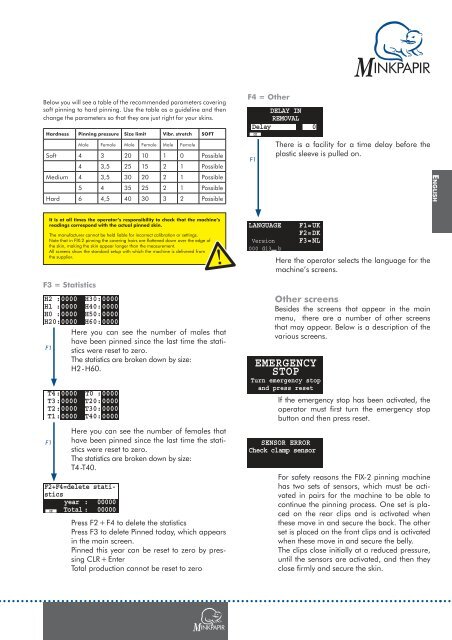
Below you will see a table of the recommended parameters covering<br />
soft pinning to hard pinning. Use the table as a guideline and then<br />
change the parameters so that they are just right for your skins.<br />
Hardness Pinning pressure Size limit Vibr. stretch SOFT<br />
Male Female Male Female Male Female<br />
Soft 4 3 20 10 1 0 Possible<br />
4 3,5 25 15 2 1 Possible<br />
Medium 4 3,5 30 20 2 1 Possible<br />
5 4 35 25 2 1 Possible<br />
Hard 6 4,5 40 30 3 2 Possible<br />
It is at all times the operator’s responsibility to check that the machine’s<br />
readings correspond with the actual pinned skin.<br />
The manufacturer cannot be held liable for incorrect calibration or settings.<br />
Note that in FIX-2 pinning the covering hairs are flattened down over the edge of<br />
the skin, making the skin appear longer than the measurement.<br />
All screens show the standard setup with which the machine is delivered from<br />
the supplier.<br />
F3 = Statistics<br />
H2 : 0000 H30 : 0000<br />
H1 : 0000 H40 : 0000<br />
H0 : 0000 H50 : 0000<br />
H20 : 0000 H60 : 0000<br />
Here you can see the number of males that<br />
have been pinned since the last time the stati-<br />
F1 stics were reset to zero.<br />
The statistics are broken down by size:<br />
H2 - H60.<br />
T4 : 0000 T0 : 0000<br />
T3 : 0000 T20 : 0000<br />
T2 : 0000 T30 : 0000<br />
T1 : 0000 T40 : 0000<br />
F1<br />
Here you can see the number of females that<br />
have been pinned since the last time the statistics<br />
were reset to zero.<br />
The statistics are broken down by size:<br />
T4 -T40.<br />
F2+F4=delete statisticsPinned<br />
this<br />
year : 00000<br />
Total : 00000<br />
OK<br />
Press F2 + F4 to delete the statistics<br />
Press F3 to delete Pinned today, which appears<br />
in the main screen.<br />
Pinned this year can be reset to zero by pressing<br />
CLR + Enter<br />
Total production cannot be reset to zero<br />
F4 = Ot<strong>her</strong><br />
DELAY IN<br />
REMOVAL<br />
Delay 0<br />
OK<br />
F1<br />
T<strong>her</strong>e is a facility for a time delay before the<br />
plastic sleeve is pulled on.<br />
LANGUAGE F1 = UK<br />
F2 = DK<br />
Version F3 = NL<br />
000 di3 b<br />
Here the operator selects the language for the<br />
machine’s screens.<br />
Ot<strong>her</strong> screens<br />
Besides the screens that appear in the main<br />
menu, t<strong>her</strong>e are a number of ot<strong>her</strong> screens<br />
that may appear. Below is a description of the<br />
various screens.<br />
EMERGENCY<br />
STOP<br />
Turn emergency stop<br />
and press reset<br />
If the emergency stop has been activated, the<br />
operator must first turn the emergency stop<br />
button and then press reset.<br />
SENSOR ERROR<br />
Check clamp sensor<br />
For safety reasons the FIX-2 pinning machine<br />
has two sets of sensors, which must be activated<br />
in pairs for the machine to be able to<br />
continue the pinning process. One set is placed<br />
on the rear clips and is activated when<br />
these move in and secure the back. The ot<strong>her</strong><br />
set is placed on the front clips and is activated<br />
when these move in and secure the belly.<br />
The clips close initially at a reduced pressure,<br />
until the sensors are activated, and then they<br />
close firmly and secure the skin.<br />
ENGLISH