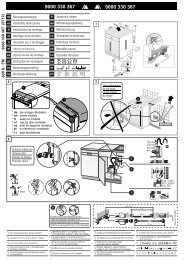
Montageanleitung KOENIC 1-türige Kältegeräte Notice de montage ...
Montageanleitung KOENIC 1-türige Kältegeräte Notice de montage ...
Montageanleitung KOENIC 1-türige Kältegeräte Notice de montage ...

Sie wollen auch ein ePaper? Erhöhen Sie die Reichweite Ihrer Titel.
YUMPU macht aus Druck-PDFs automatisch weboptimierte ePaper, die Google liebt.
en<br />
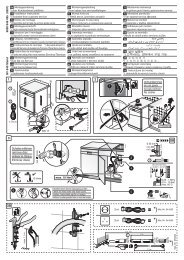
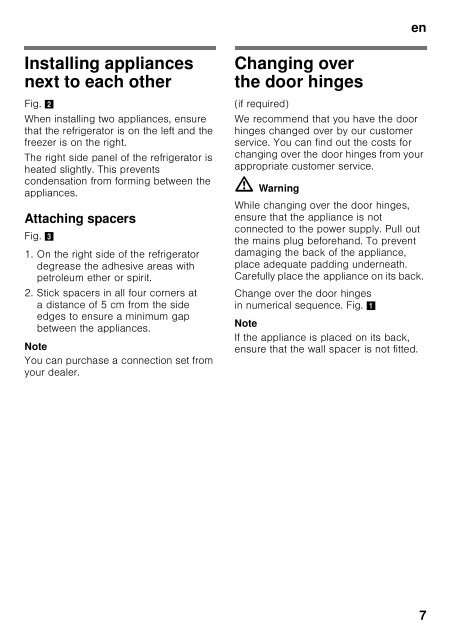
Installing appliances<br />
next to each other<br />
Fig. 2<br />
When installing two appliances, ensure<br />
that the refrigerator is on the left and the<br />
freezer is on the right.<br />
The right si<strong>de</strong> panel of the refrigerator is<br />
heated slightly. This prevents<br />
con<strong>de</strong>nsation from forming between the<br />
appliances.<br />
Attaching spacers<br />
Fig. 3<br />
1. On the right si<strong>de</strong> of the refrigerator<br />
<strong>de</strong>grease the adhesive areas with<br />
petroleum ether or spirit.<br />
2. Stick spacers in all four corners at<br />
a distance of 5 cm from the si<strong>de</strong><br />
edges to ensure a minimum gap<br />
between the appliances.<br />
Note<br />
You can purchase a connection set from<br />
your <strong>de</strong>aler.<br />
Changing over<br />
the door hinges<br />
(if required)<br />
We recommend that you have the door<br />
hinges changed over by our customer<br />
service. You can find out the costs for<br />
changing over the door hinges from your<br />
appropriate customer service.<br />
ã=Warning<br />
While changing over the door hinges,<br />
ensure that the appliance is not<br />
connected to the power supply. Pull out<br />
the mains plug beforehand. To prevent<br />
damaging the back of the appliance,<br />
place a<strong>de</strong>quate padding un<strong>de</strong>rneath.<br />
Carefully place the appliance on its back.<br />
Change over the door hinges<br />
in numerical sequence. Fig. 1<br />
Note<br />
If the appliance is placed on its back,<br />
ensure that the wall spacer is not fitted.<br />
7