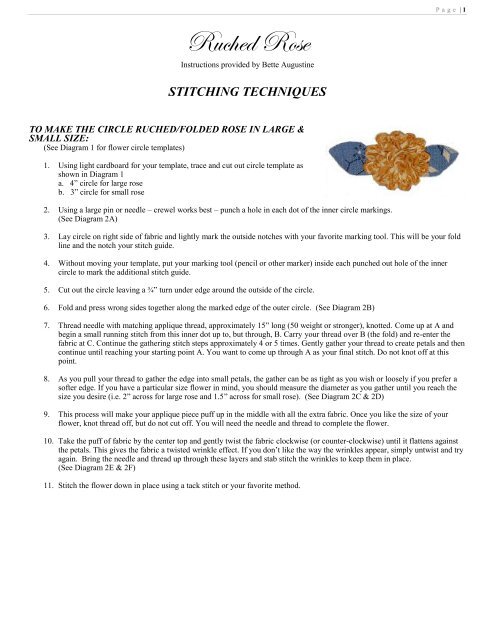
Ruched Rose - Elly Sienkiewicz
Ruched Rose - Elly Sienkiewicz
Ruched Rose - Elly Sienkiewicz

Create successful ePaper yourself
Turn your PDF publications into a flip-book with our unique Google optimized e-Paper software.
<strong>Ruched</strong> <strong>Rose</strong><br />
Instructions provided by Bette Augustine<br />
STITCHING TECHNIQUES<br />
TO MAKE THE CIRCLE RUCHED/FOLDED ROSE IN LARGE &<br />
SMALL SIZE:<br />
(See Diagram 1 for flower circle templates)<br />
1. Using light cardboard for your template, trace and cut out circle template as<br />
shown in Diagram 1<br />
a. 4” circle for large rose<br />
b. 3” circle for small rose<br />
2. Using a large pin or needle – crewel works best – punch a hole in each dot of the inner circle markings.<br />
(See Diagram 2A)<br />
P a g e | 1<br />
3. Lay circle on right side of fabric and lightly mark the outside notches with your favorite marking tool. This will be your fold<br />
line and the notch your stitch guide.<br />
4. Without moving your template, put your marking tool (pencil or other marker) inside each punched out hole of the inner<br />
circle to mark the additional stitch guide.<br />
5. Cut out the circle leaving a ¾” turn under edge around the outside of the circle.<br />
6. Fold and press wrong sides together along the marked edge of the outer circle. (See Diagram 2B)<br />
7. Thread needle with matching applique thread, approximately 15” long (50 weight or stronger), knotted. Come up at A and<br />
begin a small running stitch from this inner dot up to, but through, B. Carry your thread over B (the fold) and re-enter the<br />
fabric at C. Continue the gathering stitch steps approximately 4 or 5 times. Gently gather your thread to create petals and then<br />
continue until reaching your starting point A. You want to come up through A as your final stitch. Do not knot off at this<br />
point.<br />
8. As you pull your thread to gather the edge into small petals, the gather can be as tight as you wish or loosely if you prefer a<br />
softer edge. If you have a particular size flower in mind, you should measure the diameter as you gather until you reach the<br />
size you desire (i.e. 2” across for large rose and 1.5” across for small rose). (See Diagram 2C & 2D)<br />
9. This process will make your applique piece puff up in the middle with all the extra fabric. Once you like the size of your<br />
flower, knot thread off, but do not cut off. You will need the needle and thread to complete the flower.<br />
10. Take the puff of fabric by the center top and gently twist the fabric clockwise (or counter-clockwise) until it flattens against<br />
the petals. This gives the fabric a twisted wrinkle effect. If you don’t like the way the wrinkles appear, simply untwist and try<br />
again. Bring the needle and thread up through these layers and stab stitch the wrinkles to keep them in place.<br />
(See Diagram 2E & 2F)<br />
11. Stitch the flower down in place using a tack stitch or your favorite method.
Diagram 1<br />
FLOWER CIRCLE TEMPLATES<br />
Not to Size<br />
P a g e | 2
Diagram 2<br />
FLOWER TECHNIQUES<br />
A - Templates and Markings B - Stitch Illustration<br />
C - Gathered Edges D - Side View of Gathers<br />
E - Twisting Illustration F - Completed Flower<br />
P a g e | 3