


Create successful ePaper yourself
Turn your PDF publications into a flip-book with our unique Google optimized e-Paper software.
<strong>OLFA</strong> - <strong>Projects</strong> http://www.olfa.com/QuiltersProjectDetail.aspx?Print=t&C=4&Id=67801<br />
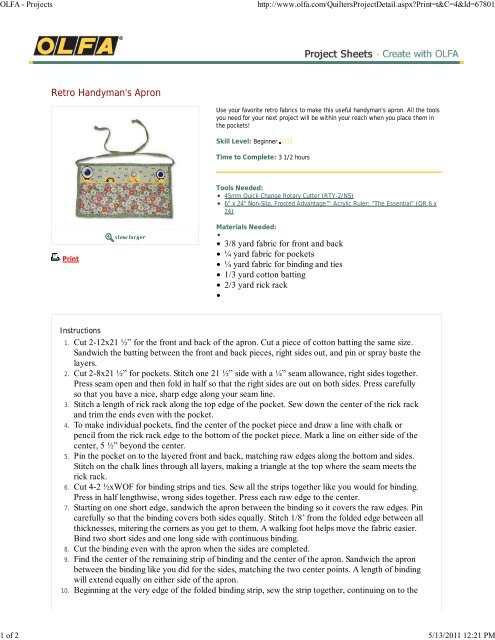
Retro Handyman's Apron<br />
Print<br />
Use your favorite retro fabrics to make this useful handyman's apron. All the tools<br />
you need for your next project will be within your reach when you place them in<br />
the pockets!<br />
Skill Level: Beginner<br />
Time to Complete: 3 1/2 hours<br />
Tools Needed:<br />
45mm Quick-Change Rotary Cutter (RTY-2/NS)<br />
6" x 24" Non-Slip, Frosted Advantage Acrylic Ruler: "The Essential" (QR 6 x<br />
24)<br />
Materials Needed:<br />
3/8 yard fabric for front and back<br />
¼ yard fabric for pockets<br />
¼ yard fabric for binding and ties<br />
1/3 yard cotton batting<br />
2/3 yard rick rack<br />
Instructions<br />
1. Cut 2-12x21 ½” for the front and back of the apron. Cut a piece of cotton batting the same size.<br />
Sandwich the batting between the front and back pieces, right sides out, and pin or spray baste the<br />
layers.<br />
2. Cut 2-8x21 ½” for pockets. Stitch one 21 ½” side with a ¼” seam allowance, right sides together.<br />
Press seam open and then fold in half so that the right sides are out on both sides. Press carefully<br />
so that you have a nice, sharp edge along your seam line.<br />
3. Stitch a length of rick rack along the top edge of the pocket. Sew down the center of the rick rack<br />
and trim the ends even with the pocket.<br />
4. To make individual pockets, find the center of the pocket piece and draw a line with chalk or<br />
pencil from the rick rack edge to the bottom of the pocket piece. Mark a line on either side of the<br />
center, 5 ½” beyond the center.<br />
5. Pin the pocket on to the layered front and back, matching raw edges along the bottom and sides.<br />
Stitch on the chalk lines through all layers, making a triangle at the top where the seam meets the<br />
rick rack.<br />
6. Cut 4-2 ½xWOF for binding strips and ties. Sew all the strips together like you would for binding.<br />
Press in half lengthwise, wrong sides together. Press each raw edge to the center.<br />
7. Starting on one short edge, sandwich the apron between the binding so it covers the raw edges. Pin<br />
carefully so that the binding covers both sides equally. Stitch 1/8’ from the folded edge between all<br />
thicknesses, mitering the corners as you get to them. A walking foot helps move the fabric easier.<br />
Bind two short sides and one long side with continuous binding.<br />
8. Cut the binding even with the apron when the sides are completed.<br />
9. Find the center of the remaining strip of binding and the center of the apron. Sandwich the apron<br />
between the binding like you did for the sides, matching the two center points. A length of binding<br />
will extend equally on either side of the apron.<br />
10. Beginning at the very edge of the folded binding strip, sew the strip together, continuing on to the<br />
1 of 2 5/13/2011 12:21 PM
<strong>OLFA</strong> - <strong>Projects</strong> http://www.olfa.com/QuiltersProjectDetail.aspx?Print=t&C=4&Id=67801<br />
11.<br />
apron and then finishing with the remaining binding strip. This forms the ties to the apron.<br />
Try the apron on to see how long you need the ties. The apron is designed so the ties can be<br />
brought around to the front if you wish. Trim off extra length. Tie a knot 1” away from the end of<br />
each tie.<br />
2 of 2 5/13/2011 12:21 PM