installation guide k-flex clad® wt ns (non-slit) - K-Flex USA
installation guide k-flex clad® wt ns (non-slit) - K-Flex USA
installation guide k-flex clad® wt ns (non-slit) - K-Flex USA

You also want an ePaper? Increase the reach of your titles
YUMPU automatically turns print PDFs into web optimized ePapers that Google loves.
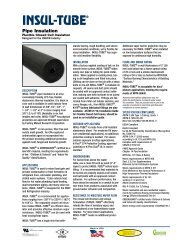
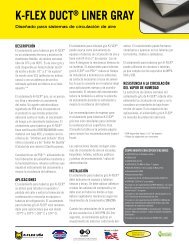
About K-<strong>Flex</strong> CLAD ® WT NS (Non-Slit)<br />
K-FLEX CLAD ® WT NON-SLIT combines a<br />
<strong>flex</strong>ible elastomeric tube i<strong>ns</strong>ulation with an<br />
attractive white-finish clad covering that is<br />
moisture and mold resistant, abuse resistant,<br />
and has low VOC content. The product is<br />
sold in 3 ft. lengths <strong>non</strong>-<strong>slit</strong> for slide-on<br />
application. By eliminating a field-applied<br />
longitudinal seam, it provides a better<br />
moisture vapor barrier.<br />
The white finish is ideal for indoor or outdoor<br />
applicatio<strong>ns</strong> where piping systems are<br />
exposed and the ability to clean and the<br />
appearance are important. K-<strong>Flex</strong> Clad ® WT<br />
NS is easy to i<strong>ns</strong>tall and can be used in a<br />
variety of applicatio<strong>ns</strong> including: rooftops,<br />
food processing plants, supermarkets,<br />
pharmaceuticals, film processing, electronics<br />
and other clean room applicatio<strong>ns</strong>.<br />
For more information, please co<strong>ns</strong>ult our<br />
technical data sheet.<br />
K-<strong>Flex</strong> CLAD ® WT NS PAGE 2<br />
Note: When using contact adhesives, be sure to:<br />
a. Use contact adhesives in well ventilated<br />
areas.<br />
b. Keep containers closed when not in use.<br />
c. Stir thoroughly.<br />
d. Apply with brush or convenient pressure<br />
can dispe<strong>ns</strong>er.<br />
e. Apply a thin uniform coat on both surfaces<br />
to be adhered.<br />
f. Apply adhesives from the i<strong>ns</strong>ide out to<br />
avoid excessive adhesives on outer surface.<br />
g. Allow adhesives to become tacky - solvents<br />
to evaporate.<br />
h. Apply uniform pressure to seam - working<br />
from the ends to the center.<br />
i. Clean up with mineral spirits.<br />
j. Store adhesives away from heat and any<br />
open flame.<br />
k. Keep working area neat and clean. Avoid<br />
spills.<br />
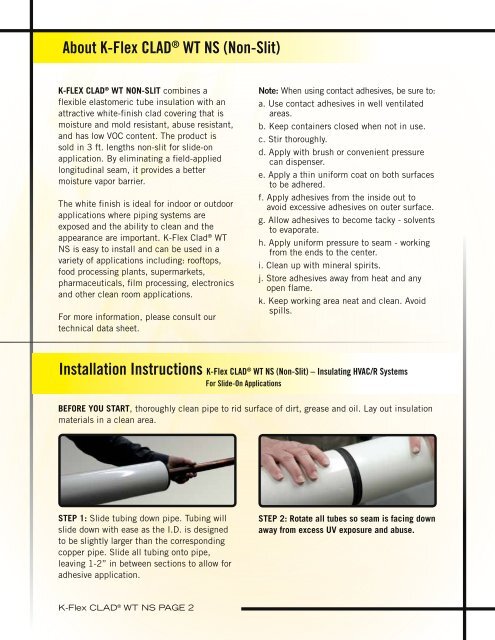
I<strong>ns</strong>tallation I<strong>ns</strong>tructio<strong>ns</strong> K-<strong>Flex</strong> CLAD ® WT NS (Non-Slit) – I<strong>ns</strong>ulating HVAC/R Systems<br />
For Slide-On Applicatio<strong>ns</strong><br />
BEFORE YOU START, thoroughly clean pipe to rid surface of dirt, grease and oil. Lay out i<strong>ns</strong>ulation<br />
materials in a clean area.<br />
STEP 1: Slide tubing down pipe. Tubing will<br />
slide down with ease as the I.D. is designed<br />
to be slightly larger than the corresponding<br />
copper pipe. Slide all tubing onto pipe,<br />
leaving 1-2” in between sectio<strong>ns</strong> to allow for<br />
adhesive application.<br />
STEP 2: Rotate all tubes so seam is facing down<br />
away from excess UV exposure and abuse.