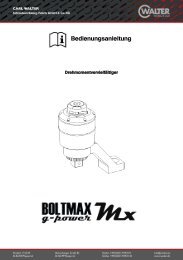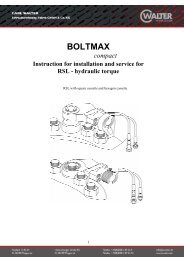
Boltmax g-power Mx
Boltmax g-power Mx
Boltmax g-power Mx

You also want an ePaper? Increase the reach of your titles
YUMPU automatically turns print PDFs into web optimized ePapers that Google loves.
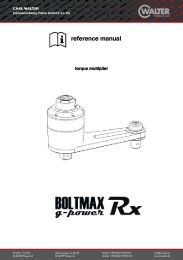
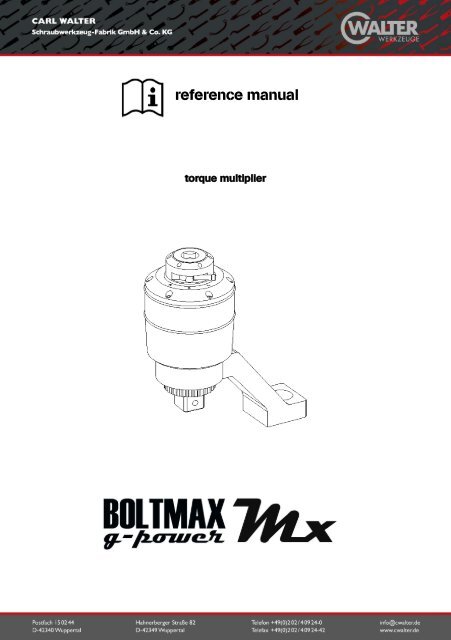
eference manual<br />
torque multiplier
1. Operating instructions<br />
1. Put the reaction anchor completely over the toothing of torque multiplier. The reaction<br />
anchor shows into same direction as the male square drive.<br />
2. Put an impact socket on the male square drive of torque multiplier and lock it with pin and ring.<br />
3. Put torque multiplier with fixed impact socket over the bolt connection to be moved.<br />
4. On devices <strong>Mx</strong>28, <strong>Mx</strong>38 and <strong>Mx</strong>50 set working direction required by moving selection pawl of<br />
anti-backlash-device on L = left hand operation (dismounting) or on R = right hand operation<br />
(tightening).<br />
5. Take care that reaction anchor finds a stable counterstay.<br />
Attention: Reaction anchor moves opposite to working direction!<br />
6. Adjust your torque wrench to the input torque value necessary to achieve the required output torque<br />
7. Now put torque wrench onto torque multiplier and tighten up to the pre-set input torque value. Do neither<br />
hold reaction anchor nor torque multiplier with your hands, the forces that are created during operation may<br />
lead to injuries.<br />
To avoid backstroke of the wrench always hold the torque wrench with both<br />
hands securely.<br />
8. On devices <strong>Mx</strong>28, <strong>Mx</strong>38 and <strong>Mx</strong>50 the planetary gear system must be discharged when operation is finished.<br />
This is done by shortly loading torque multiplier into working direction and putting the selection pawl into neutral<br />
position (0). Then carefully discharge.<br />
9. Attention: Torque multiplier do not use the with impact nutrunners!<br />
2. Change of shear pin<br />
In order to protect gear system against overloading all multipliers are fitted with a controlled shear-<br />
off system. After dismounting the cover (<strong>Mx</strong>8, <strong>Mx</strong>18: circlip detach; <strong>Mx</strong>28, <strong>Mx</strong>38, <strong>Mx</strong>50: cover screw<br />
detach) shear pin could be replaced easily.<br />
3. Technical data<br />
<strong>Mx</strong>8 (31010) <strong>Mx</strong>18 (31020) <strong>Mx</strong>28 (31030) <strong>Mx</strong>38 (31040) <strong>Mx</strong>50 (31050)<br />
Maximum input (ft.lb / Nm) 170 / 230 370 / 500 160 / 215 215 / 290 220 / 295<br />
Maximum output (ft.lb / Nm) 590 / 800 1325 / 1800 2060 / 2800 2800 / 3800 3675 / 5000<br />
Female square drive 1/2" 3/4" 1/2" 3/4" 3/4"<br />
Male square drive 3/4" 1" 1" 1" 1.1/2"<br />
Max torque ratio 1 : 3,5 1 : 3,6 1 : 13 1 : 13 1 : 17<br />
Overload protection x x x x x<br />
Maximum diameter (mm) 65 90 95 95 120<br />
Height (mm) 105 150 200 200 215<br />
Tool weight (kg) 1,3 3,0 5,2 5,2 7,7<br />
Reaction weight (kg) 0,7 1,6 1,6 1,6 3,1
4. Calculation of input torque<br />
Desired Output Torque<br />
---------------------------- = Input Torque<br />
Torque Ratio<br />
5. Straight reaction anchor available as an option<br />
.<br />
6. Caution<br />
1. Please make sure that the reaction anchor is properly placed against a strong fixed object.<br />
2. Use torque wrenches only.<br />
3. Never use a pneumatic or electronic impact tool.<br />
4. Also use a torque wrench for loosening screws.