Egyptian Cartouche
Egyptian Cartouche
Egyptian Cartouche

Create successful ePaper yourself
Turn your PDF publications into a flip-book with our unique Google optimized e-Paper software.
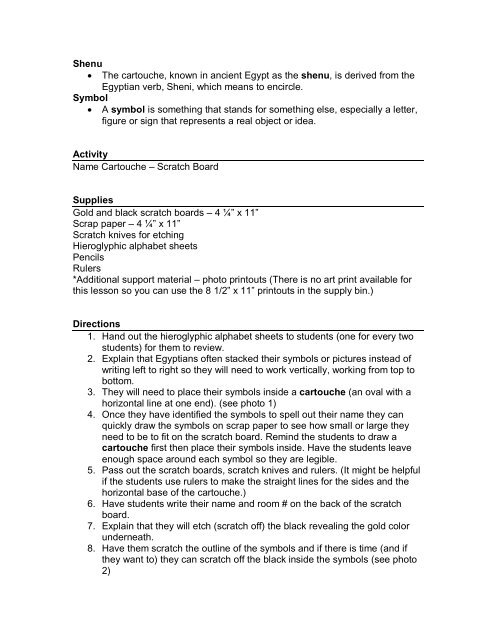
Shenu<br />
The cartouche, known in ancient Egypt as the shenu, is derived from the<br />
<strong>Egyptian</strong> verb, Sheni, which means to encircle.<br />
Symbol<br />
A symbol is something that stands for something else, especially a letter,<br />
figure or sign that represents a real object or idea.<br />
Activity<br />
Name <strong>Cartouche</strong> – Scratch Board<br />
Supplies<br />
Gold and black scratch boards – 4 ¼” x 11”<br />
Scrap paper – 4 ¼” x 11”<br />
Scratch knives for etching<br />
Hieroglyphic alphabet sheets<br />
Pencils<br />
Rulers<br />
*Additional support material – photo printouts (There is no art print available for<br />
this lesson so you can use the 8 1/2” x 11” printouts in the supply bin.)<br />
Directions<br />
1. Hand out the hieroglyphic alphabet sheets to students (one for every two<br />
students) for them to review.<br />
2. Explain that <strong>Egyptian</strong>s often stacked their symbols or pictures instead of<br />
writing left to right so they will need to work vertically, working from top to<br />
bottom.<br />
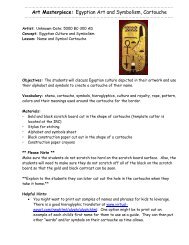
3. They will need to place their symbols inside a cartouche (an oval with a<br />
horizontal line at one end). (see photo 1)<br />
4. Once they have identified the symbols to spell out their name they can<br />
quickly draw the symbols on scrap paper to see how small or large they<br />
need to be to fit on the scratch board. Remind the students to draw a<br />
cartouche first then place their symbols inside. Have the students leave<br />
enough space around each symbol so they are legible.<br />
5. Pass out the scratch boards, scratch knives and rulers. (It might be helpful<br />
if the students use rulers to make the straight lines for the sides and the<br />
horizontal base of the cartouche.)<br />
6. Have students write their name and room # on the back of the scratch<br />
board.<br />
7. Explain that they will etch (scratch off) the black revealing the gold color<br />
underneath.<br />
8. Have them scratch the outline of the symbols and if there is time (and if<br />
they want to) they can scratch off the black inside the symbols (see photo<br />
2)