M6 TLI Manual - OpticsPlanet.com
M6 TLI Manual - OpticsPlanet.com
M6 TLI Manual - OpticsPlanet.com

You also want an ePaper? Increase the reach of your titles
YUMPU automatically turns print PDFs into web optimized ePapers that Google loves.
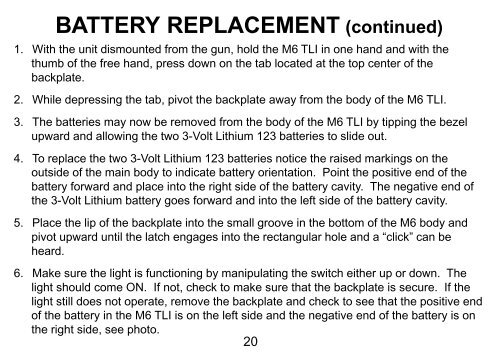
BATTERY REPLACEMENT (continued)<br />
1. With the unit dismounted from the gun, hold the <strong>M6</strong> <strong>TLI</strong> in one hand and with the<br />
thumb of the free hand, press down on the tab located at the top center of the<br />
backplate.<br />
2. While depressing the tab, pivot the backplate away from the body of the <strong>M6</strong> <strong>TLI</strong>.<br />
3. The batteries may now be removed from the body of the <strong>M6</strong> <strong>TLI</strong> by tipping the bezel<br />
upward and allowing the two 3-Volt Lithium 123 batteries to slide out.<br />
4. To replace the two 3-Volt Lithium 123 batteries notice the raised markings on the<br />
outside of the main body to indicate battery orientation. Point the positive end of the<br />
battery forward and place into the right side of the battery cavity. The negative end of<br />
the 3-Volt Lithium battery goes forward and into the left side of the battery cavity.<br />
5. Place the lip of the backplate into the small groove in the bottom of the <strong>M6</strong> body and<br />
pivot upward until the latch engages into the rectangular hole and a “click” can be<br />
heard.<br />
6. Make sure the light is functioning by manipulating the switch either up or down. The<br />
light should <strong>com</strong>e ON. If not, check to make sure that the backplate is secure. If the<br />
light still does not operate, remove the backplate and check to see that the positive end<br />
of the battery in the <strong>M6</strong> <strong>TLI</strong> is on the left side and the negative end of the battery is on<br />
the right side, see photo.<br />
20